How to Build an Authentic Italian Antipasto Platter
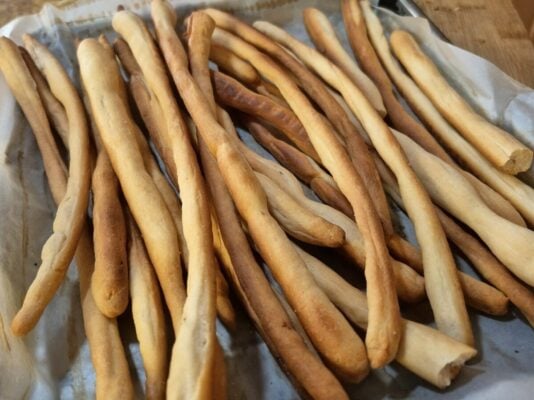
Italian Grissini (Homemade Crispy Italian Breadsticks)


Italian Grissini (Homemade Crispy Italian Breadsticks)
This post may contain affiliate links, that help support this blog. If you make a purchase through these links, I may earn a commission—at no cost to you. For more information read my disclosure policy.
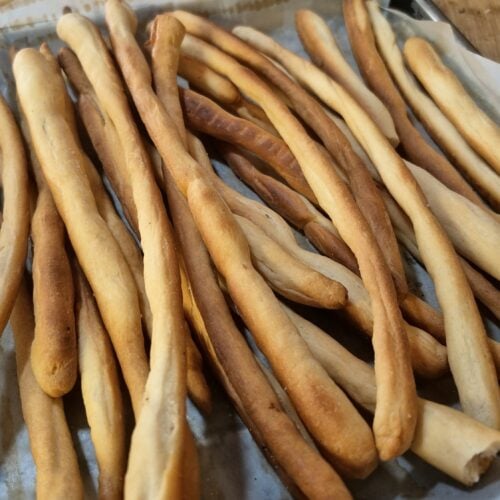
Grissini Torinesi, or traditional Italian breadsticks, have always been a favorite of mine. During my years in the restaurant business, we made these crispy, golden breadsticks and served them at the table alongside our meals. Our guests loved them so much that they often asked if they could buy some to take home. We eventually started selling them, and they quickly became a customer favorite.
There’s something special about homemade grissini. They’re simple, made with everyday ingredients like flour, yeast, olive oil, and salt, yet they’re incredibly satisfying. Whether served with an antipasto platter, wrapped in prosciutto, or enjoyed on their own, these traditional Italian breadsticks bring a little taste of the restaurant experience right into your home.
Why You’ll Love This Grissini Torinesi Recipe
-
Authentic Italian breadsticks: These traditional Italian grissini are thin, golden, and wonderfully crunchy.
-
Simple ingredients: Made with flour, yeast, olive oil, and a few pantry staples.
-
Perfect for entertaining: Serve them with antipasto, Italian cheeses, cured meats, or your favorite dips.
-
Restaurant favorite: These are the same style of breadsticks we served in our restaurants. Guests loved them so much that they often wanted to buy them to take home!
-
Make-ahead friendly: Bake them ahead of time for parties, holidays, or everyday snacking.
Storage and Make-Ahead Tips
How to Store Grissini: Allow the breadsticks to cool completely before storing. Place them in an airtight container at room temperature for up to 1 week. Keep them away from moisture to maintain their crisp texture.
Can You Freeze Grissini? Yes! Once completely cooled, place them in a freezer-safe airtight container or freezer bag. Freeze for up to 2 months. Thaw at room temperature.
How to Recrisp Breadsticks: If your grissini lose some of their crunch, place them in a 300°F oven for 5–7 minutes. Allow them to cool before serving.
Can You Make Them Ahead? Absolutely! These Italian breadsticks are perfect for making a day or two ahead. Once baked and cooled, store them in an airtight container until ready to serve.
Chef’s Tip: Never store warm breadsticks in a sealed container. Trapped steam creates moisture and will make them soft instead of crisp.
What to Serve with Homemade Italian Grissini
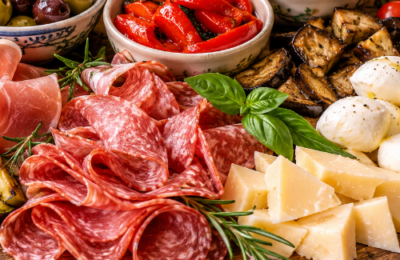
These homemade Italian breadsticks are wonderful on their own, but they’re even better as part of an Italian spread. Serve them with your favorite cheeses, cured meats, dips, and spreads.
If you enjoy making traditional Italian appetizers and homemade staples, here are a few more recipes to try.
More Italian Recipes You’ll Love
-
Italian Antipasto Platter – A beautiful assortment of Italian cheeses, cured meats, olives, and marinated vegetables.
Baked Ricotta – Creamy, smooth ricotta that’s perfect for spreading.
-
Homemade Bruschetta – Fresh tomatoes, garlic, basil, and olive oil served over toasted bread.
-
Italian wedding soup – A classic addition to any Italian meal.
Kitchen Tools and Products I Recommend
Having the right tools makes homemade breadsticks even easier.
-
Large mixing bowl: For combining and kneading your dough.
-
Digital kitchen scale: For accurately measuring flour and getting consistent results.
-
Bench scraper: Makes dividing the dough into even portions much easier.
-
Baking sheets: For baking your grissini evenly.
-
Parchment paper: Helps prevent sticking and makes cleanup easy.
-
Cooling rack: Allows air to circulate so your breadsticks stay crisp as they cool.
Italian Grissini (Crispy Homemade Breadsticks)
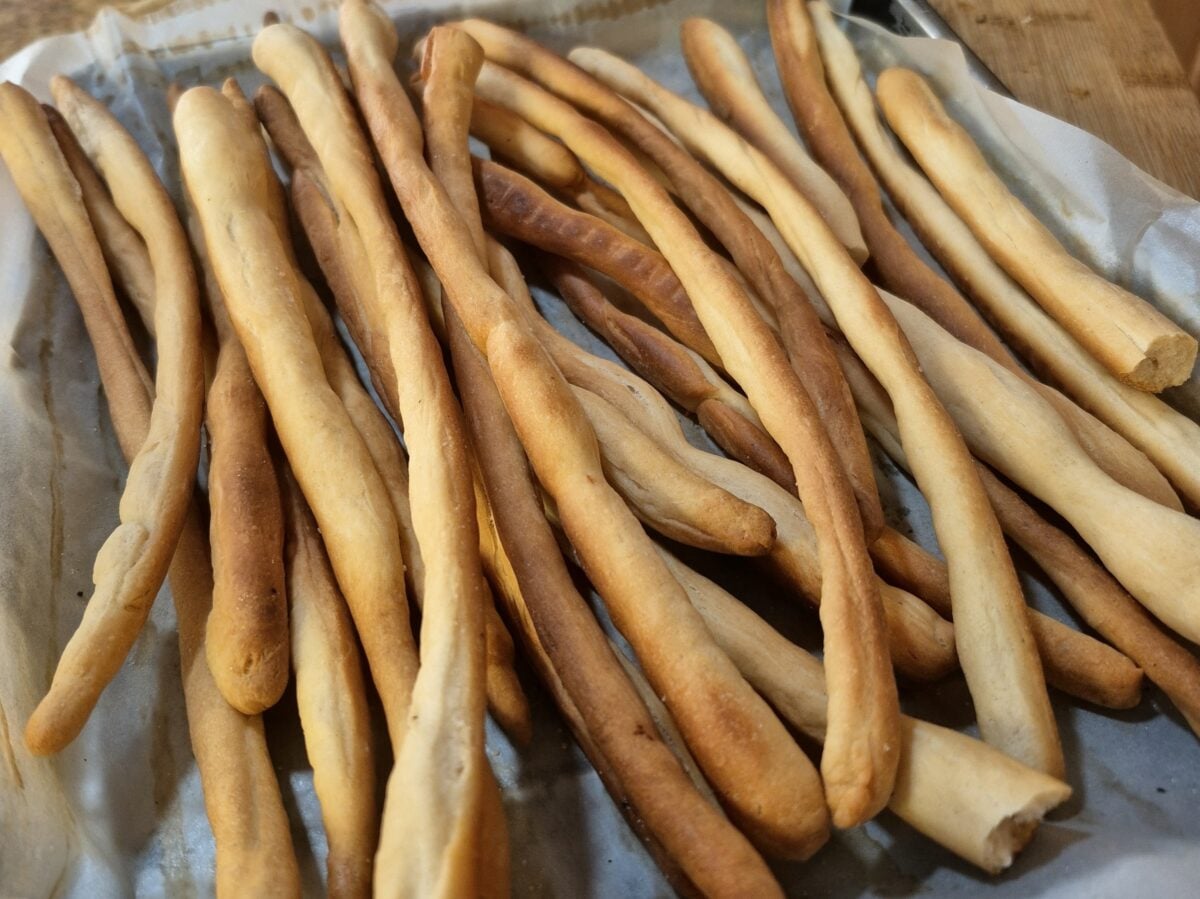
These traditional Grissini Torinesi are thin, golden, and wonderfully crunchy Italian breadsticks made with flour, yeast, and extra virgin olive oil. Inspired by the breadsticks we served and sold in our restaurants, they're perfect for antipasto platters, entertaining, or enjoying as a simple Italian snack.
Ingredients
- 3 cups all-purpose flour
- 1 cup lukewarm water
- 2 tsp, instant yeast one packet
- 1 tsp sugar
- 2 tsp. salt
- 3 Tbsp. extra virgin olive oil Extra olive oil for brushing
- Semolina or flour for rolling, if needed
Instructions
- Activate the yeast: Combine the lukewarm water, yeast, and sugar. Let stand for 5–10 minutes until slightly foamy if using active dry yeast. Instant yeast can be mixed directly with the flour.
- Make the dough: In a large bowl, combine the flour and salt. Add the yeast mixture and olive oil. Mix until a dough forms.
- Knead: Knead for approximately 5–8 minutes until smooth and elastic.
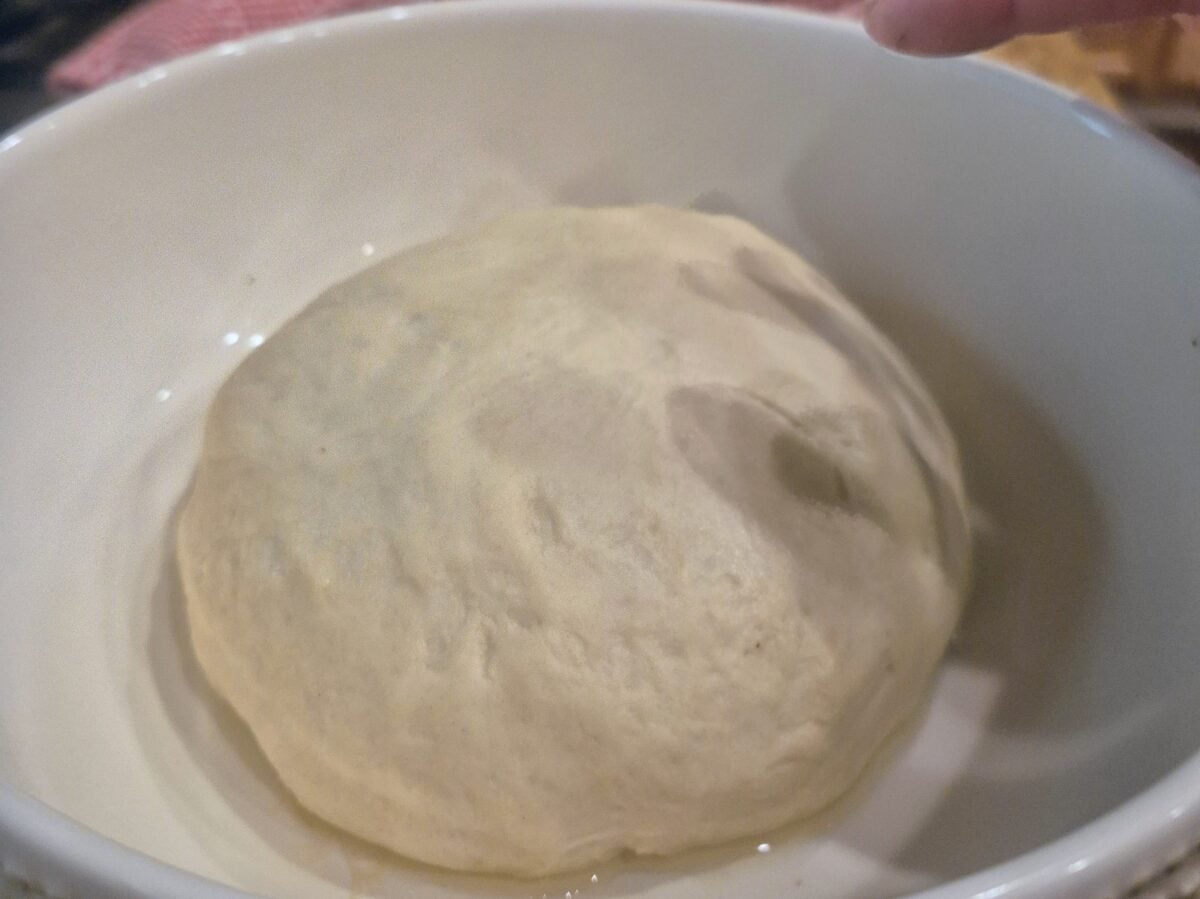
- First rise: Place the dough in a lightly oiled bowl, cover, and let rise for 1–1½ hours, or until doubled in size.
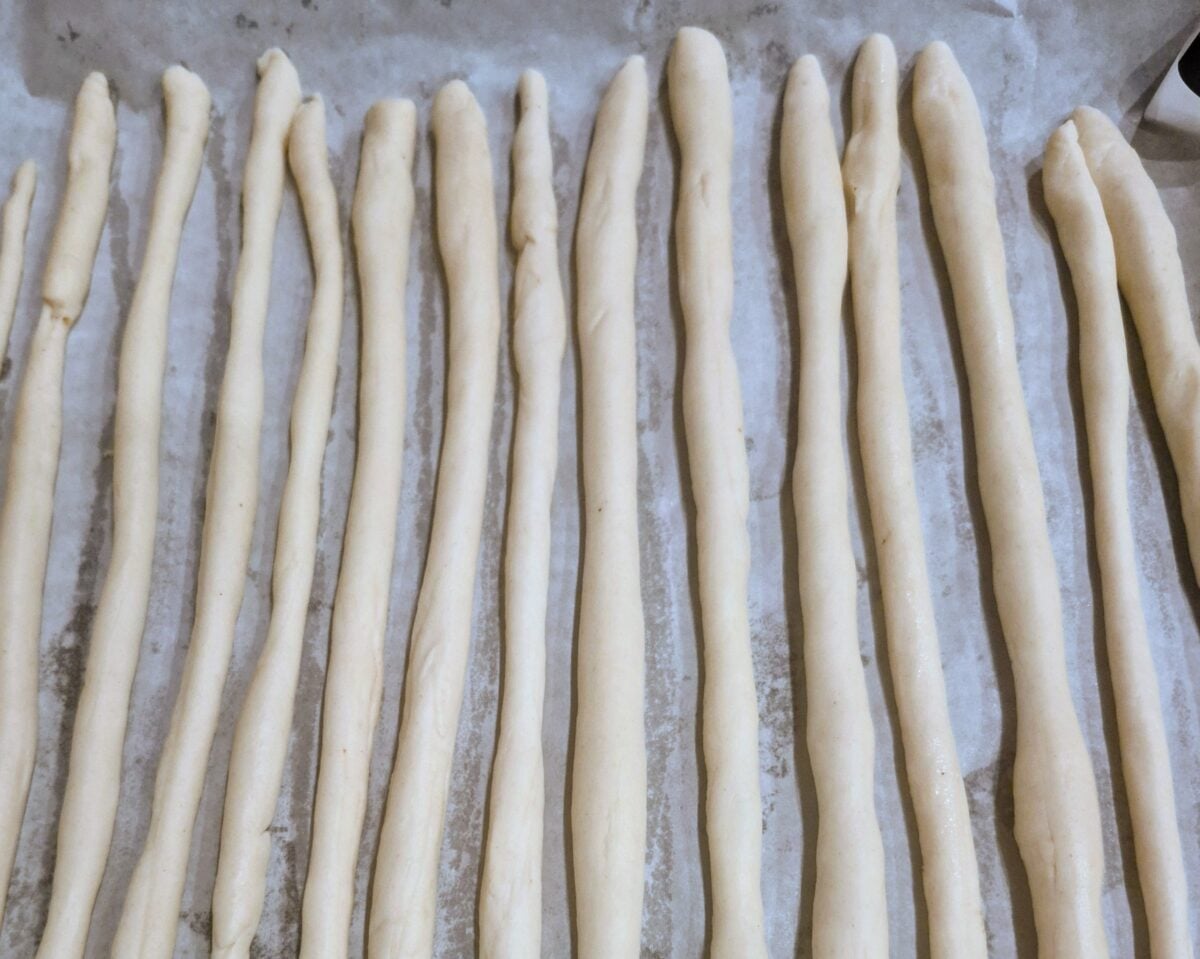
- Shape: Divide the dough into small portions. Roll each piece into long, thin breadsticks, approximately ¼ inch thick. Keep them rustic and slightly irregular.
- Second Rise: Arrange the shaped breadsticks on parchment-lined baking sheets, leaving a little space between them. Cover loosely with a clean kitchen towel and let rest for 20–30 minutes. They should puff slightly, but they don't need to double in size.
- Brush or Spray with Olive Oil: Lightly spray or brush the grissini with extra virgin olive oil. If desired, sprinkle with a little flaky sea salt for added flavor and a delicate crunch.
- Bake: Bake at 375°F for approximately 15–18 minutes, until golden and crisp.
Notes
Chef's Tip For evenly shaped grissini, avoid overworking the dough when rolling. If the dough keeps shrinking back, let it rest for 5–10 minutes before continuing. For extra-crispy breadsticks, allow them to cool completely before storing in an airtight container.
More to Explore


Comments (0)