Blanched & Pureed Lemon Loaf (Bakery-Style Citrus Cake)
Blanched & Pureed Lemon Loaf (Bakery-Style Citrus Cake)
This post may contain affiliate links, that help support this blog. If you make a purchase through these links, I may earn a commission—at no cost to you. For more information read my disclosure policy.
If you love lemon desserts that actually taste like lemon, this loaf is about to become your new obsession.
Instead of just using zest or juice, this recipe takes things further—whole lemons are blanched to soften the peel, then pureed into a silky citrus base. The result? A lemon loaf that is deeply fragrant, naturally tangy, and unbelievably moist with no artificial flavor needed.
The blanching step removes bitterness from the peel while keeping all the bright citrus oils that make lemon desserts so irresistible. When blended into the batter, the entire lemon becomes part of the flavor—nothing wasted, nothing muted.
This is the kind of loaf that works for everything: brunch, afternoon coffee, dessert, or even wrapped up as a gift. One slice and you’ll understand why this method makes such a difference.

Things to know about this Blanched & Pureed Lemon Loaf (Bakery-Style Citrus Cake)
- The peel is what gives this loaf its bold lemon flavor—don’t skip blending it in.
- If your lemons are very thick-skinned, blanching twice helps reduce bitterness further.
- This loaf tastes even better the next day once the citrus oils settle.
- use the right size pan a standard 9 X 5 loaf pan works best
If you love bright, bakery-style citrus desserts, this lemon loaf is a must-bake. Save this recipe for later, and don’t forget to tag me when you make it—I love seeing your bakes come to life! 🍋
Storage Instructions
This lemon loaf stores beautifully and actually gets better as it sits.
- Room Temperature: Store in an airtight container for up to 2–3 days. Keep it in a cool, dry place.
- Refrigerator: Store for up to 5–6 days. Bring to room temperature before serving for best texture.
- Freezer: Wrap tightly in plastic wrap and foil, then freeze for up to 2 months. Thaw overnight in the fridge or at room temp.
💡 Tip: If glazed, let the glaze set completely before storing to prevent stickiness.
You might also love”:
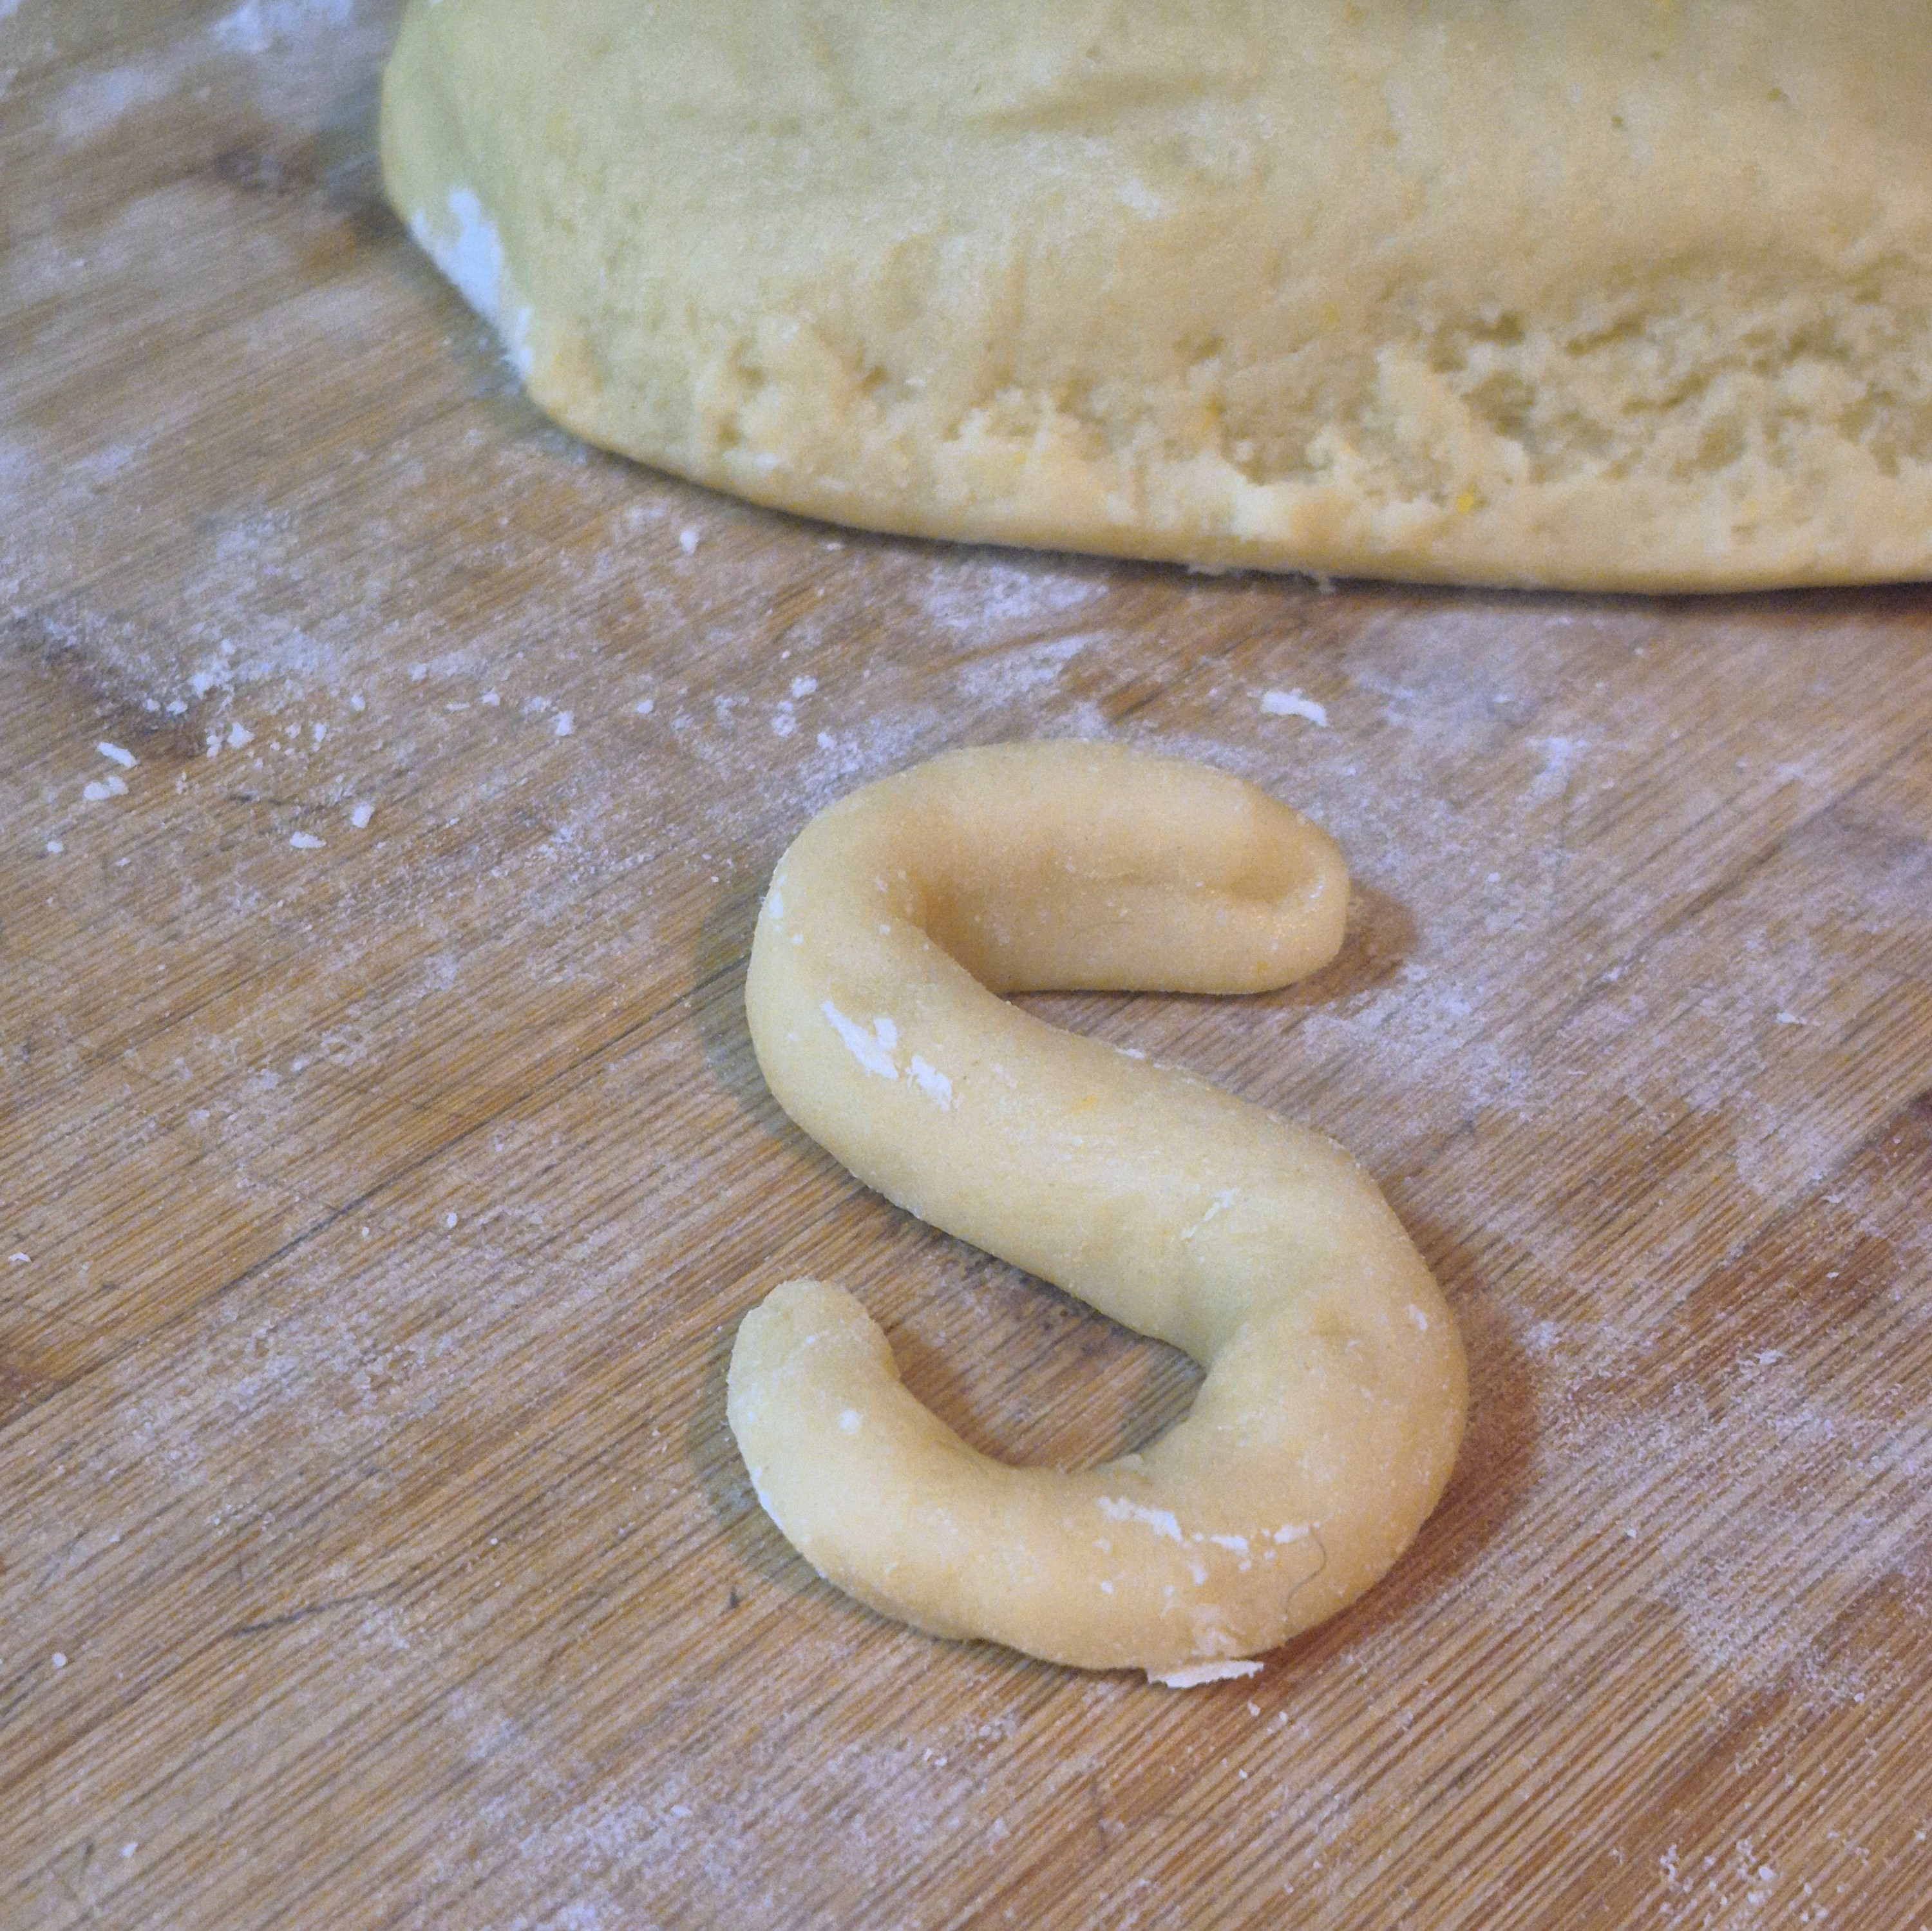
- 👉 Italian Breakfast Cookies (perfect with coffee or tea)
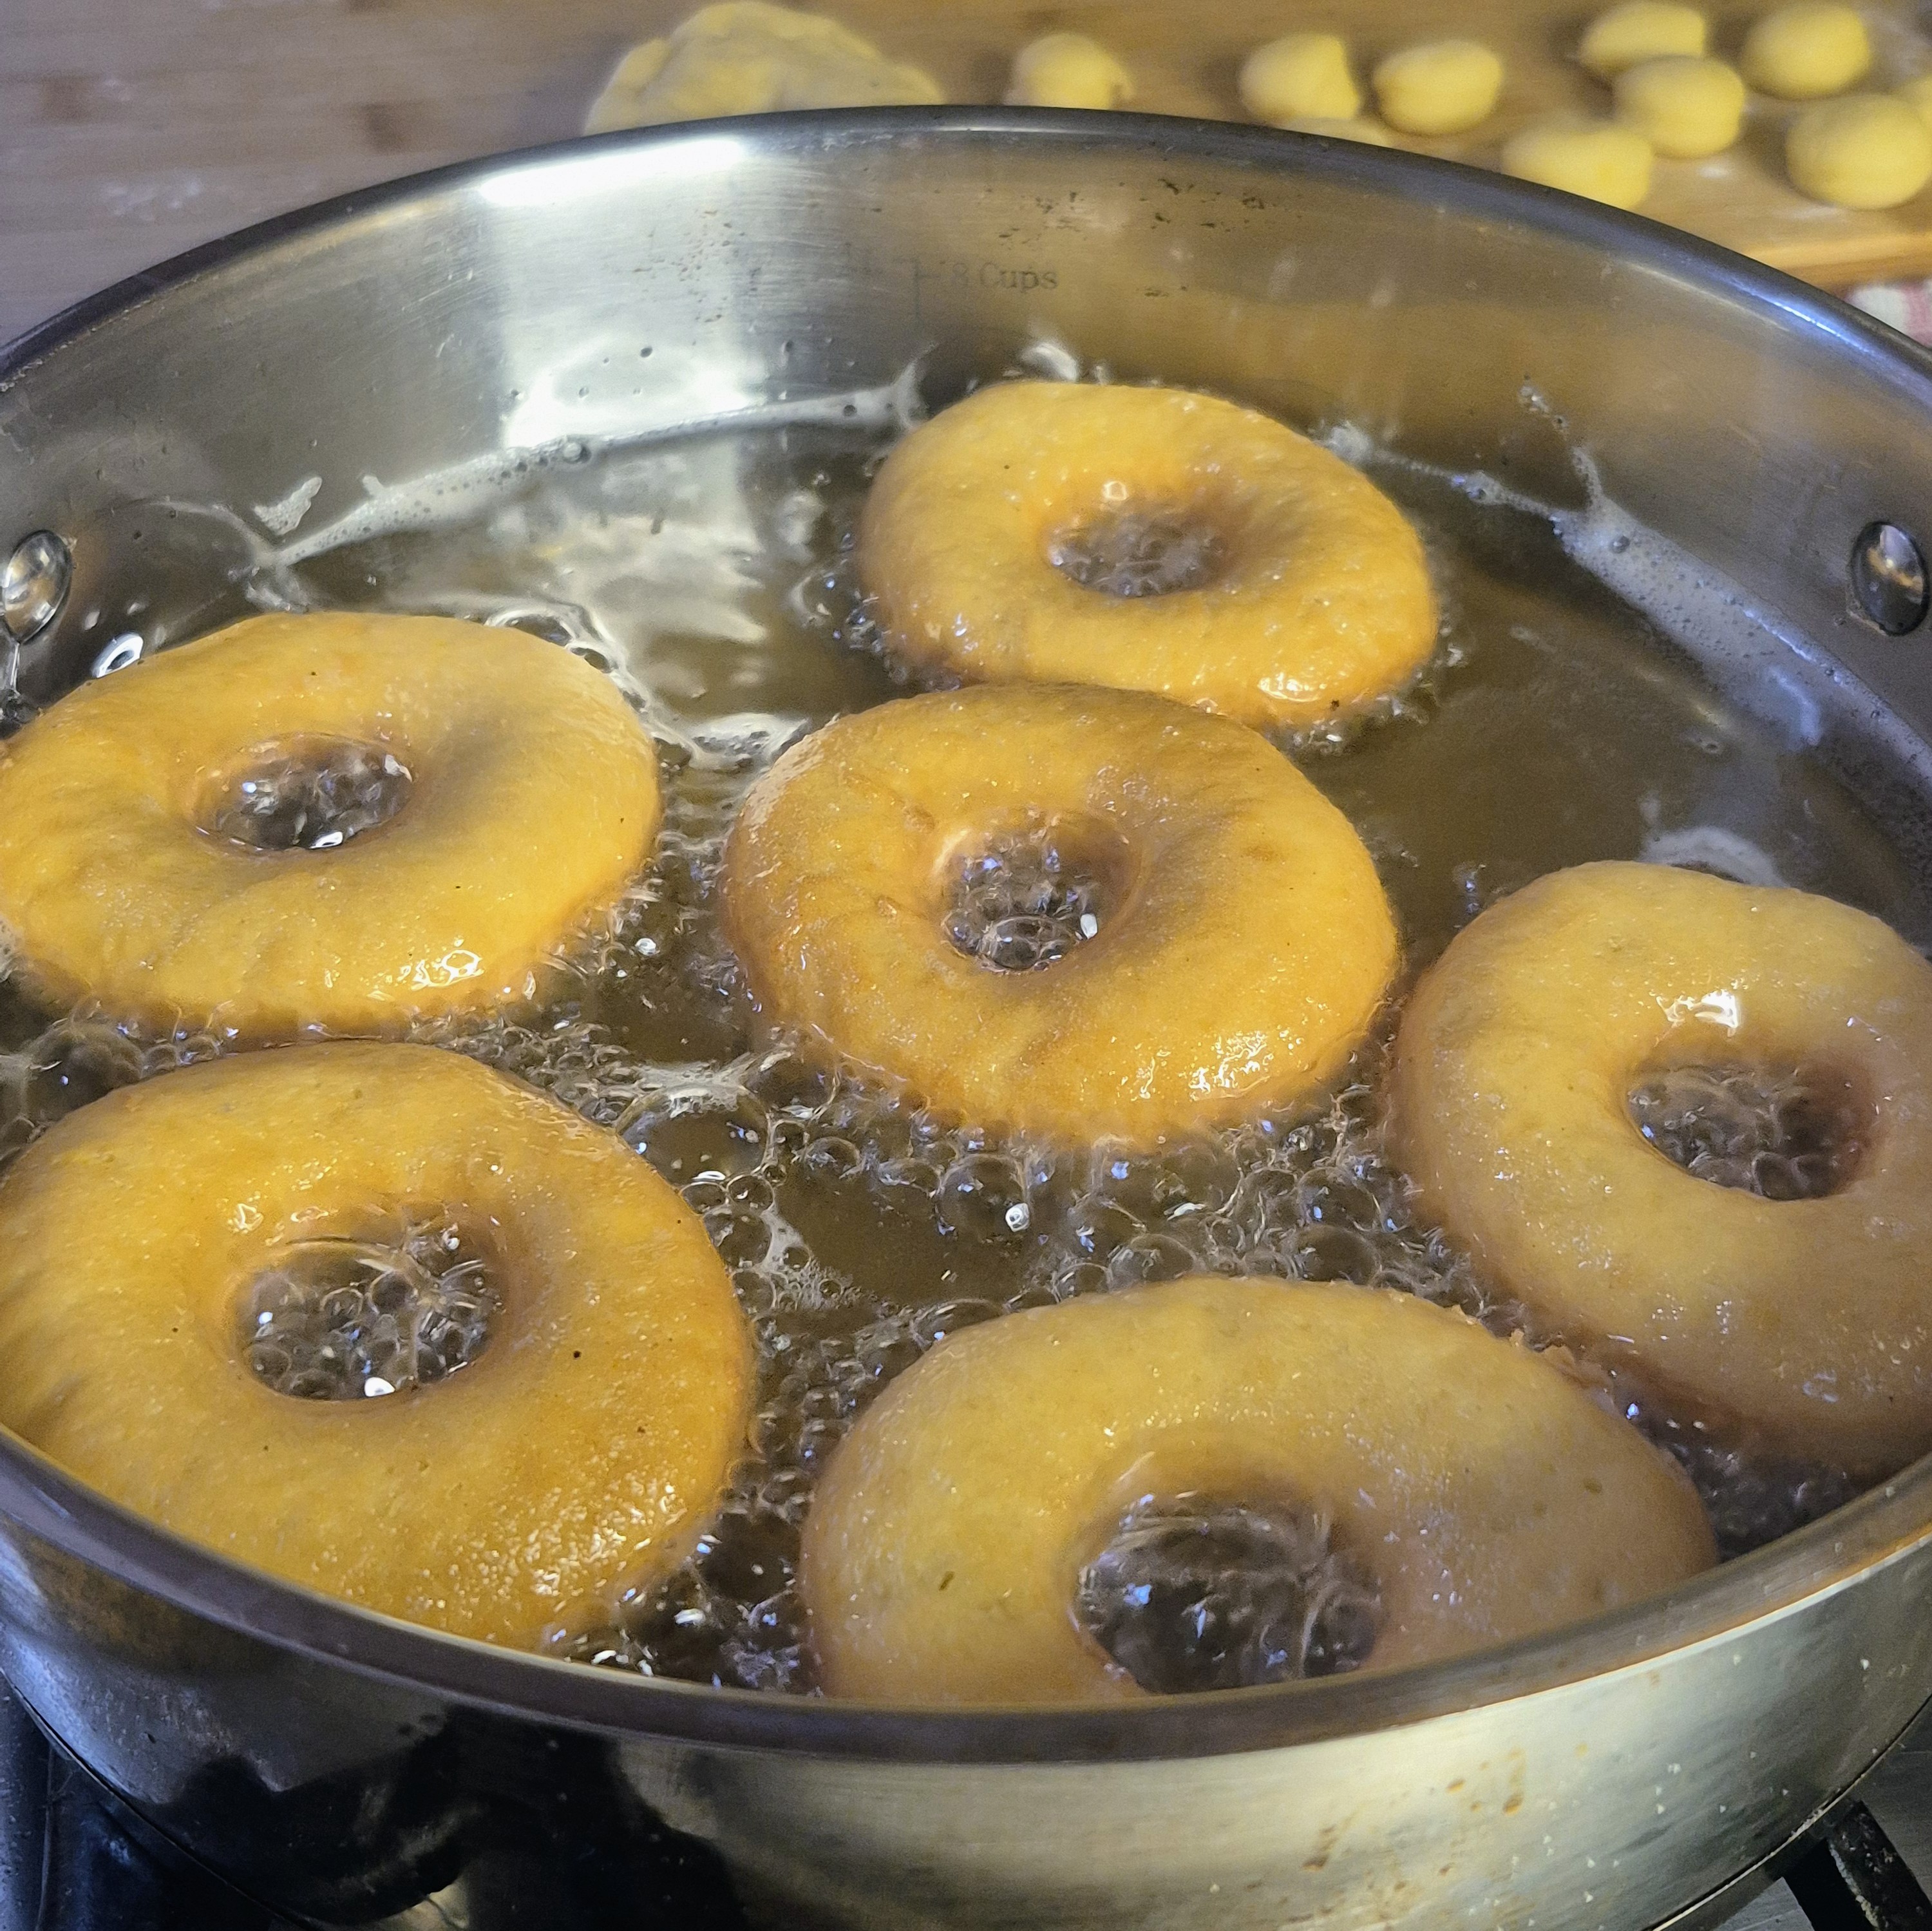
- 👉 Italian Donuts (Bomboloni-style) (soft, fluffy, bakery-style treat)
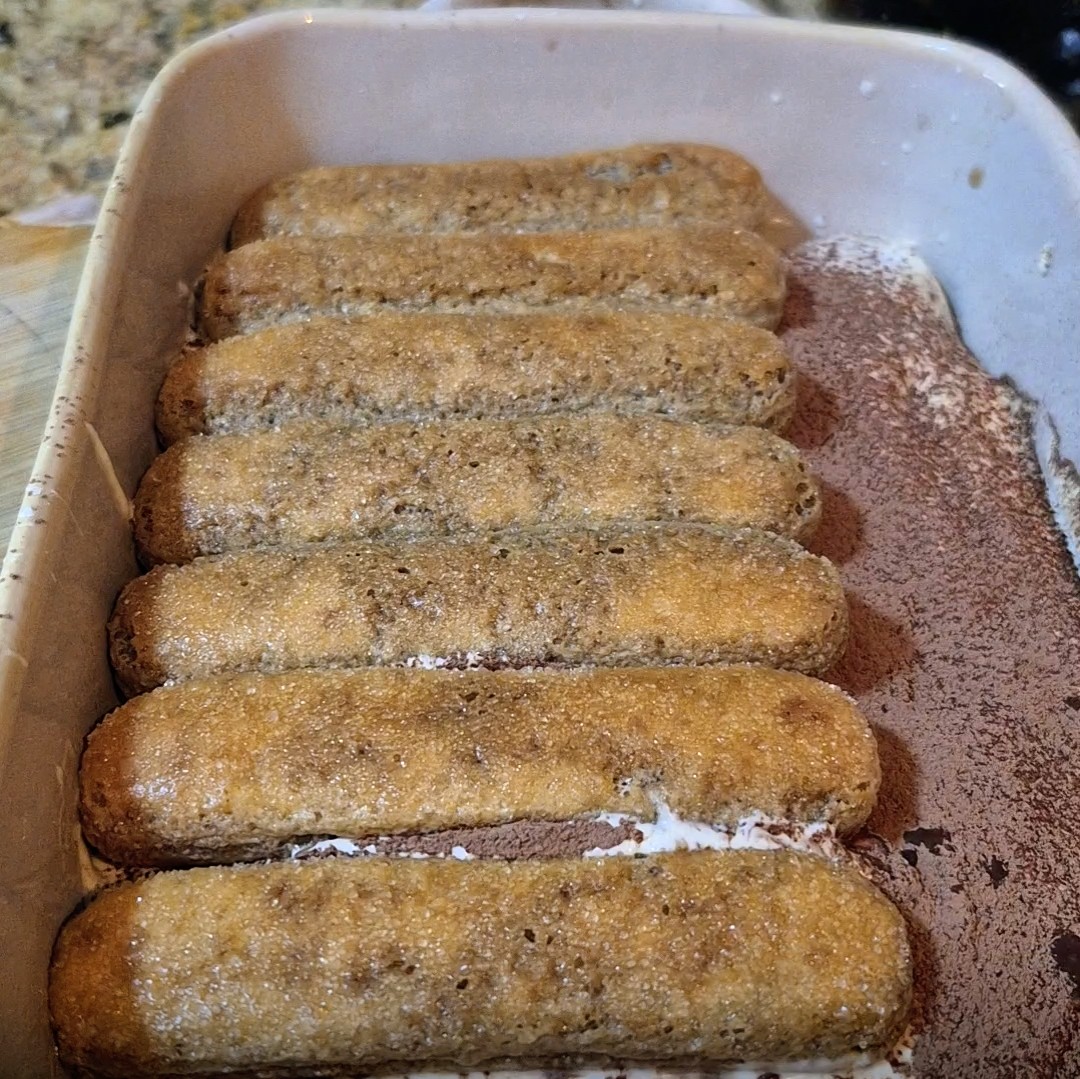
- 👉 Classic Tiramisu Recipe (for your dessert lovers)
- 👉 Lemon Ricotta Cake (another bright citrus bake)

Blanched & Pureed Lemon Loaf ( Bakery-Style Citrus Cake)
This blanched and pureed lemon loaf is incredibly moist, bright, and packed with real lemon flavor. Made with whole lemons for a bold citrus punch, it’s the ultimate bakery-style lemon cake you can make at home.
- loaf pan
- 2 medium lemons
- 3 medium eggs
- 1 cup sugar
- 1/2 cup light olive oil
- 1 cup plain Greek yogurt
- 2 cups flour
- 2 tsp. baking powder
- 2 cups powder sugar (optional lemon glaze)
- 1 Tbsp. lemon juice (optional lemon glaze)
-
Blanch the lemons Place whole lemons in boiling water for 2–3 minutes. This softens the peel and reduces bitterness.
-
Cool & prep Let lemons cool slightly, then remove seeds and rough skin and ends.
-
Puree Blend whole lemons (peel included) until completely smooth and thick.
-
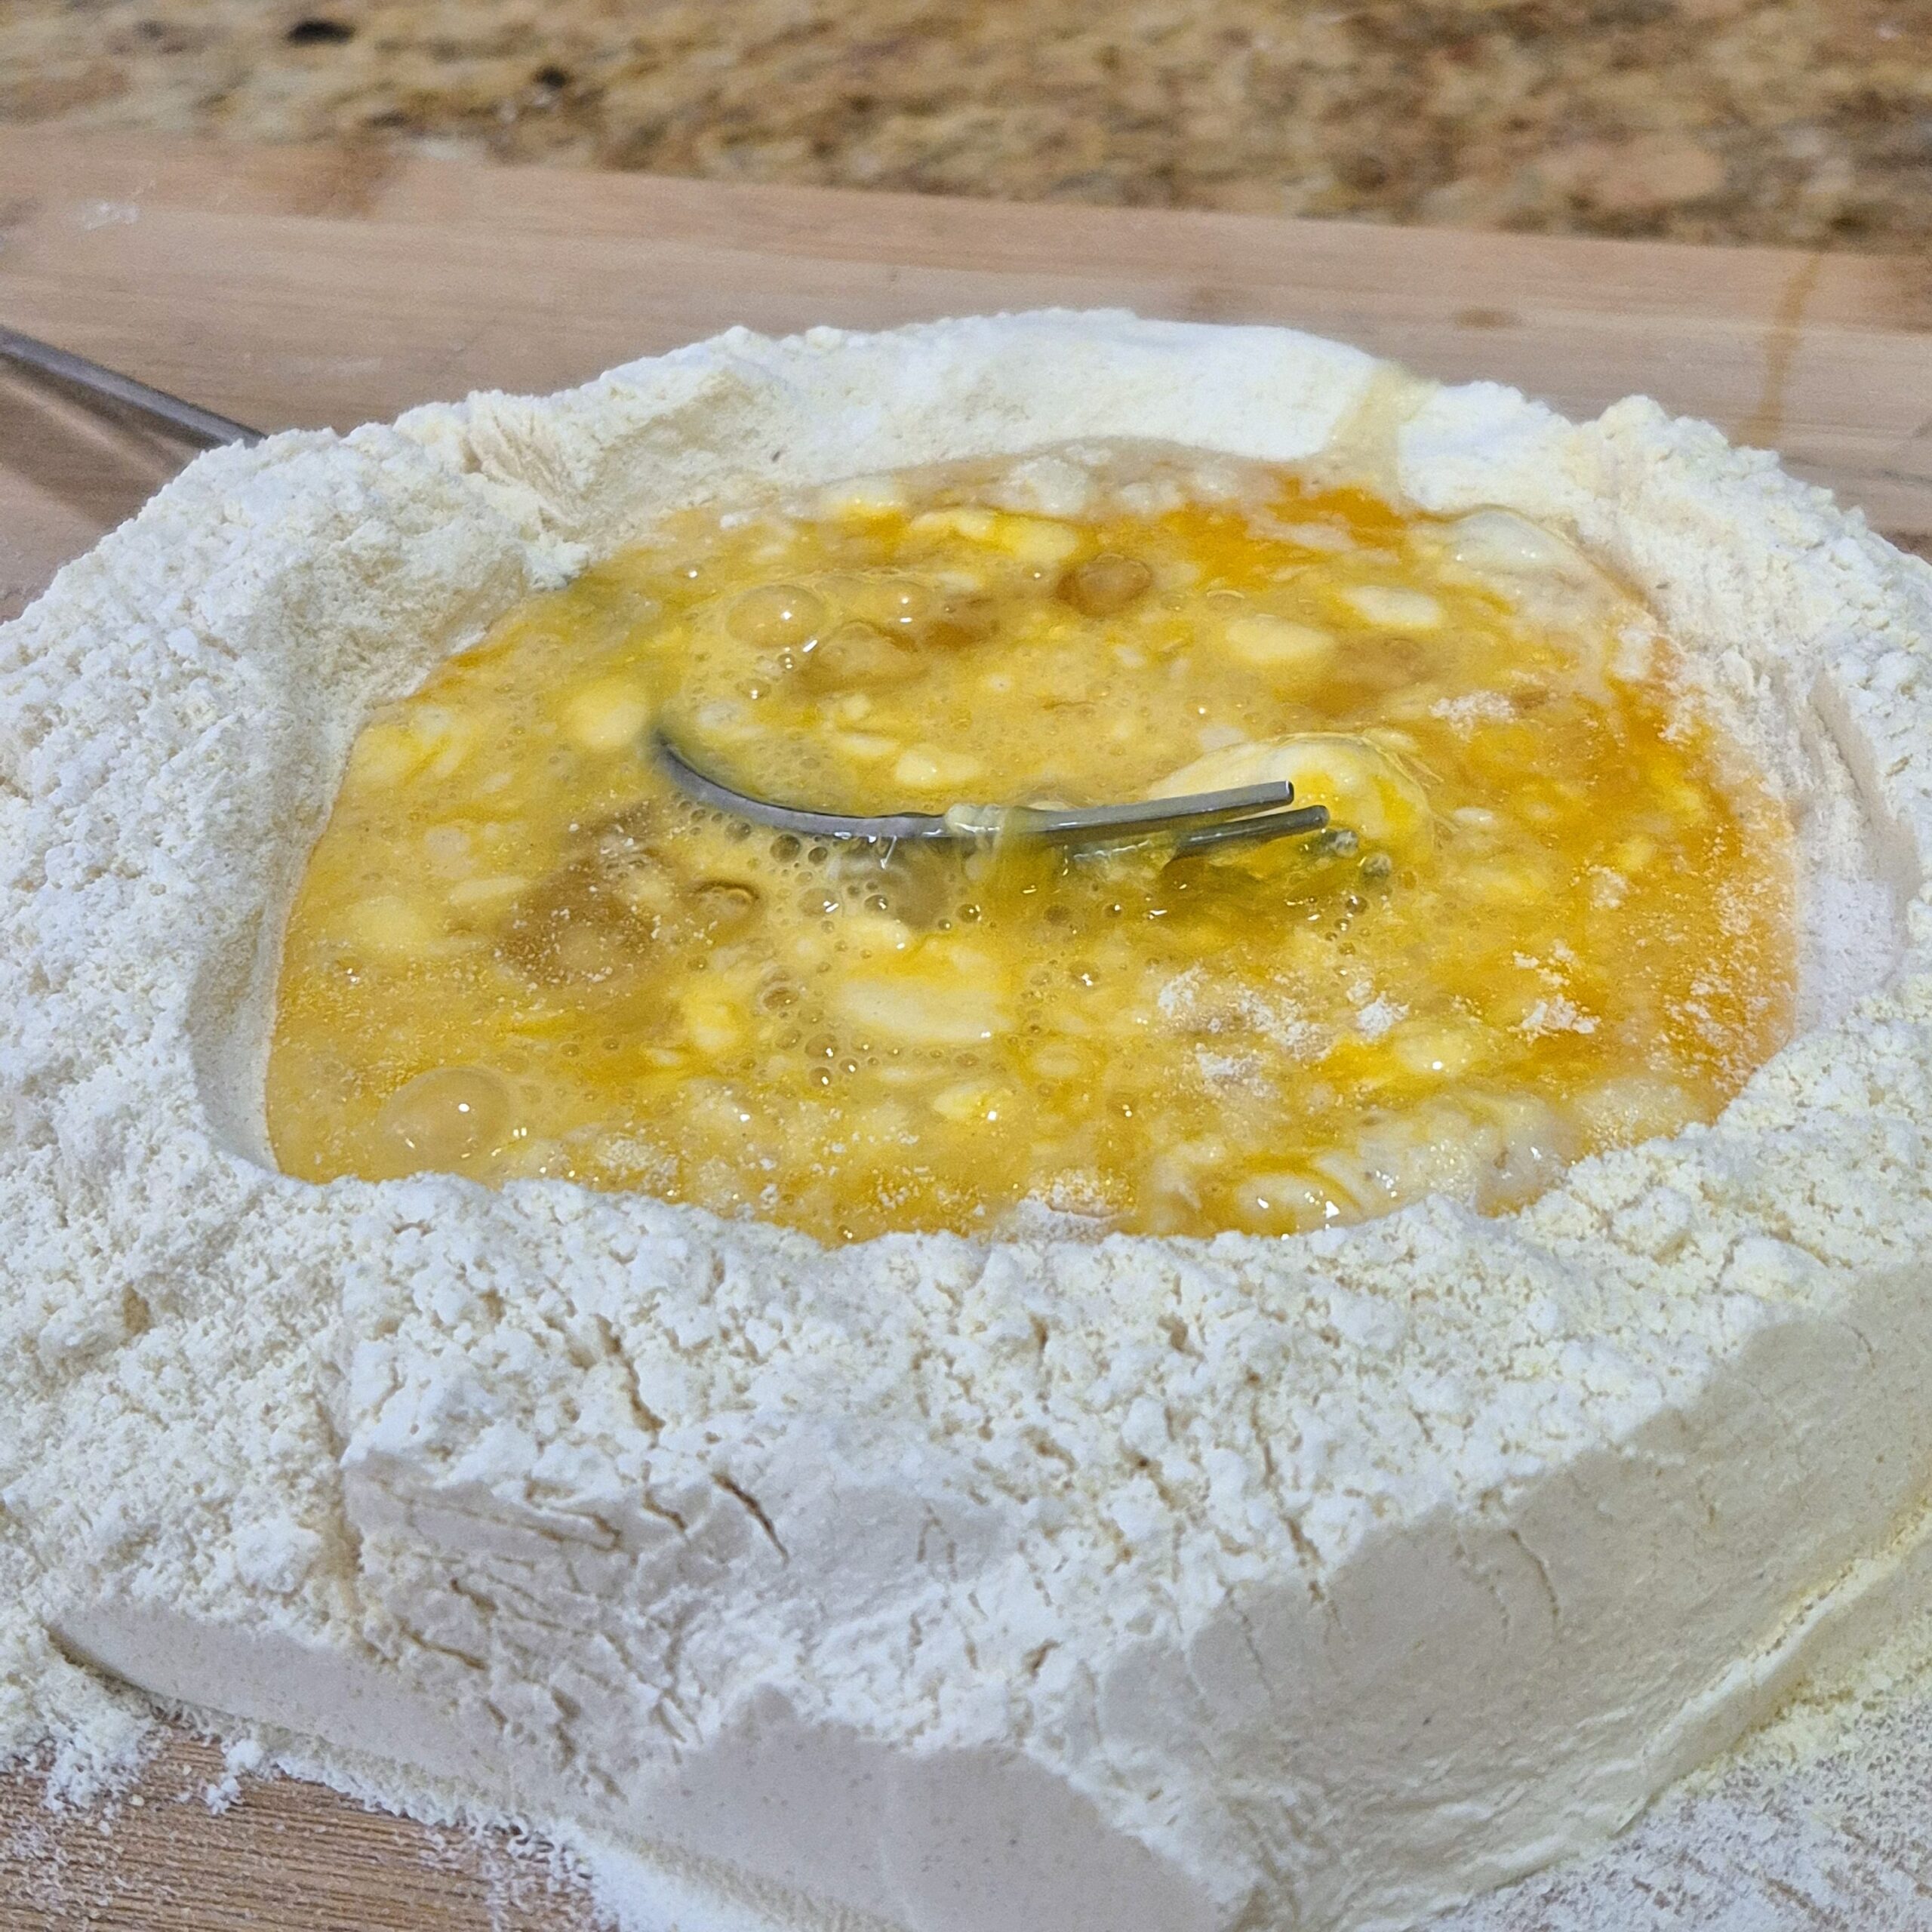
Make the batter Whisk eggs, sugar, yogurt, and oil together until smooth. Add the lemon puree.
-
Dry ingredients Fold in flour and baking powder until just combined—don’t overmix.
-
Bake Pour into a parchment lined loaf pan and bake at 350°F for 50–60 minutes, or until a toothpick comes out clean.
-
Cool & glaze Let cool completely before drizzling with lemon glaze if desired.