Ravioli Dolci di Ceci (Italian Fried Chickpea Pastries)
Ravioli Dolci di Ceci (Italian Fried Chickpea Pastries)
There are some Italian recipes that were never written down because they never needed to be. These are one of them. Growing up, I didn’t know what these were called — I don’t think my family really did either. They were simply i dolci di Natale, the sweet fried pastries that appeared around the holidays, usually when the oil was already hot and the kitchen smelled like citrus, cocoa, and sugar.
Only later did I learn that many Italian families made some version of these: a simple pasta frolla dough, filled with a sweet chickpea and cocoa mixture, folded like little ravioli, and fried until golden. It’s pure cucina povera ingenuity — turning humble pantry ingredients into something rich, comforting, and surprisingly elegant.
If chickpeas in dessert sound strange, trust me: you don’t taste them. They create a creamy, almost chestnut-like base that carries chocolate and orange beautifully. These are crisp on the outside, soft in the center, and even better the next day re crisped
Things to know about Ravioli Dolci di Ceci (Italian Fried Chickpea Pastri
- You should not taste the chickpeas — they act as a creamy base, similar to chestnuts.
- If the filling feels loose, add 1 tablespoon ground almonds, crushed amaretti, or fine breadcrumbs.
- These keep well for 2–3 days, lightly covered at room temperature.
- They’re even better the next day once the flavors settle.
-
Why You’ll Love This Recipe
- Simple pantry ingredients
- Deeply traditional and nostalgic
- Perfect for holidays and special occasions
- A beautiful example of Italian cucina povera
-
A Note From My Kitchen
This is one of those recipes that reminds me why I love Italian food so much. It’s not about fancy ingredients — it’s about memory, practicality, and making something special from what you already have. If your family made something similar, chances are it didn’t have a name either — and that’s exactly what makes it special.
If you try these, I’d love to hear what your family called them — or if they just appeared on the table like magic.
- If you love traditional Italian holiday sweets, be sure to explore more of my favorites:
- Italian Angel Wings (Cenci / Chiacchiere) – light, crisp, and fried to perfection
- Pizzicati Italian Pinch Cookies – a classic nonna cookie for Christmas trays
Ravioli Dolci di Ceci (Italian Fried Chickpea Pastries)
Servings & Timing
- Servings: about 20–24 pastries
- Prep Time: 45 minutes
- Chill Time: 30 minutes
- Cook Time: 15 minutes
Ingredients
-
Pasta Frolla (Sweet Pastry Dough)
- 2 ½ cups (315 g) all-purpose flour
- ½ cup (100 g) granulated sugar
- ½ cup (113 g) unsalted butter, cold and cubed
- 1 large egg
- Zest of 1 lemon or orange
- Pinch of salt
½ teaspoon vanilla extract (optional)
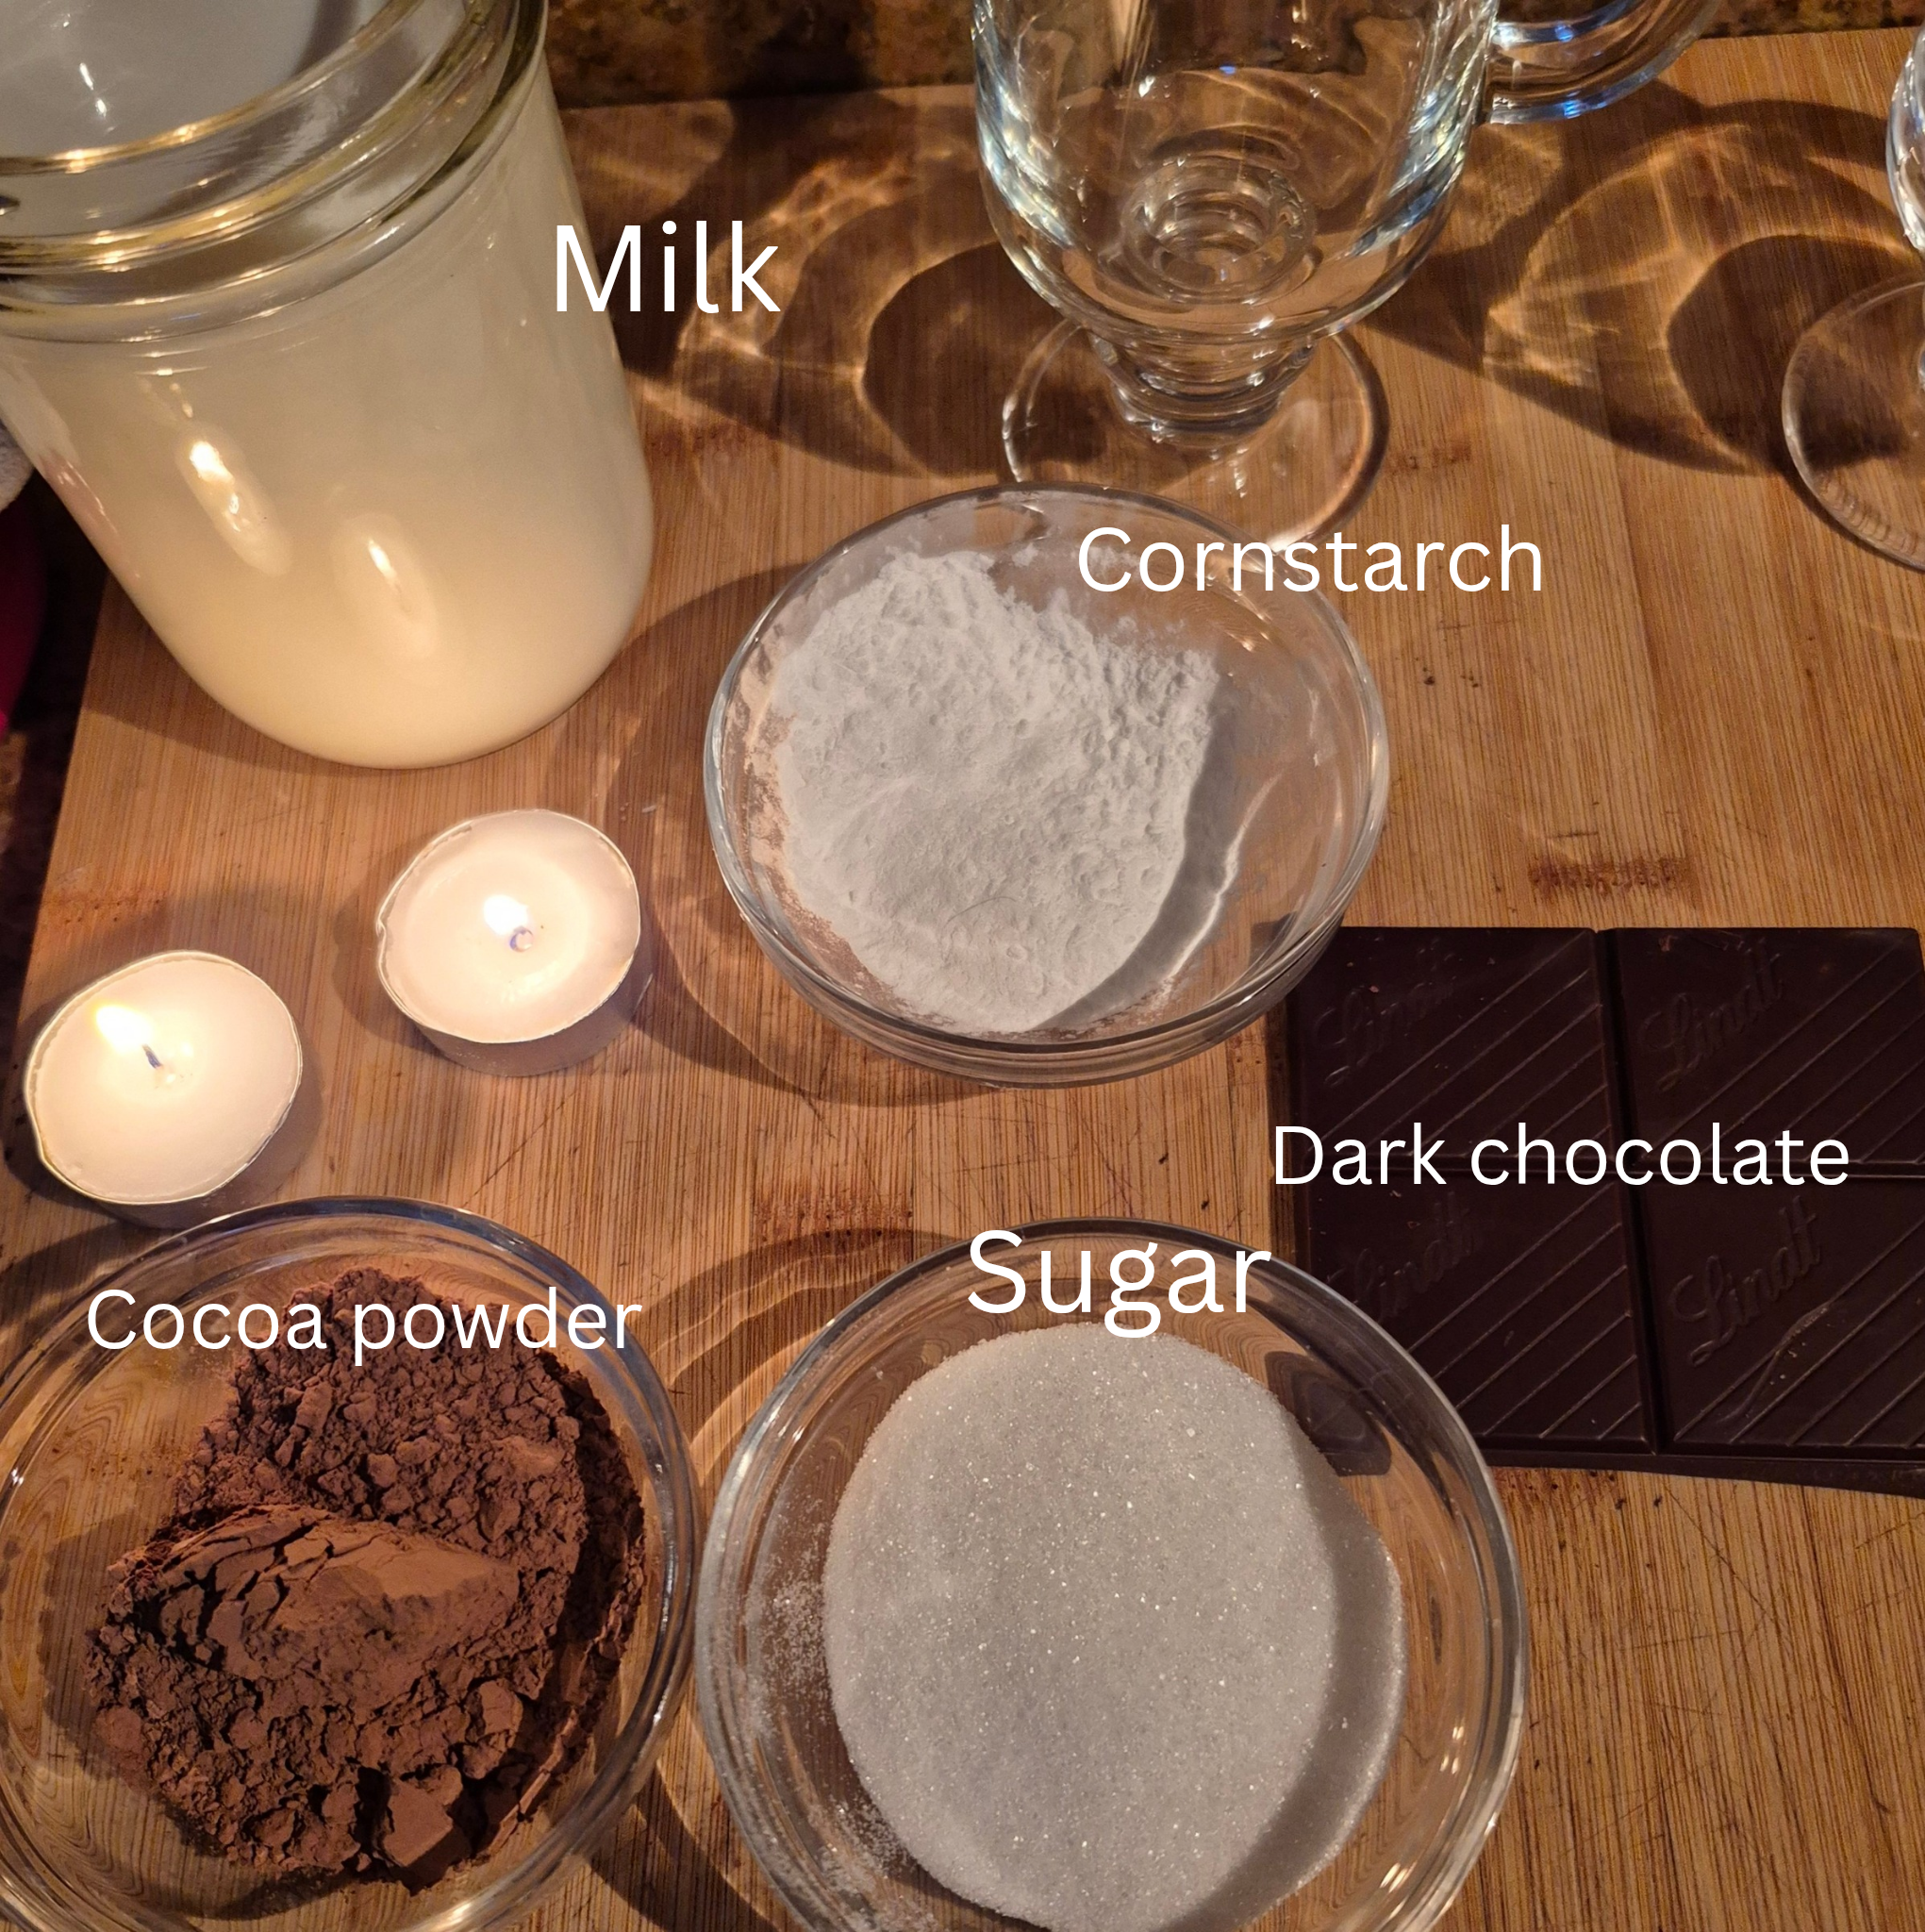
Chickpea Filling
- 1 ½ cups cooked chickpeas, well-drained
- ½ cup (100 g) granulated sugar
- ¼ cup (25 g) unsweetened cocoa powder
- Zest of 1 orange
- ½ teaspoon ground cinnamon
- ½ teaspoon vanilla extract
- 2–3 tablespoons milk or espresso, added gradually
- Pinch of salt
-
For Frying & Finishing
- Neutral oil (vegetable or sunflower)
- Powdered sugar, for dusting
Instructions
1. Make the Pasta Frolla
In a large bowl, combine the flour, sugar, and salt. Add the cold butter and rub it in with your fingertips until the mixture resembles coarse crumbs.
Add the egg, citrus zest, and vanilla. Gently bring the dough together just until it forms. Do not overwork.
Form into a disk, wrap tightly, and refrigerate for at least 30 minutes.
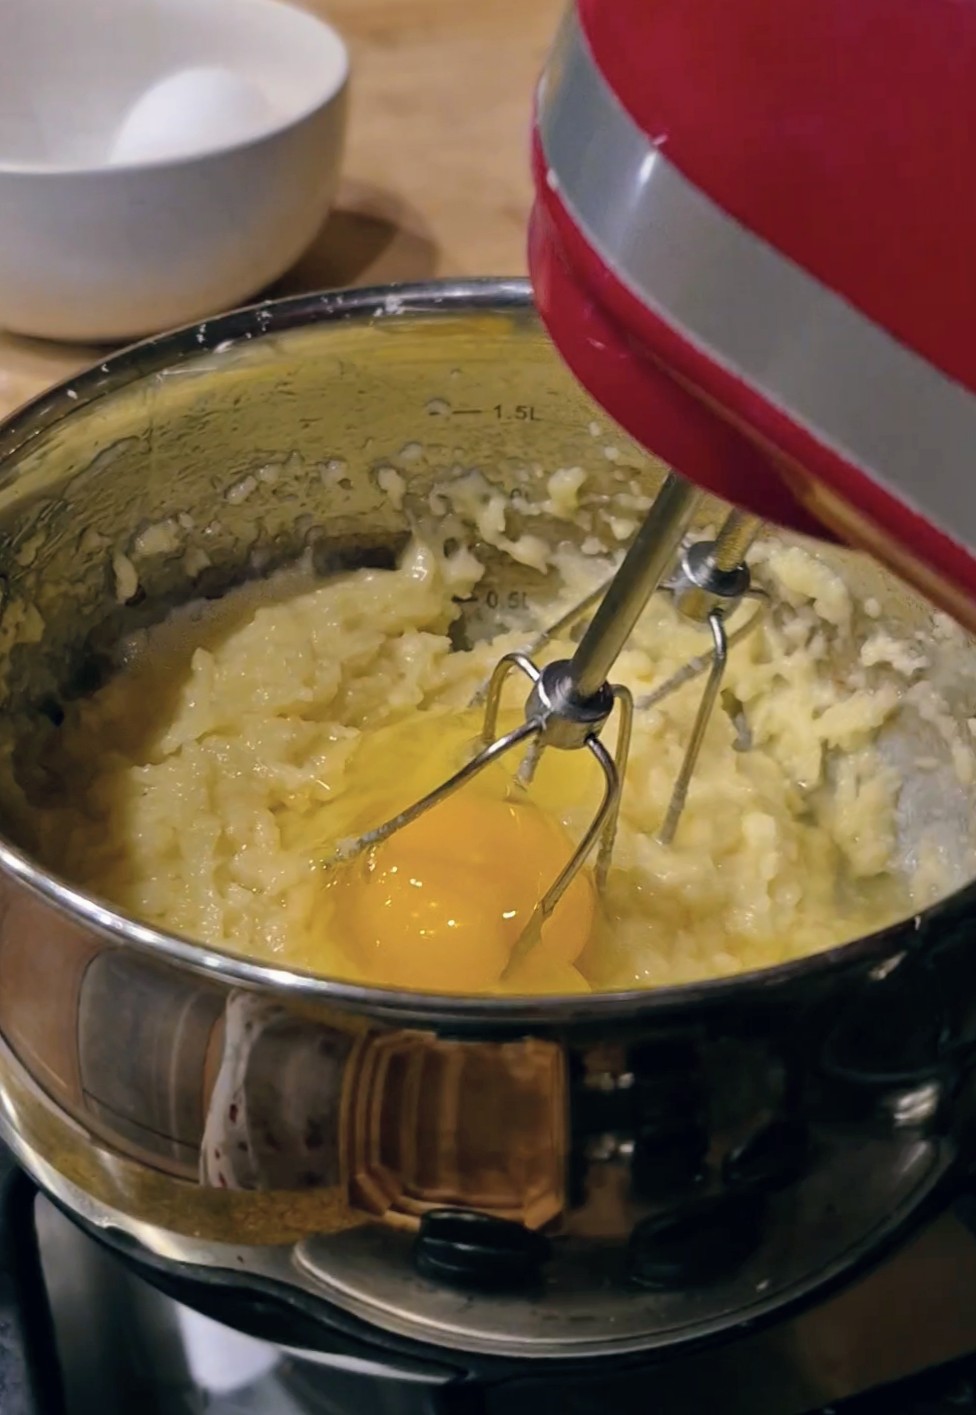
2. Prepare the Chickpea Filling
Dry the chickpeas very well with a kitchen towel. This is key to avoiding a loose filling.
Place the chickpeas in a food processor and process until very smooth, scraping down the sides as needed.
Add the sugar, cocoa powder, orange zest, cinnamon, vanilla, salt, and 2 tablespoons of milk or espresso. Process until thick and creamy. Add the remaining tablespoon only if needed.
The filling should be thick and spoonable, not loose. Chill for 20–30 minutes if needed.
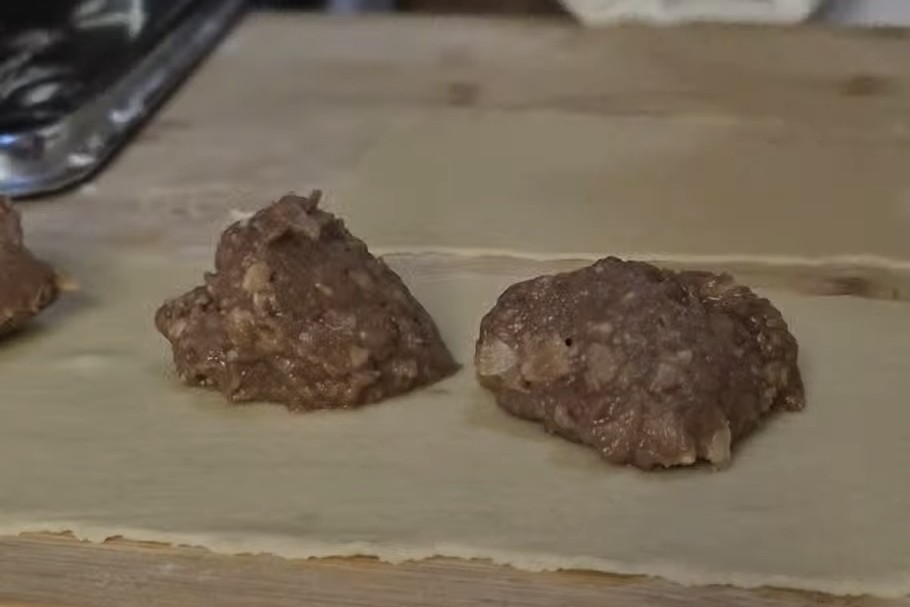
3. Roll and Fill
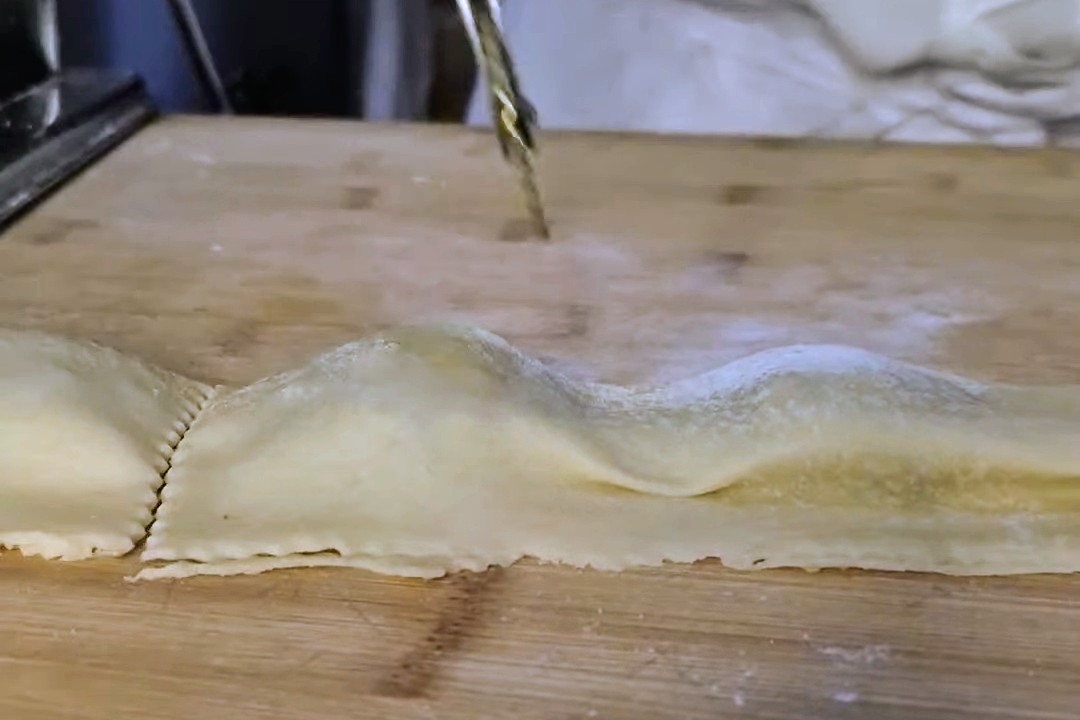
You can roll the dough by hand with a rolling pin or use a pasta machine, both of which are traditional.
Rolling pin method: Roll the chilled dough very thin on a lightly floured surface — almost like ravioli dough. You should be able to see a faint shadow of your hand through it.
Pasta machine method: Divide the dough into manageable pieces. Flatten slightly, then pass through the pasta machine starting at the widest setting. Fold and pass through once or twice, then continue rolling thinner until you reach about setting 5–6, or just thinner than fresh pasta sheets.
Cut the dough into rectangles or circles. Place about 1 teaspoon of filling in the center of each.
Lightly moisten the edges with water, fold over, and press firmly to seal. Crimp with fingers or a fork. Trim edges neatly.
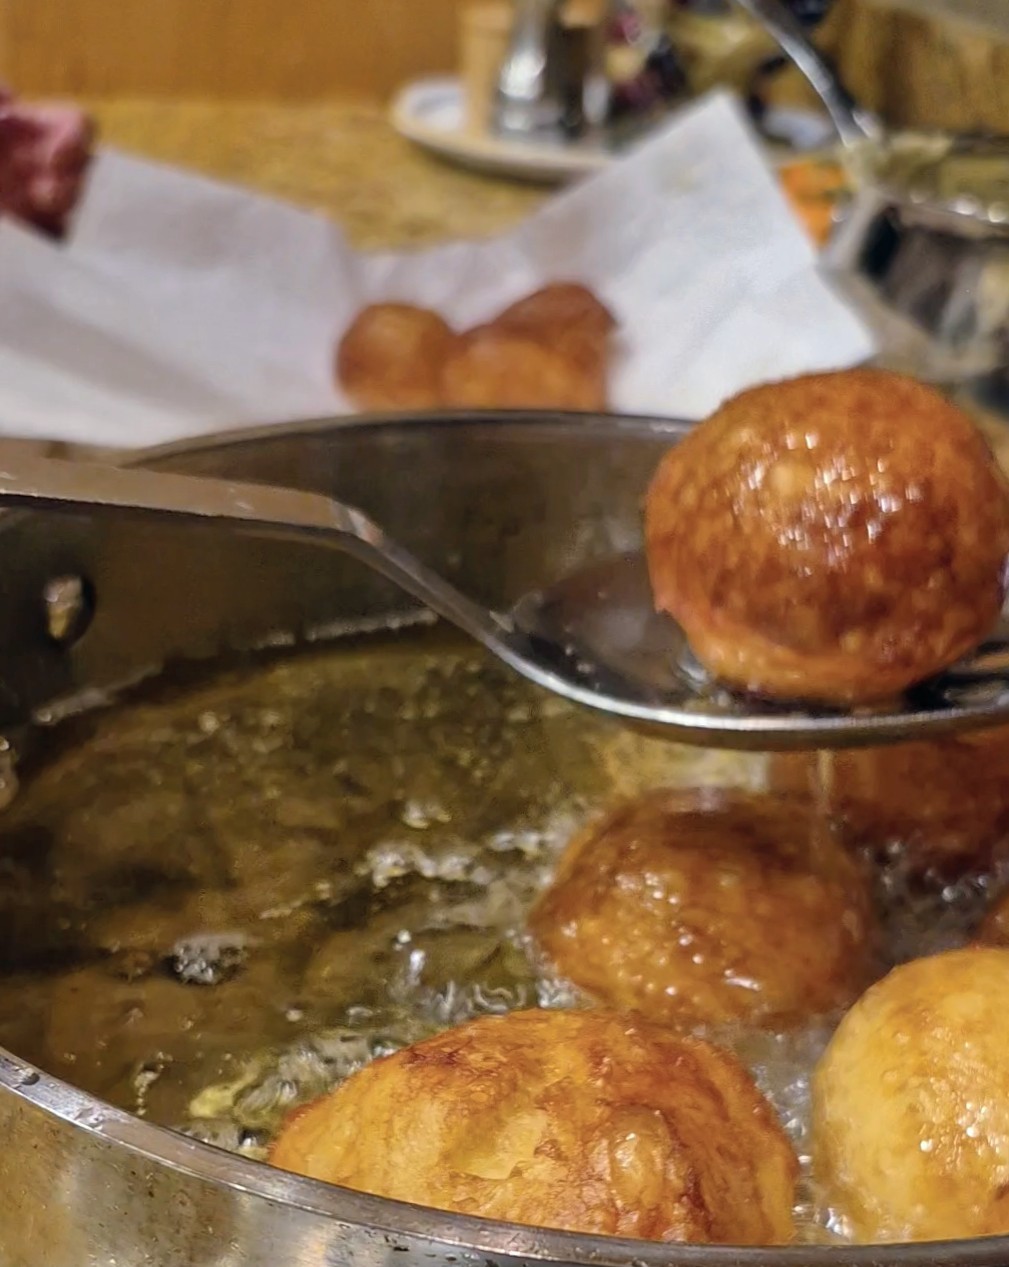
4. Fry
Heat oil to 350°F (175°C).
Fry pastries in batches, turning once, until golden brown — about 1–2 minutes per side.
Transfer to paper towels to drain.
5. Finish
Dust generously with powdered sugar while still warm.