Prosciutto-Wrapped Chicken Fingers with Hot Honey
Prosciutto-Wrapped Chicken Fingers with Hot Honey
When it comes to Italian-style appetizers, simple ingredients done right always steal the show. These prosciutto-wrapped chicken fingers with hot honey are the perfect balance of savory, salty, and just a little sweet. Lightly seasoned chicken is wrapped in prosciutto, pan-seared until crisp, then finished in the oven and drizzled with hot honey for an irresistible bite. Elegant enough for New Year’s Eve, yet easy enough to make any time you’re entertaining.
Things to know about this Prosciutto-Wrapped Chicken Fingers with Hot Honey recipe
-
Prosciutto does the work: Its saltiness adds flavor and helps keep the chicken juicy.
-
Pan-sear first: This step crisps the prosciutto and adds depth before finishing in the oven.
-
Drain excess fat: If needed, blot lightly before baking so the prosciutto stays crisp.
-
Hot honey at the end: Drizzle just before serving to keep the coating glossy and fresh.
-
Perfect for parties: Skewers or toothpicks make these easy, mess-free appetizers.
-
If you love easy Italian-inspired appetizers, be sure to explore more crowd-pleasing recipes on the blog. From savory Italian sausage rolls to vegetarian stuffed mushrooms and elegant puff pastry twists, you’ll find simple, flavorful ideas perfect for entertaining, holidays, or casual gatherings any time of year.
Prosciutto-Wrapped Chicken Fingers with Hot Honey
Prep Time
10 minutes
Cook Time
15–18 minutes
Ingredients
-
1 lb boneless, skinless chicken breasts, cut into finger-size strips
- 3 Tbsp olive oil
-
2 tsp garlic powder
-
2 tsp Italian seasoning
- salt and pepper to taste
-
8–10 thin slices prosciutto, cut in half lengthwise if needed
-
1–2 tbsp olive oil or cooking spray
-
2–3 tbsp hot honey, for drizzling
-
Instructions
-
Season the chicken
Place the chicken strips in a bowl. Season with salt, black pepper, garlic powder, and Italian seasoning. -
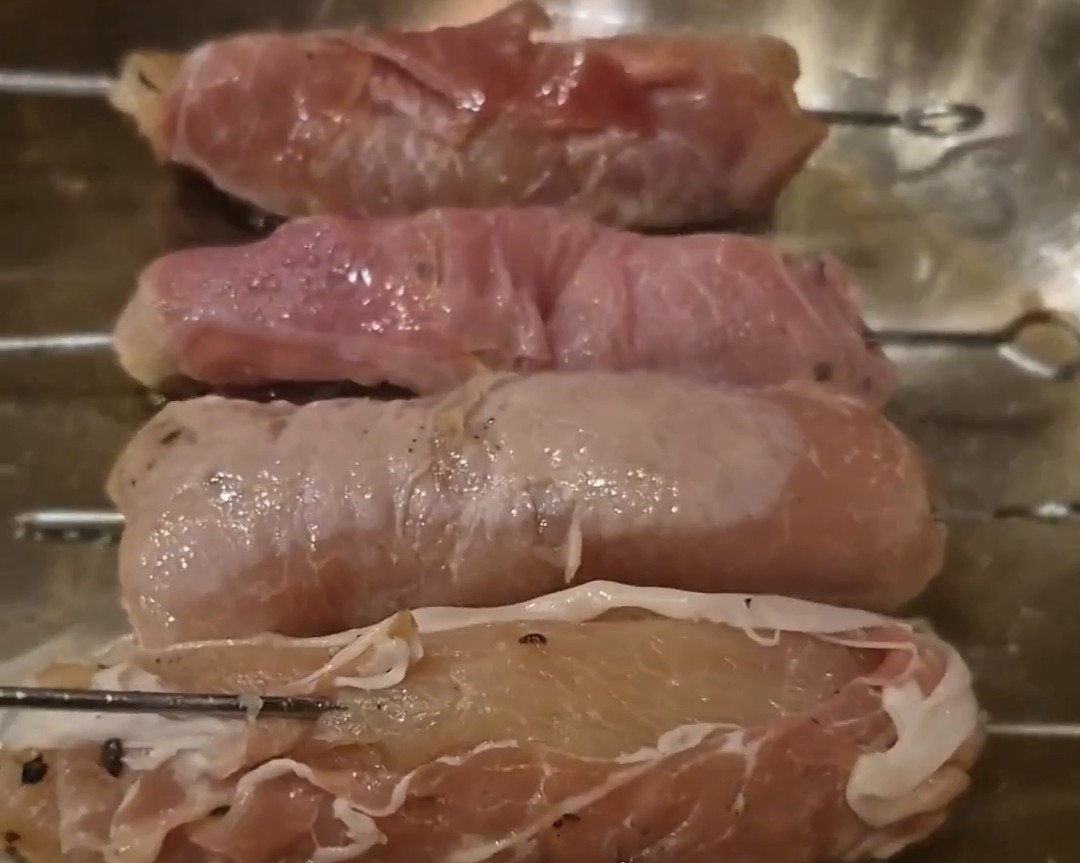
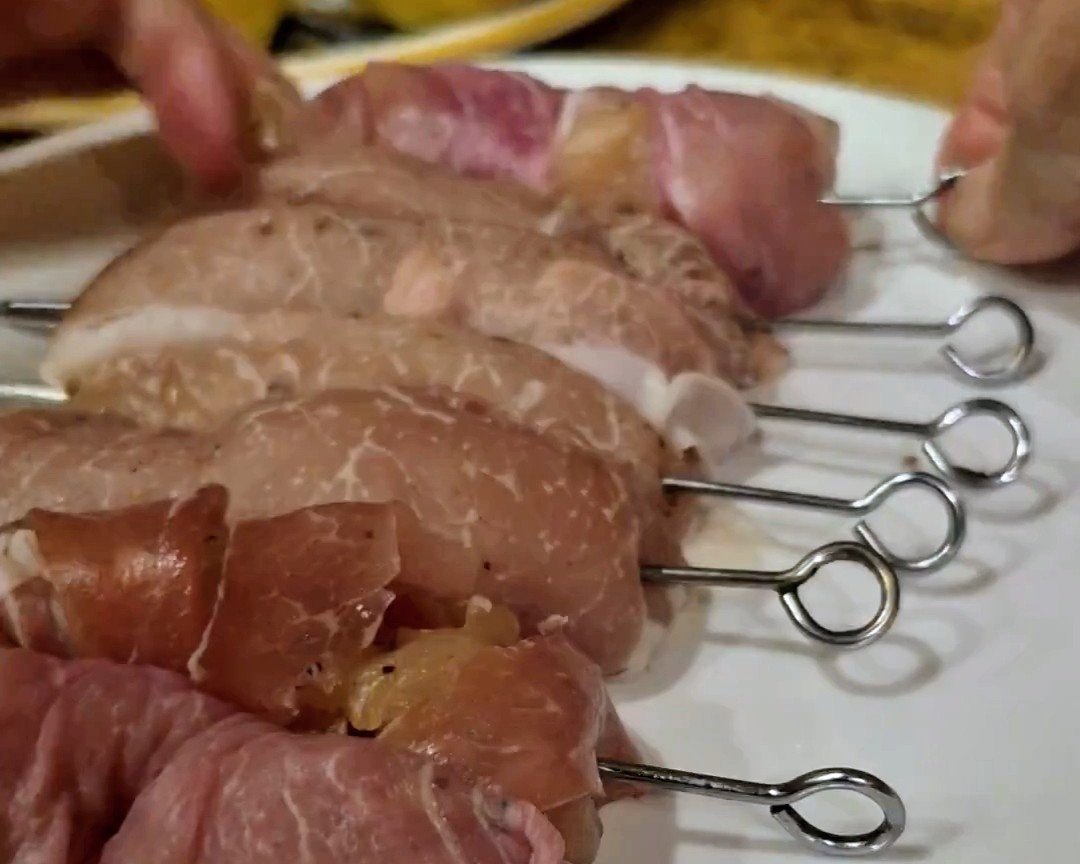
Wrap with prosciutto
Wrap each chicken strip tightly with prosciutto. Thread onto skewers if desired. -
Pan-fry
Heat olive oil or in a large oven proof skillet over medium heat. Cook the chicken, turning, until the prosciutto is lightly crisped, about 5–6 minutes. -
Finish in the oven
Transfer to a pre heated 375°F until cooked through, 8–10 minutes. -
Drizzle & serve
Drizzle with hot honey just before serving and serve warm.