Authentic Italian Stuffed Tomatoes with Rice and Potatoes (Roman Recipe)
Authentic Italian Stuffed Tomatoes with Rice and Potatoes (Roman Recipe)
This post may contain affiliate links, that help support this blog. If you make a purchase through these links, I may earn a commission—at no cost to you. For more information read my disclosure policy.
This dish goes back to Roman home cooking, where simplicity wasn’t a trend—it was survival and tradition. Pomodori Ripieni di Riso (stuffed tomatoes with rice) became especially popular in and around Rome and Lazio as a way to stretch seasonal summer produce into a full, satisfying meal.
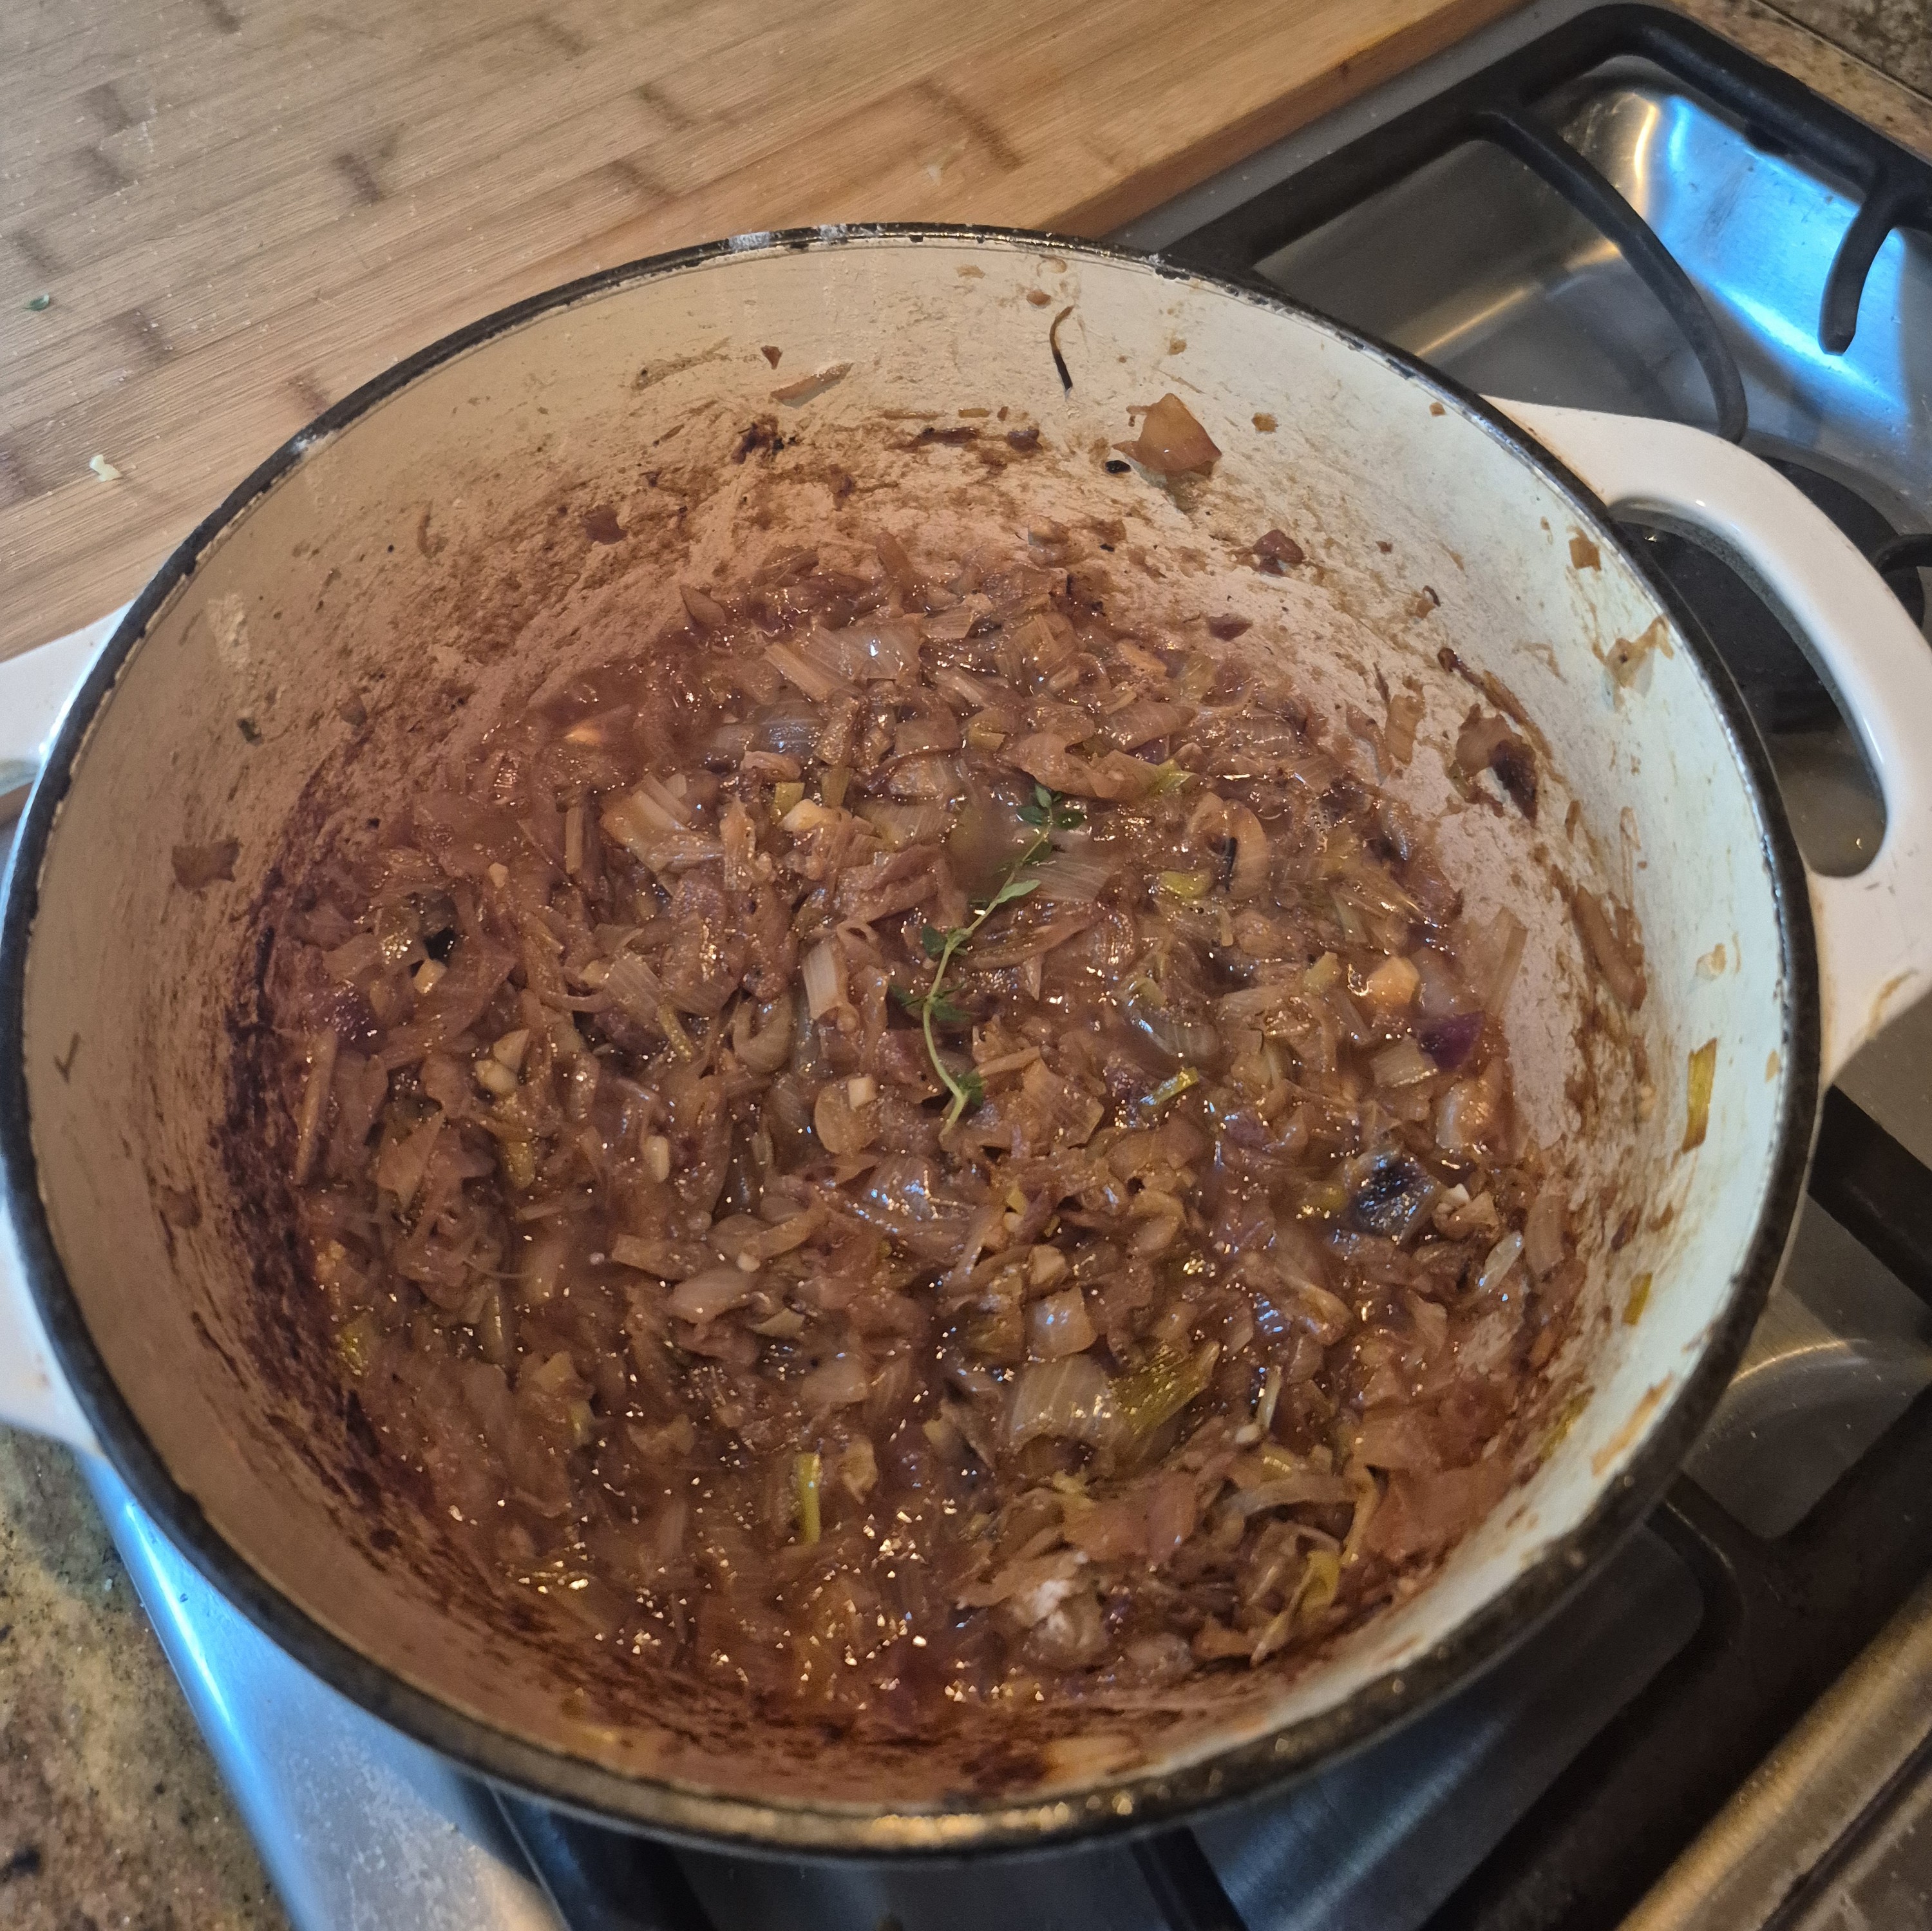
Farmers and home cooks would hollow out ripe tomatoes at peak season, using every bit of the fruit—juice, pulp, and all—to season uncooked rice. As it baked slowly in the oven, the rice absorbed the tomato’s natural sweetness while olive oil, garlic, and basil built layers of flavor. Nothing was wasted, and nothing was complicated.
The addition of potatoes baked underneath is a classic Roman touch. They act almost like a built-in side dish, soaking up the tomato juices as everything roasts together into one unified pan.
What you get is a dish that feels humble but deeply intentional—rooted in old-world Italian cooking where seasonal ingredients and patience did all the work.
Things to know about this Authentic Italian Stuffed Tomatoes with Rice and Potatoes (Roman Recipe)
What to Look For
- Rice fully cooked and fluffy inside
- Tomatoes slightly wrinkled and jammy
- Potatoes deeply golden and infused with tomato juices
-
How to Serve
- Best at room temperature (this is very Italian)
- Drizzle with a little fresh olive oil before serving
- Spoon those potatoes right alongside—don’t leave them behind
-
Pro Tips
- Don’t skip the resting time for the rice
- Use ripe but sturdy tomatoes so they hold their shape
- If the pan looks dry halfway through, add a splash of water or more olive oil
- Let them sit 10–15 minutes before serving so everything settles
-
Storage
-
Fridge: up to 3 days
-
Reheat gently or enjoy cold/room temp
-
Flavor actually gets better the next day
- If you loved these authentic Roman stuffed tomatoes, you’ll want to explore more simple Italian dishes that let seasonal ingredients shine.
-
- My Authentic Tomato Bolognese Sauce for another classic, slow-simmered staple
- Italian Roasted Potatoes for the perfect crispy side dish
- Caponata (Sicilian Eggplant Relish) if you love bold Mediterranean flavors
- Lemon Loaf cake for something bright and sweet to finish
If you make this recipe, leave a comment and let me know how it turned out—or tag me so I can see your version straight from the oven 🍅
Authentic Italian Stuffed Tomatoes with Rice and Potatoes (Roman Recipe)

Authentic Italian stuffed tomatoes filled with rice, garlic, and basil, roasted with potatoes until tender and flavorful—just like in Rome.
- 6 medium tomatoes (firm)
- 1 cup uncooked short grain rice (Arborio )
- 2 cloves garlic (minced)
- 1/3 cup basil (torn)
- 3 Tbsp olive oil
- 2-3 medium potatoes (cut into medium dice)
- salt and pepper to taste
-
Prep the Tomatoes
Cut the tops off and set aside. Scoop out the pulp and juices into a bowl.Salt the inside of each tomato and place them upside down for about 20 minutes to drain.
-
Make the Rice Filling
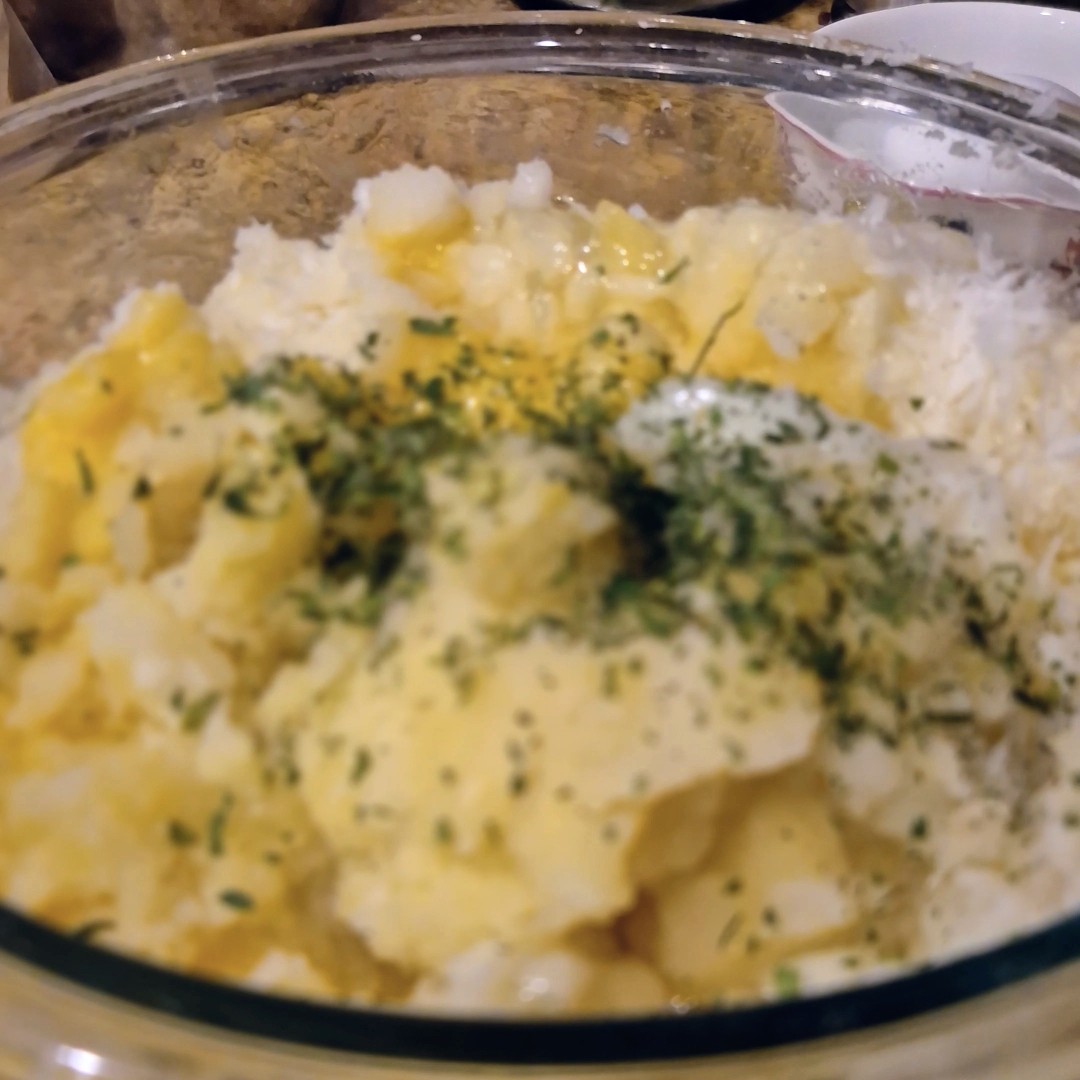
Crush or blend the tomato pulp until slightly smooth. Add:
Mix and let it sit for at least 15 minutes.👉 This step is key—the rice absorbs all that tomato flavor before baking
-
Prep the Potatoes
Slice the potatoes thin or into medium dice Toss with:
Spread them in the bottom of your baking dish.
-
Stuff & Assemble
Fill the tomatoes with the rice mixture (don’t pack tightly).Place them directly on top of the potatoes .Add the tomato tops back on and drizzle everything with a little more olive oil.
-
Roast
Bake at 375°F (190°C) for 50–60 minutes, until:
the rice is tender the tomatoes are soft and slightly caramelizedthe potatoes are golden and crispy on the edges


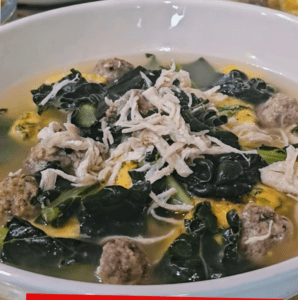
 Tender meatballs, leafy greens, and delicate pasta simmered in rich chicken broth — a true Italian classic.
 A Northern Italian favorite featuring cheese-filled tortellini served in hot, savory broth.
 A rustic, comforting soup made with beans, pasta, and a flavorful tomato base — just like Nonna used to make.
 Traditionally served on New Year’s Eve for good luck, this hearty soup is rich, savory, and deeply comforting.
 A fan favorite — cheesy tortellini, Italian sausage, and a creamy broth that comes together quickly.
 A restaurant-style classic — silky smooth with crispy pancetta for added depth and flavor.
 Earthy mushrooms, herbs, and a rich broth make this vegetarian soup incredibly satisfying.