Healthy Italian Recipes to Start the New Year Right
Healthy Italian Recipes to Start the New Year Right
The New Year always brings a renewed focus on feeling good—without giving up the foods we love. In Italian cooking, that balance has always existed. It’s about fresh ingredients, simple preparations, and letting real food shine.
This year, instead of extremes, I’m leaning into healthy Italian recipes that feel nourishing, comforting, and realistic. Dishes built on vegetables, legumes, seafood, olive oil, and simple proteins—the way Italians have cooked for generations.
If you’re looking to reset after the holidays while still enjoying flavorful, satisfying meals, these recipes are the perfect place to start.
What “Healthy Italian” Really Means
In my kitchen, healthy doesn’t mean bland or boring. It means:
-
Fresh, seasonal ingredients
-
Olive oil instead of heavy sauces
-
Beans, vegetables, seafood, and lean proteins
-
Recipes that leave you satisfied—not deprived
These dishes are proof that Italian food can be both comforting and nourishing.
Fresh & Light Starters
Perfect for lighter meals, lunch, or beginning a balanced dinner.
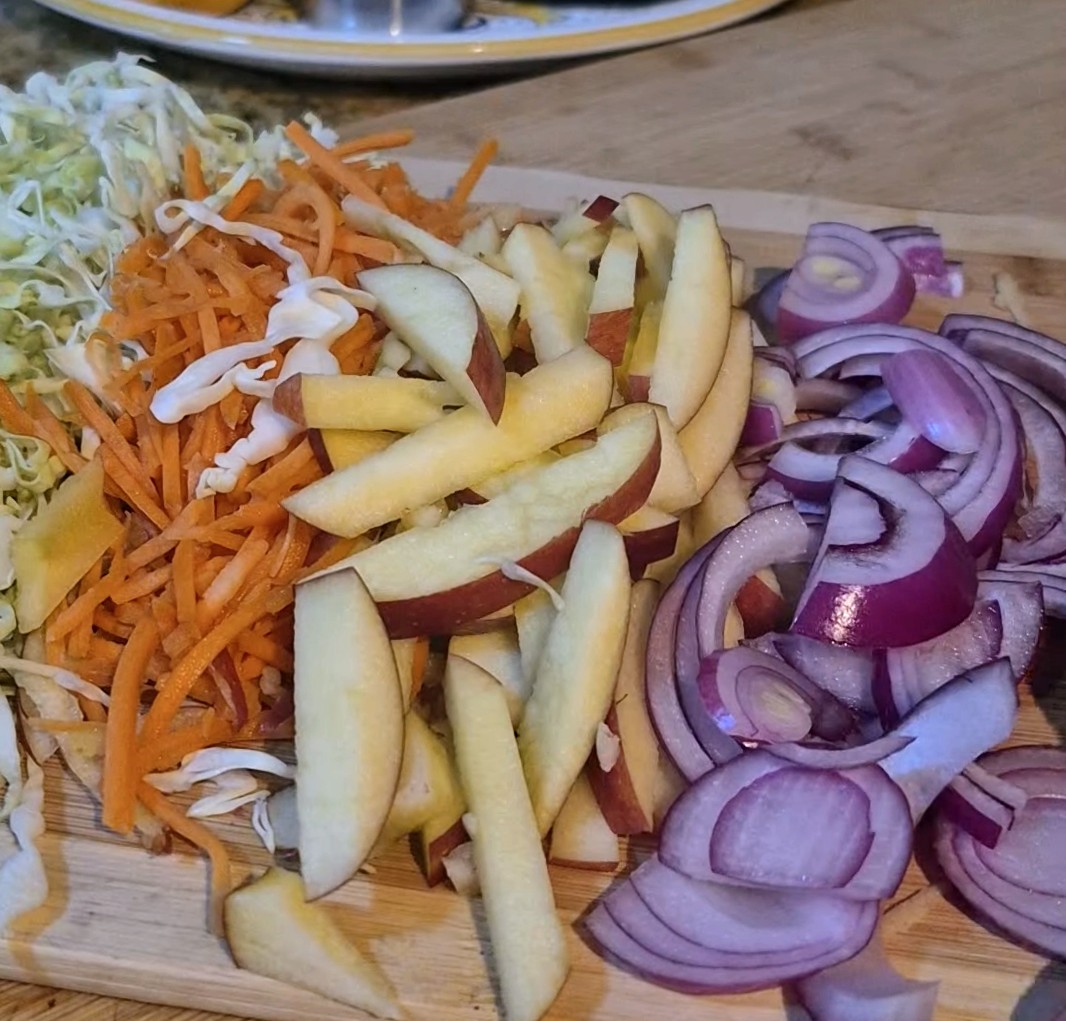
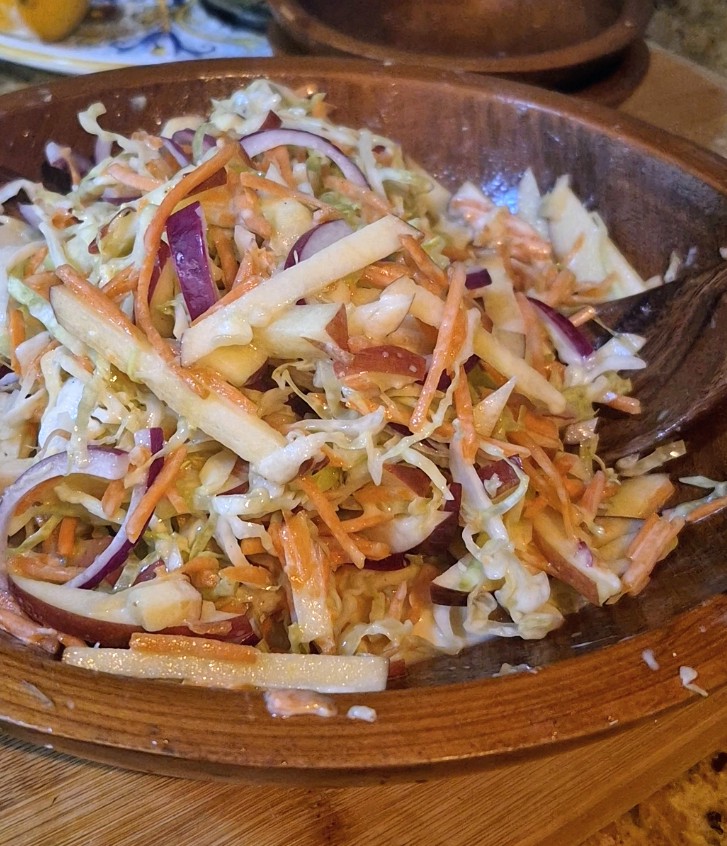
Rustic Italian Roasted pepper salad
 Bright, refreshing, and naturally light, this classic salad is packed with citrus, crunch, and flavor.
👉 Get the full recipe here Rustic Italian roasted pepper salad
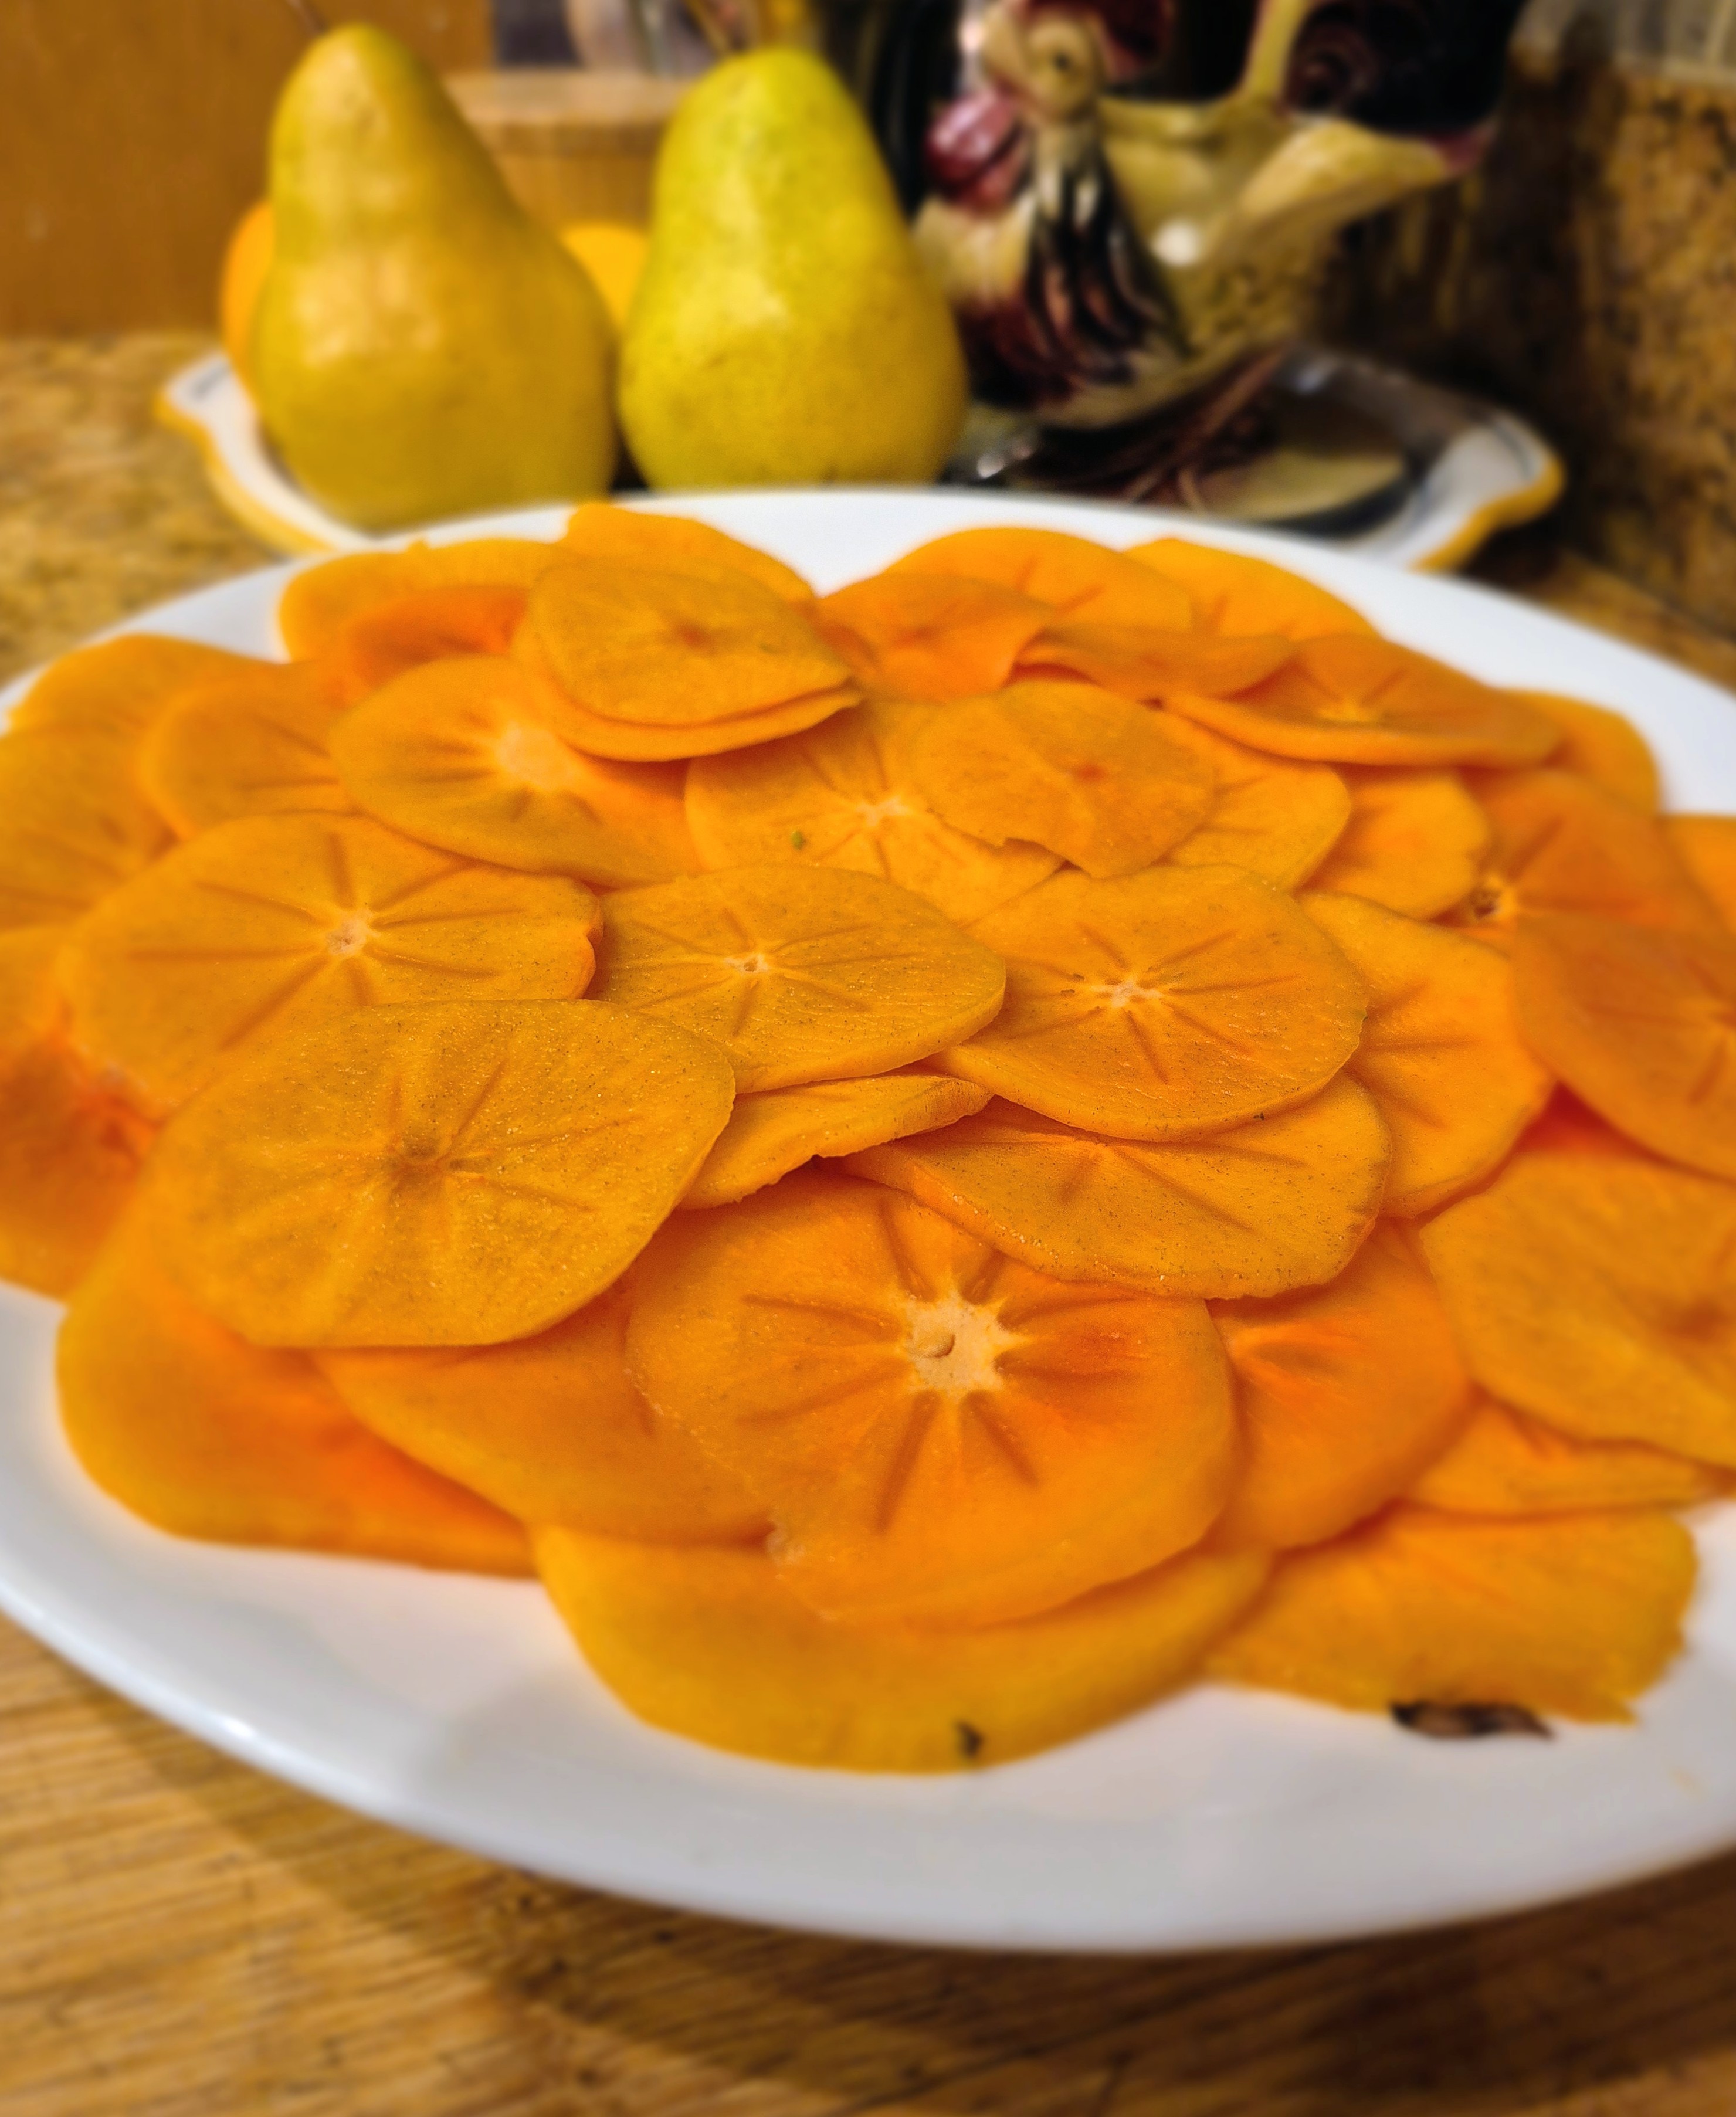
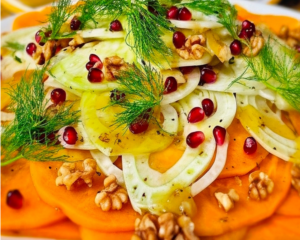
Winter Persimmon Walnut Salad 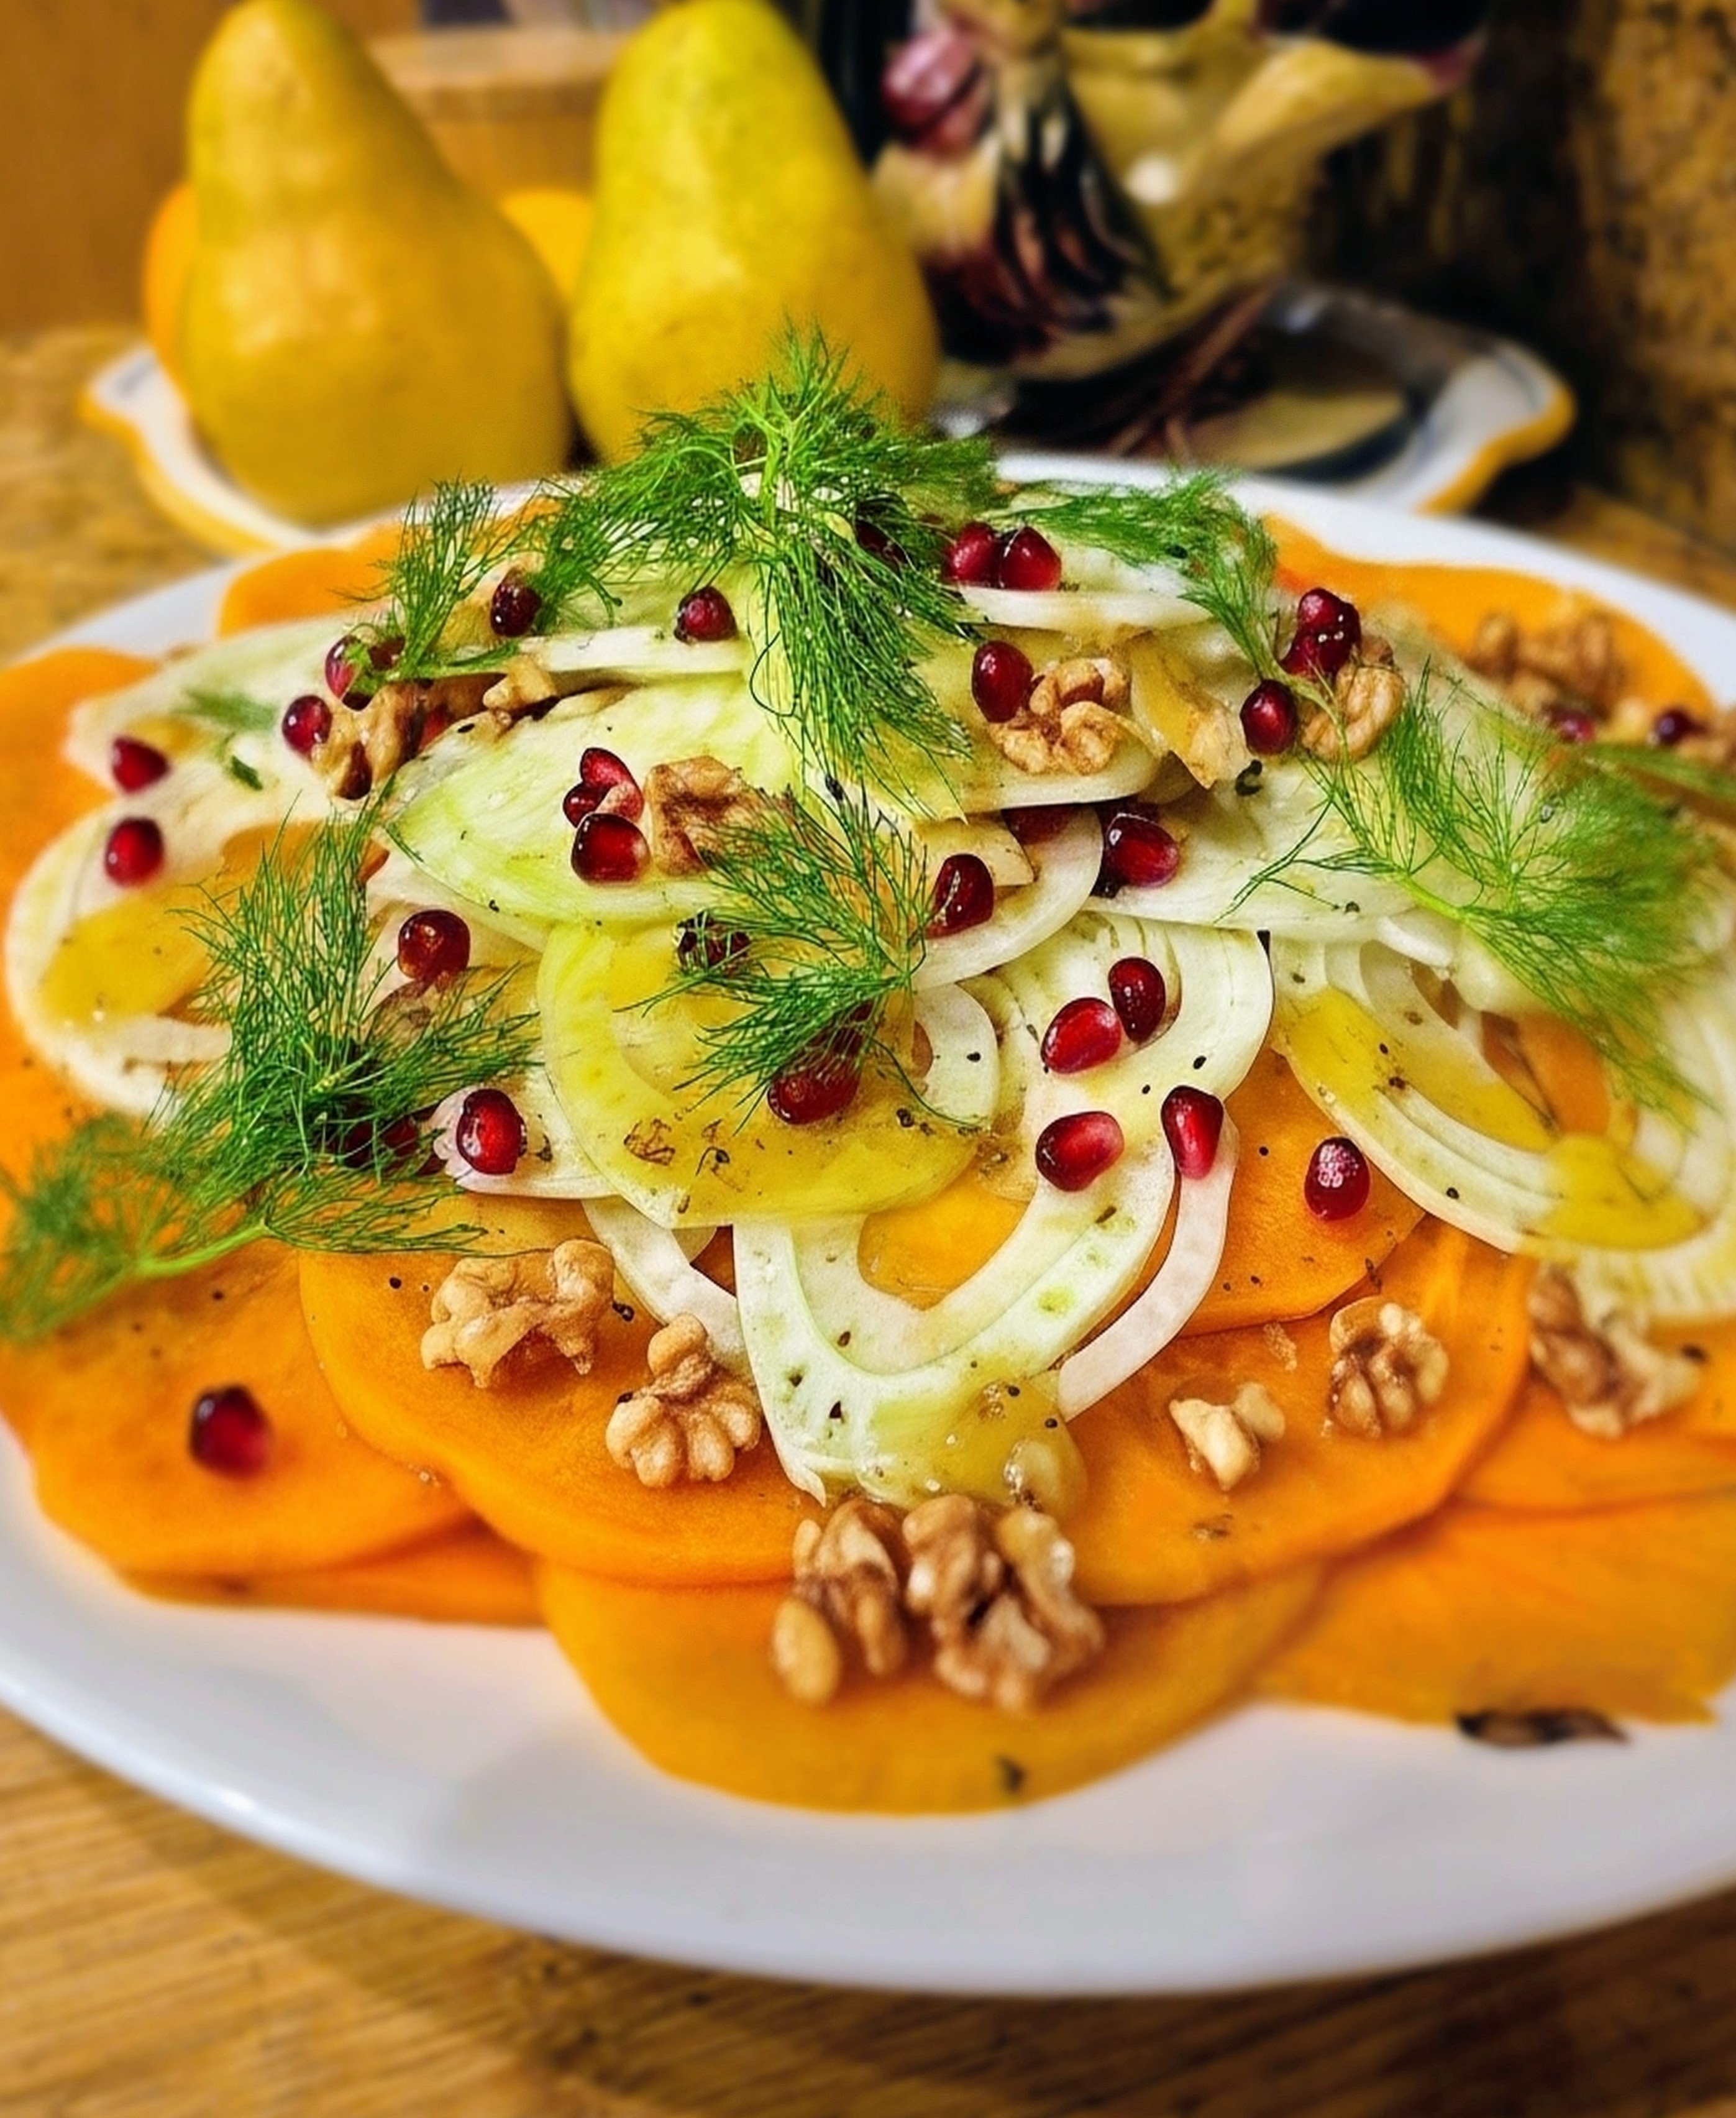
![]()
![]()
![]() A beautiful balance of sweetness, crunch, and freshness—perfect during the colder months.
A beautiful balance of sweetness, crunch, and freshness—perfect during the colder months.
👉 ![]() Get the full recipe here Winter Persimmon Walnut Salad
Get the full recipe here Winter Persimmon Walnut Salad
Italian Escarole and Beans
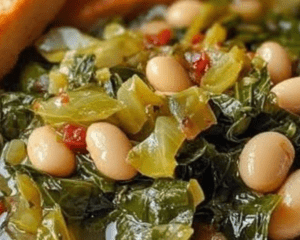 Simple, rustic, and protein-rich, this is a classic Italian dish that proves healthy food can still be deeply comforting.
👉 Get the full recipe here Italian Escarole and Beans
Nourishing Soups
Soups are one of the easiest ways to eat well without sacrificing flavor.
Italian Wedding Soup
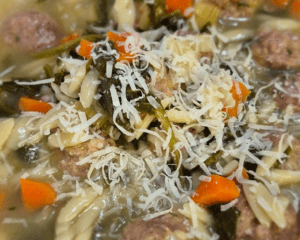 Light broth, greens, and tender meatballs come together for a soup that’s filling yet balanced.
👉 Get the full recipe here Italian Wedding Soup
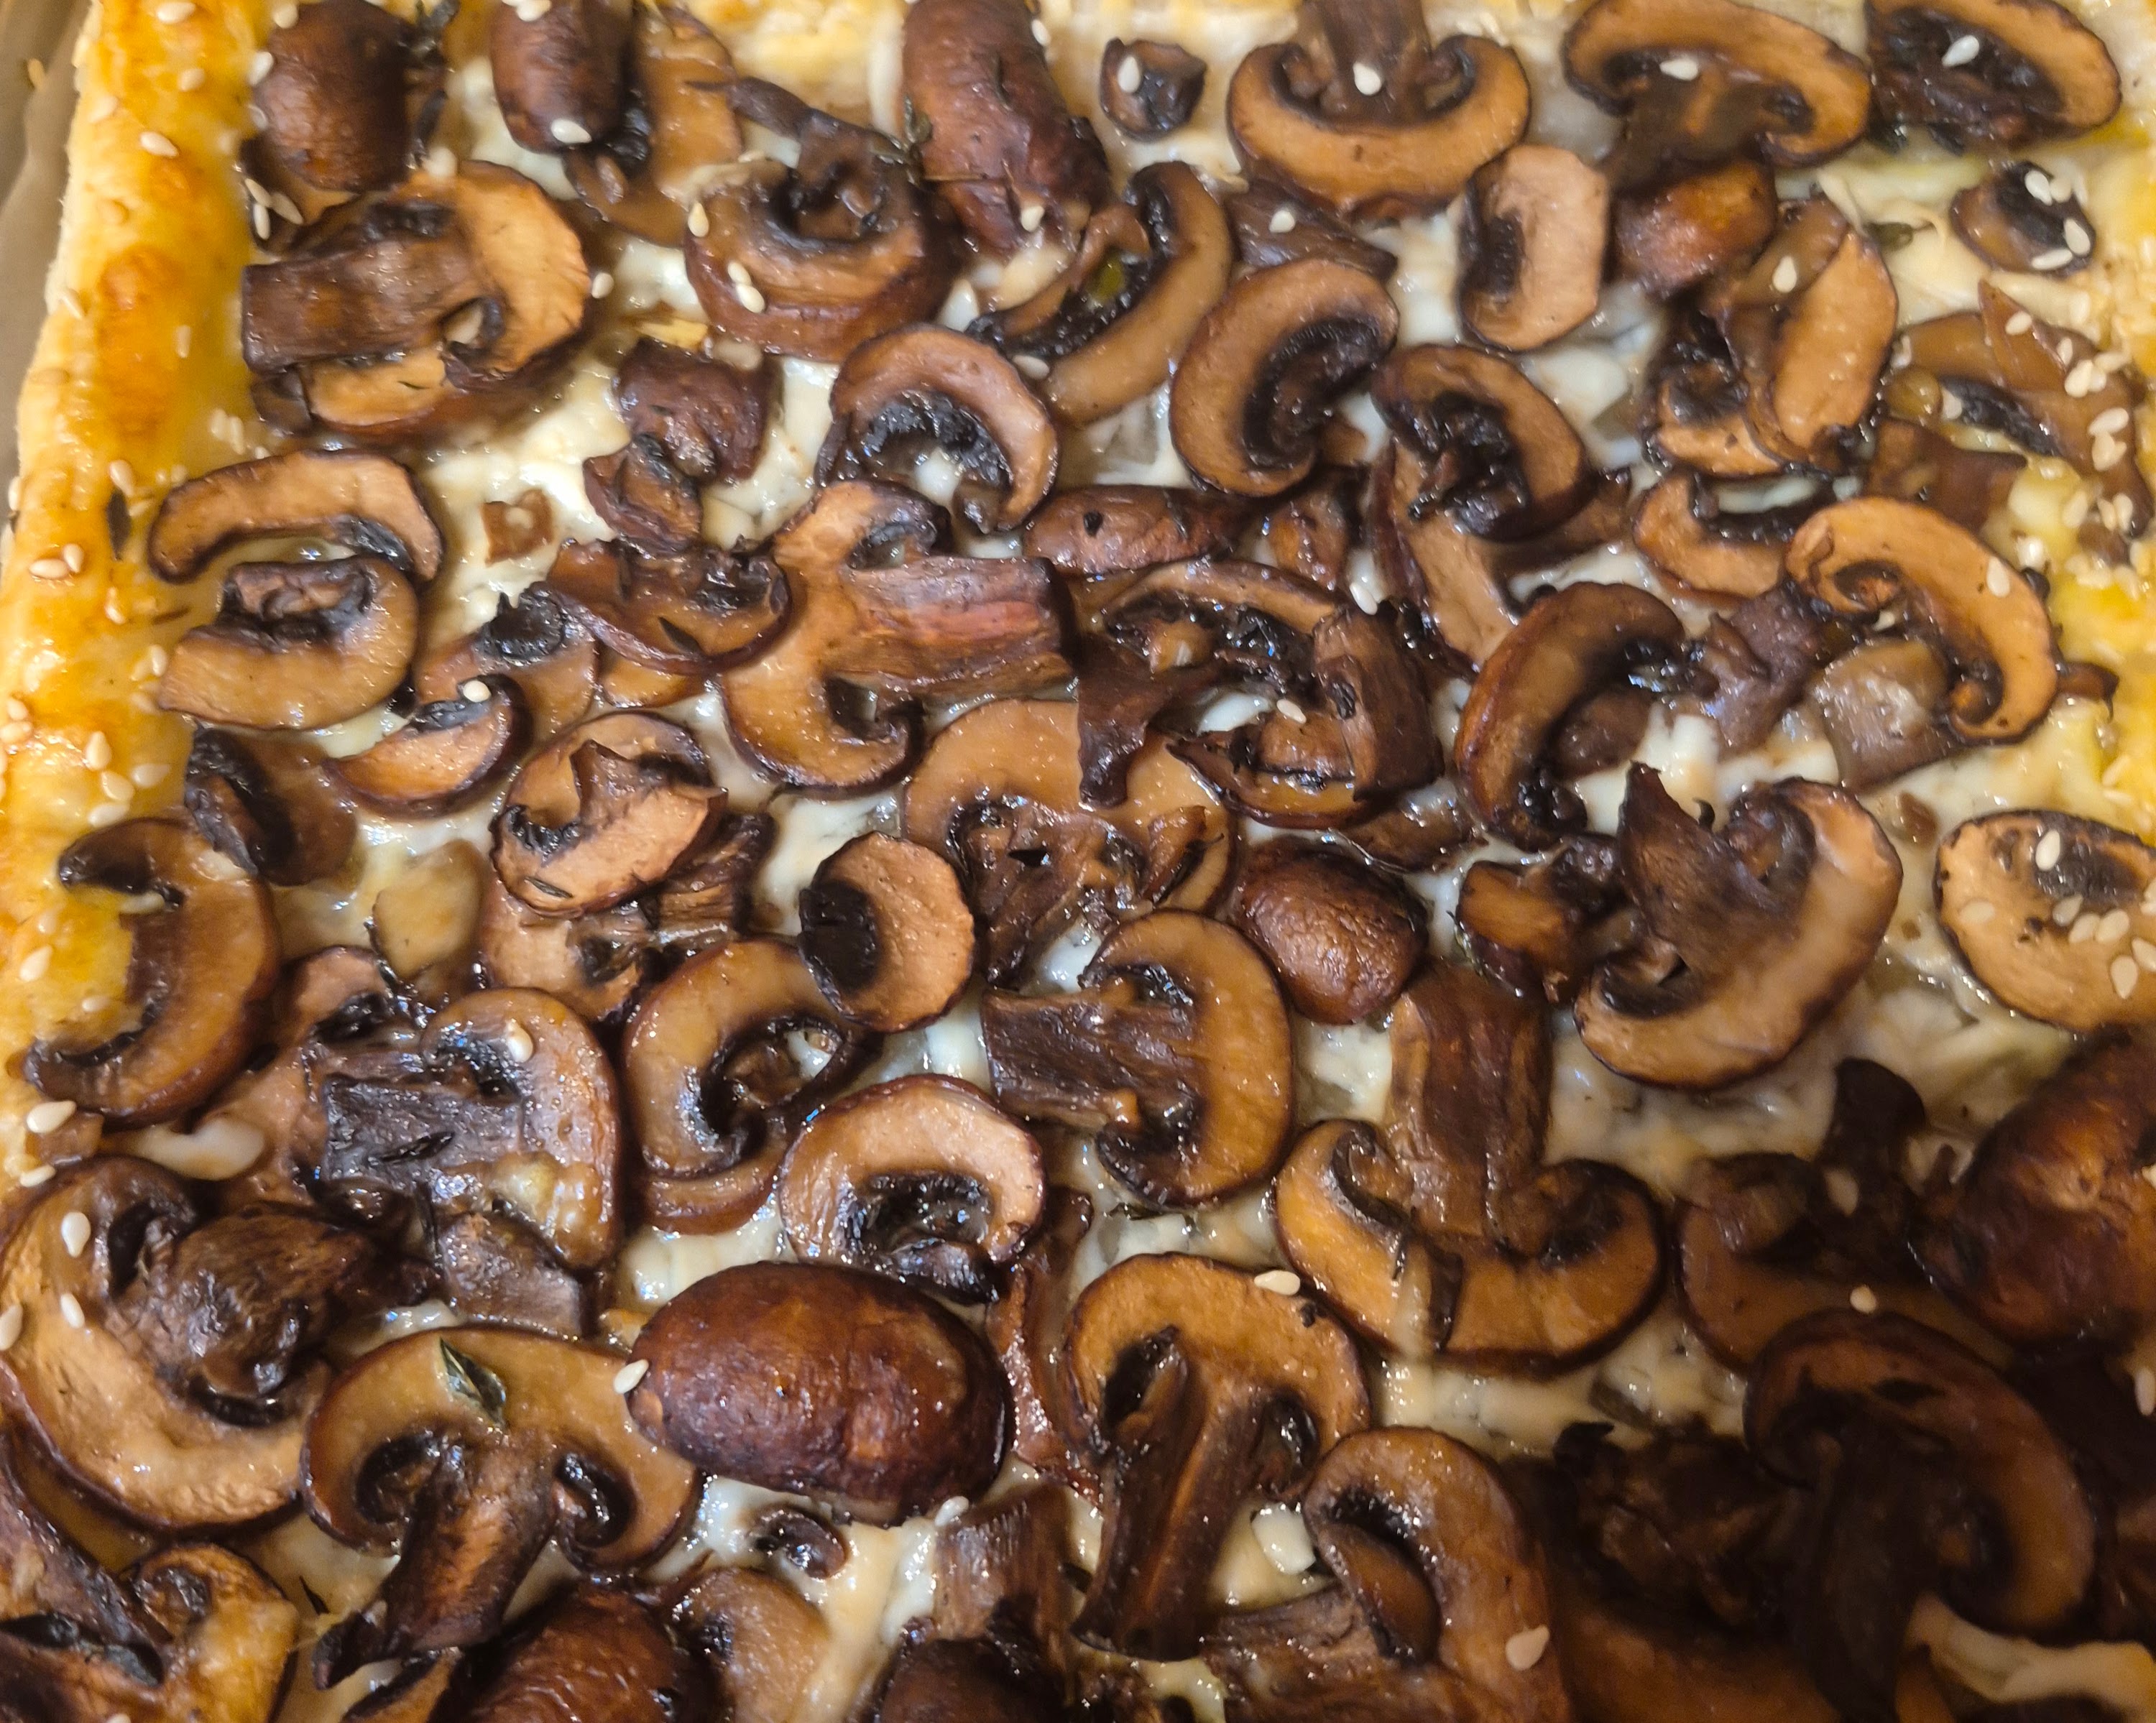
Vegetarian Italian Mushroom Soup
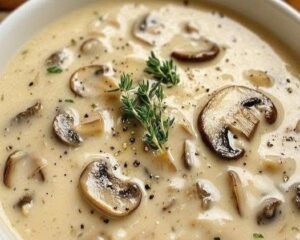 Earthy, satisfying, and naturally wholesome—perfect for a light lunch or dinner.
👉 Get the full recipe here Vegetarian Italian Mushroom Soup
Tortellini in chicken Brodo
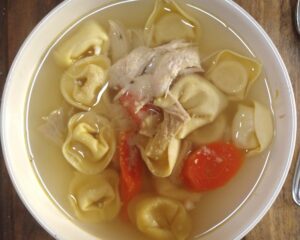 A timeless Italian classic that relies on good broth and simple ingredients rather than heavy additions.
👉 Get the full recipe here Tortellini in chicken Brodo
Balanced Pasta & Mains
Italian food has always been about moderation—these dishes are flavorful without being heavy.
Shrimp Oreganata

![]() Baked shrimp with breadcrumbs, garlic, and lemon—light, protein-rich, and full of flavor.
Baked shrimp with breadcrumbs, garlic, and lemon—light, protein-rich, and full of flavor.
👉 Get the full recipe here Shrimp Oreganata
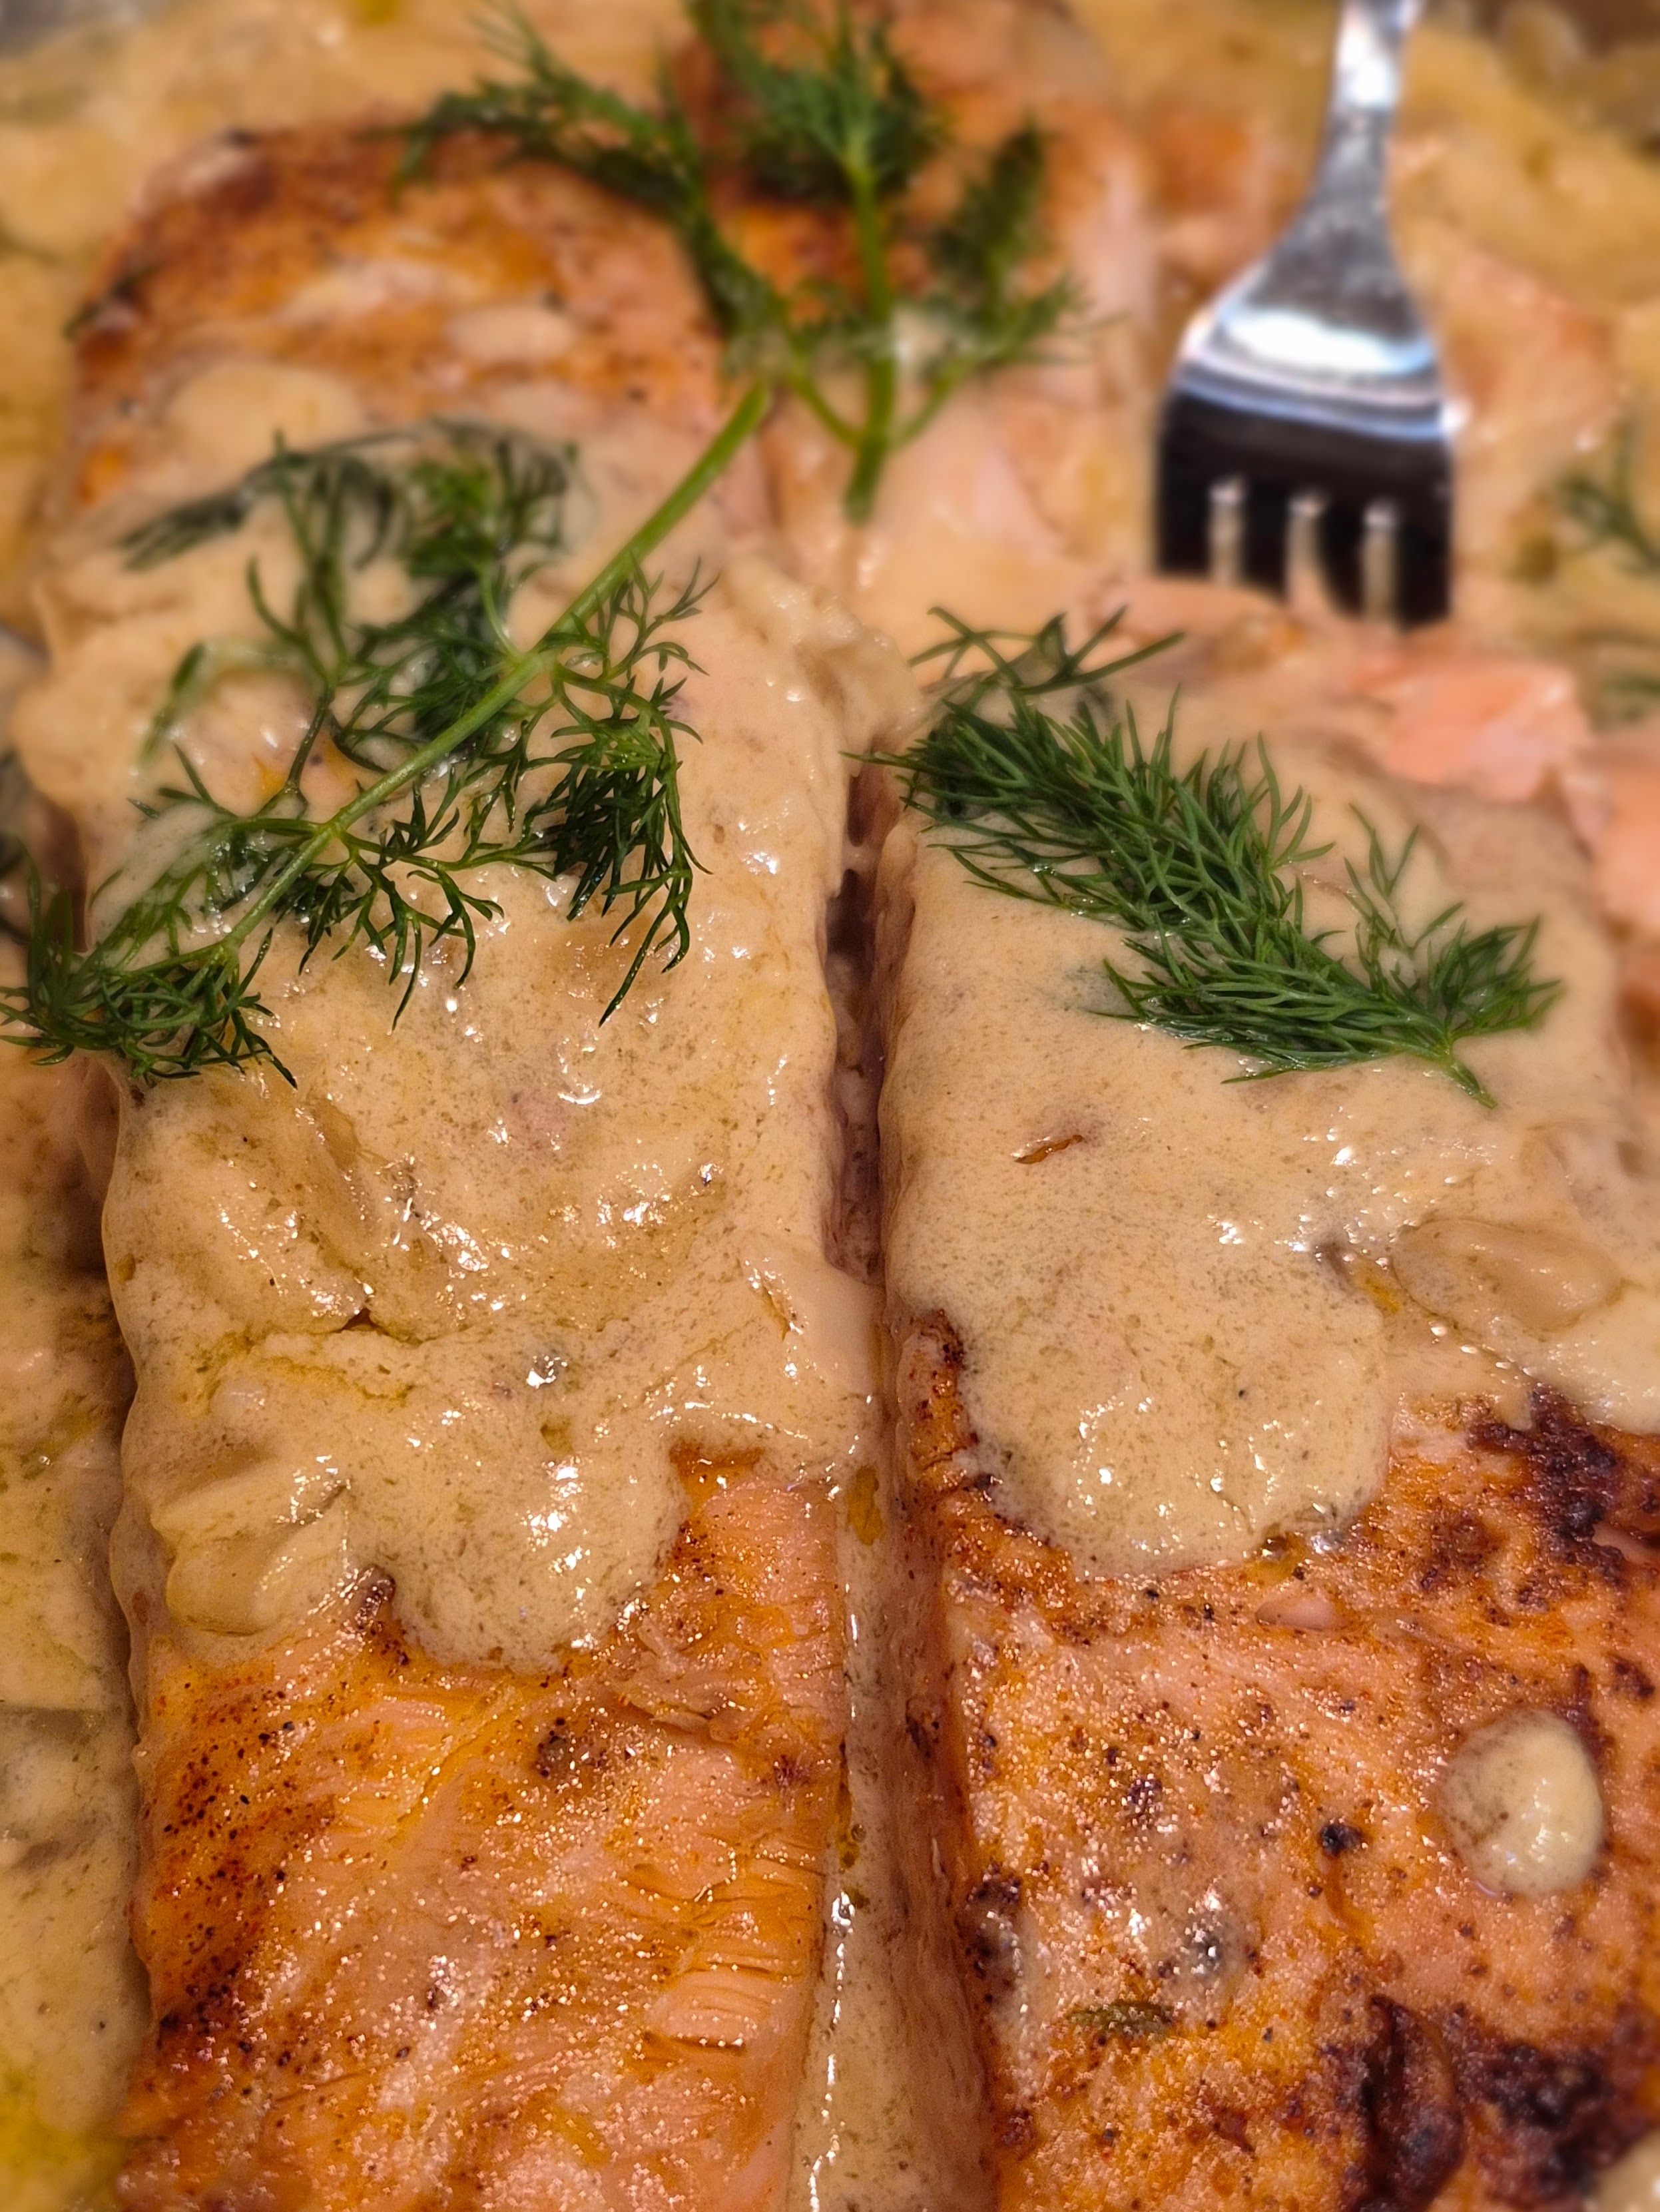
Tomato piccata Alaskan cod
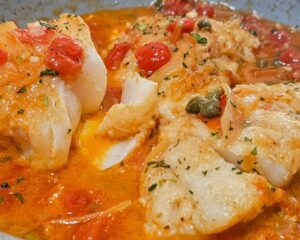 A fresh, tomato piccata- dish that feels indulgent while staying light and elegant.
👉 Get the full recipe here Tomato piccata Alaskan cod
Italian Stuffed Eggplant Bolognese
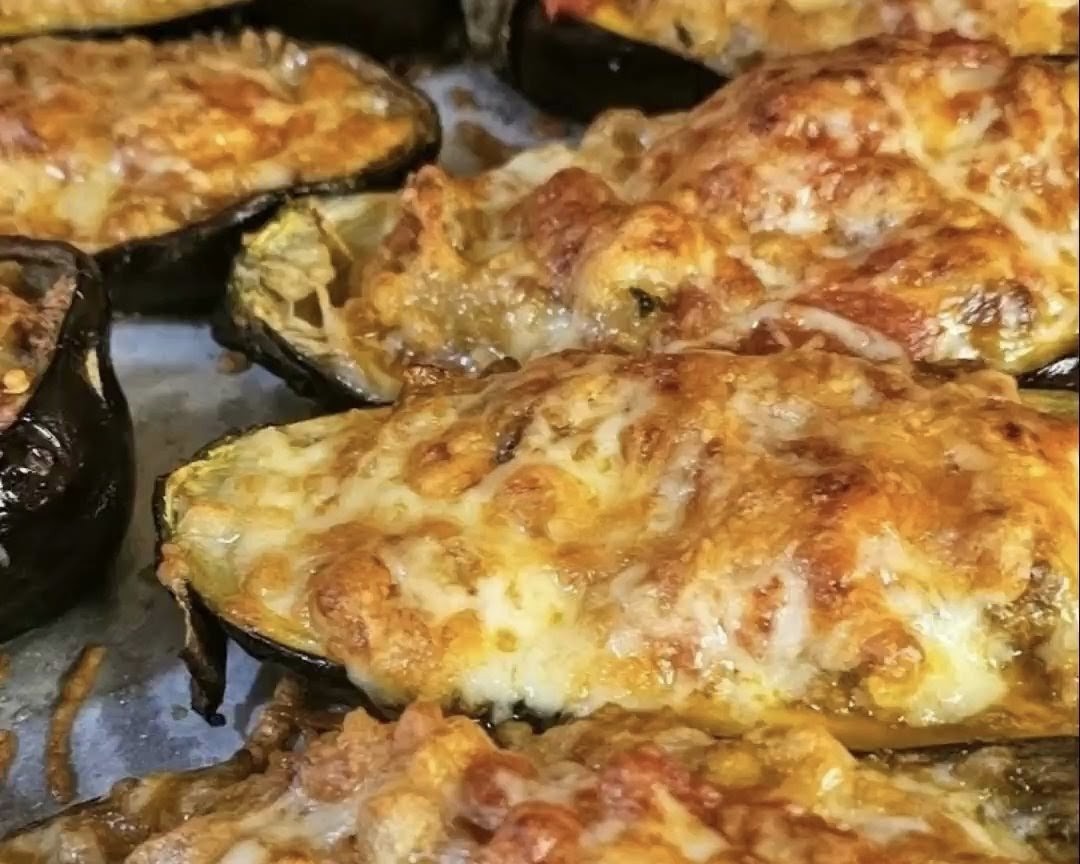 A perfect example of balance—vegetables, protein, and just enough richness to satisfy.
👉 Get the full recipe here Italian baked stuffed Eggplant Bolognese
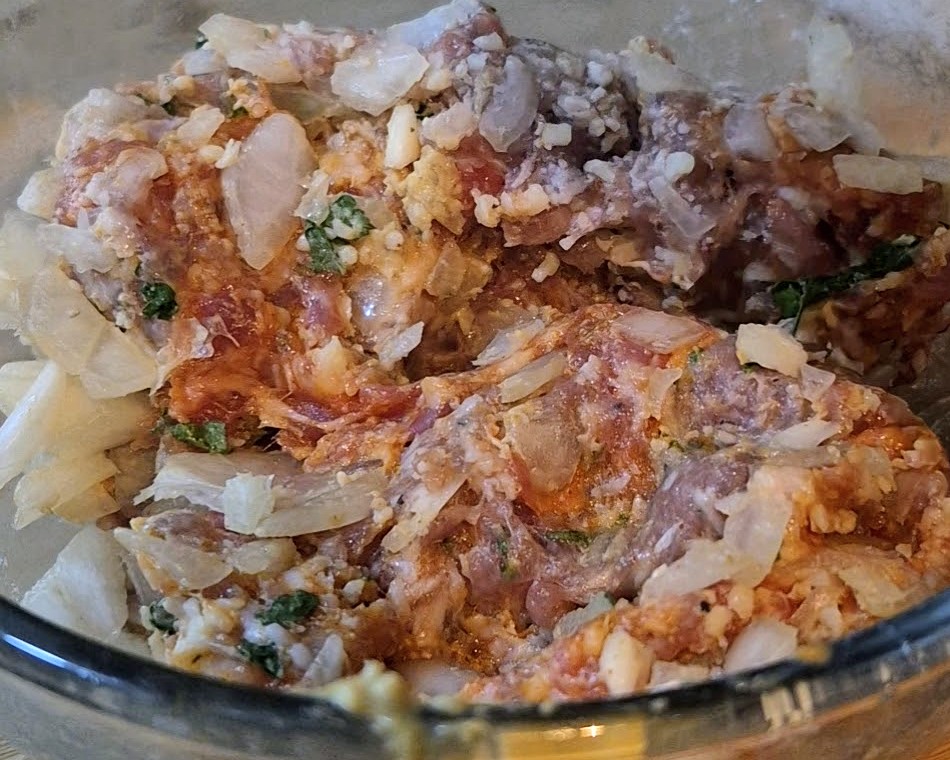
Pasta with Lentils and Italian Sausage
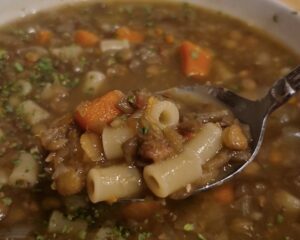 A balanced pasta dish rooted in tradition, combining lentils, a modest amount of sausage, and pantry staples for a hearty but nourishing meal.
👉 Get the full recipe here Pasta with Lentils and Italian Sausage
Italian-Style Roast Chicken and Potatoes
 A complete meal made with simple ingredients—olive oil, herbs, and perfectly roasted chicken and potatoes. This is everyday Italian cooking at its best.
👉 Get the full recipe here Italian-Style Roast lemon Chicken and Potatoes
Naturally Sweet Endings
Dessert doesn’t have to disappear—just shift toward simpler, more traditional treats.
Italian olive oil Almond Cake
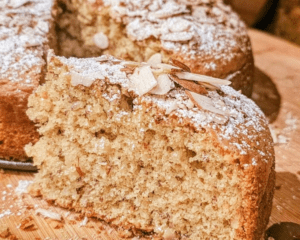 Light, not overly sweet, and perfect with coffee or espresso.
👉 Get the full recipe here Italian olive oil Almond Cake
Italian Apple Cake
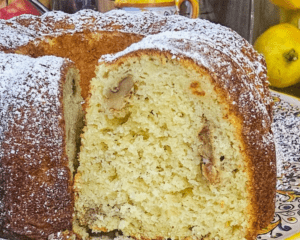 Made with fresh apples and simple ingredients, this cake is naturally moist and comforting without being heavy.
👉 Get the full recipe here Pureed apple walnut bundt Cake
Italian Amaretti Cookies
![]() A timeless cookie made without flour or butter—delicate, lightly sweet, and perfect for a small treat.
A timeless cookie made without flour or butter—delicate, lightly sweet, and perfect for a small treat.
 👉 Get the full recipe here Italian Amaretti Cookies
Baked Gorgonzola Stuffed Pears
 Sweet fruit paired with savory cheese makes a satisfying, portion-friendly dessert.
👉 Get the full recipe here Baked Gorgonzola Stuffed Pears
Starting the New Year the Italian Way
Italian cooking has never been about cutting things out—it’s about balance, quality ingredients, and enjoying food with intention. These healthy Italian recipes are the ones I turn to when I want meals that feel good, taste great, and still honor tradition.
As you move into the New Year, I hope these dishes inspire you to cook simply, eat well, and gather often. Because the healthiest meals are the ones that bring comfort, nourishment, and a little joy to the table.
✨ Let me know in the comments—which recipe will you start with?