Broiled Lobster Tails for Two – Easy Recipe
Broiled Lobster Tails for Two – Easy Recipe
Looking to make a restaurant-quality lobster dinner at home? These broiled lobster tails are simple, elegant, and full of flavor. With butter, lemon, white wine, and a silky pan sauce, this recipe is perfect for any special occasion—or just a treat-yourself night.
Even if you’ve never cooked lobster before, this method is easy to follow and yields a beautifully tender, juicy lobster tail every time. By propping the meat on top of the shell and broiling just long enough, you get a gorgeous presentation and maximum flavor with minimal effort. This is a recipe that feels fancy but doesn’t require hours in the kitchen.
Things to know about this Broiled Lobster Tails for Two – Easy Recipe
-
Lobster tails cook quickly – 6–8 minutes is usually enough for 4 oz tails; overcooking will make them tough.
-
Pan sauce tip: Let the butter and wine emulsify after broiling for a silky, rich sauce.
-
Make it fancy: Garnish with fresh herbs like parsley or chives for a beautiful presentation.
-
Scaling up: This recipe can easily be doubled or tripled for a larger dinner party.
-
Tips & Variations
-
Serve with pasta, roasted vegetables, or a simple salad.
-
Garnish with lemon wedges for extra brightness.
-
Perfect for date nights, celebrations, or a special weeknight dinner.
-
Ready to complete your seafood dinner? Try pairing this broiled lobster with:
-
creamy leeks, peas and asparagus risotto– the perfect pasta side for buttery lobster sauce
-
Italian Roasted potatoes – add color and crunch to your plate
-
Homemade classic Italian tiramisu – creamy comfort to elevate your meal
Don’t forget to save this recipe for your next special dinner night !!
-
-
Ingredients (for 2 lobster tails)
-
2 lobster tails (4 oz each)
-
3 tbsp butter
-
¼ cup white wine
- 1 lemon sliced
-
Salt, to taste
-
Black pepper, to taste
-
Paprika (optional)
Instructions
-
Preheat the broiler, rack about 6 inches from the heat.
-
Add butter, lemon slices and white wine to a broiler-safe pan.
-
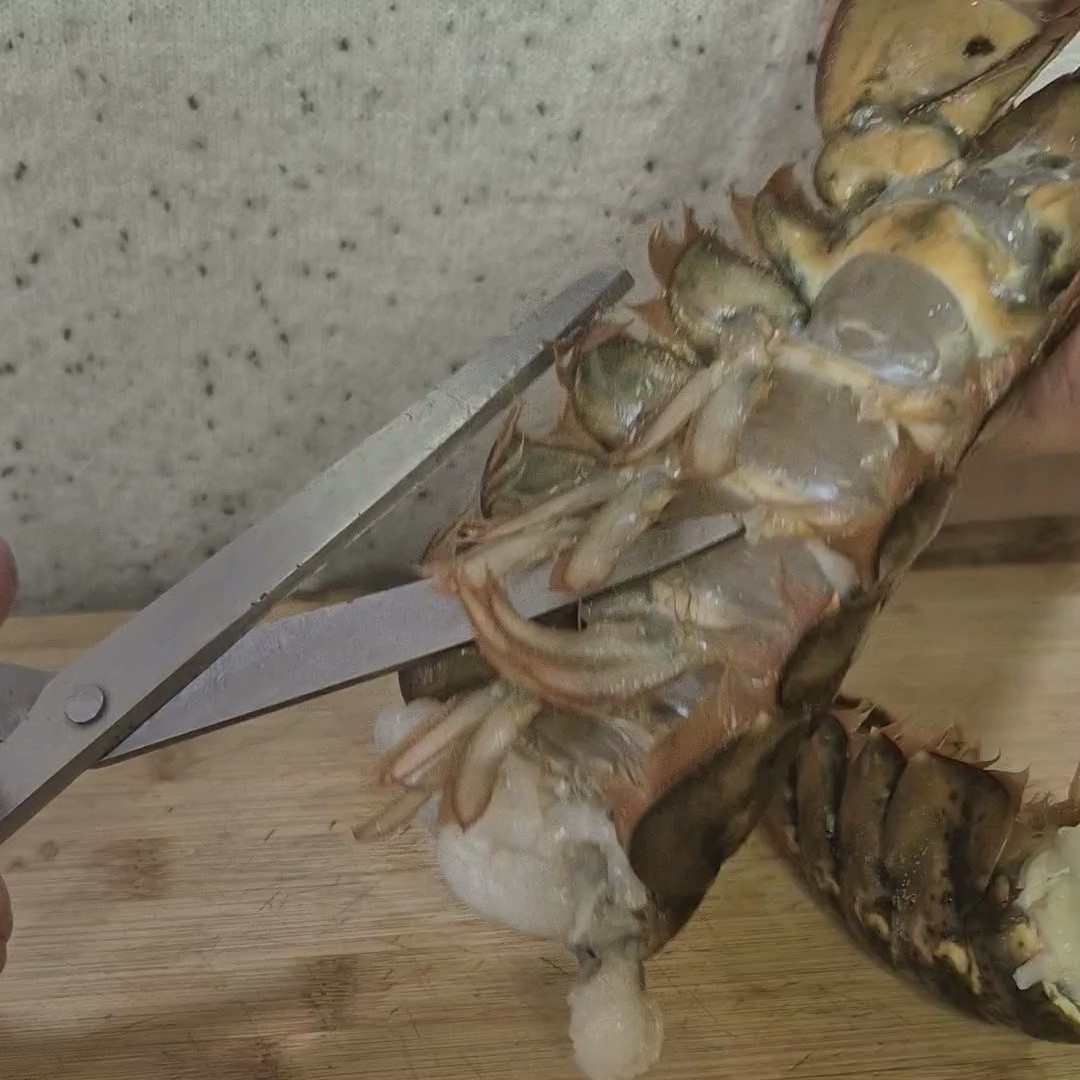
Prep the lobster tails:
-
Cut down the center of the shell with sharp kitchen shears, or knife. Cut away the legs from underneath
-
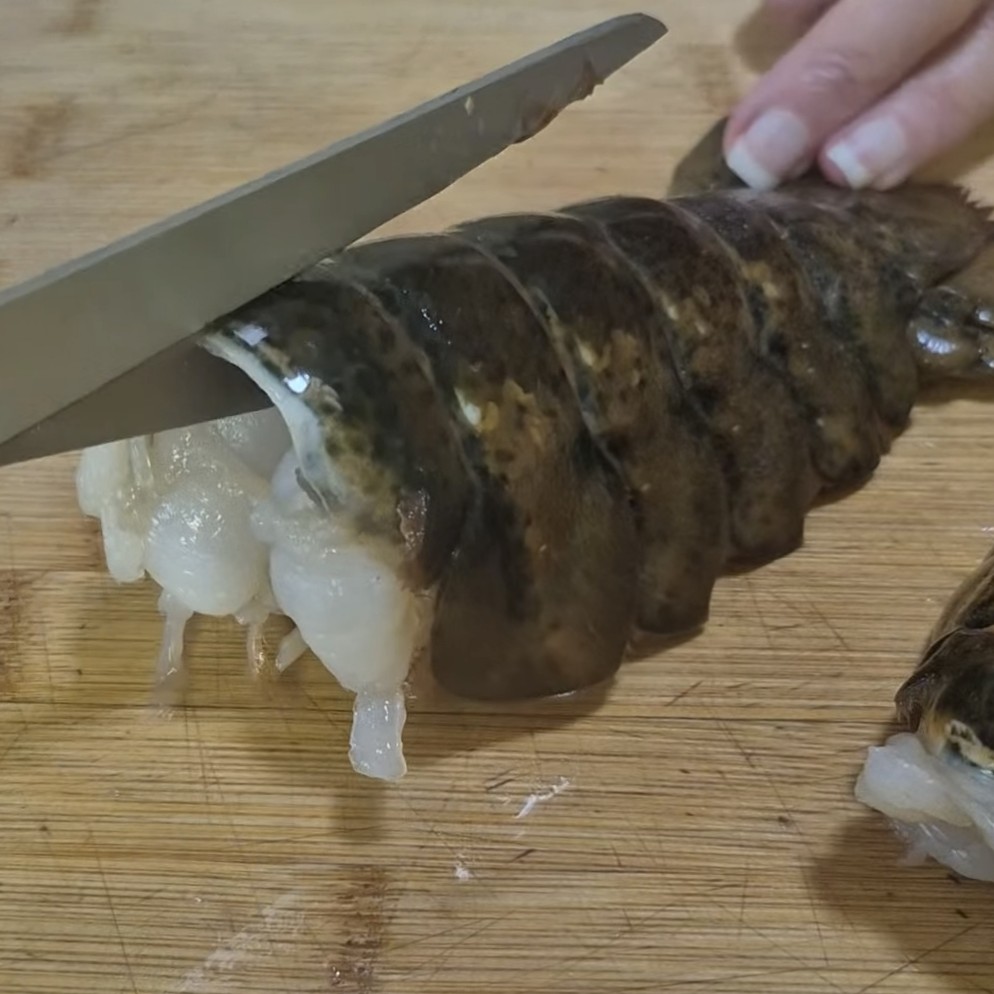
Loosen the meat away from the shell with your finger and lift it up, resting it on top of the shell to prop it up.
-
-
Season with salt, pepper, and paprika if using.
-
Place lobster over butter, lemons and wine in the pan.
-
Broil 6–8 minutes until the meat is opaque and lightly golden (internal temp ~140–145°F).
-
Remove lobster, return the pan back to the oven let pan sauce emulsify, about 5-7 minutes and spoon over before serving.

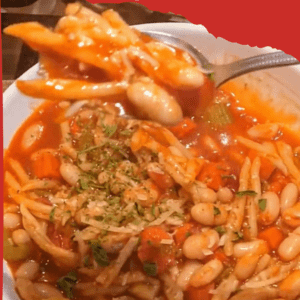 A childhood favorite featuring beans, pasta, aromatics, and a rich tomato base—rustic Italian cooking at its best.
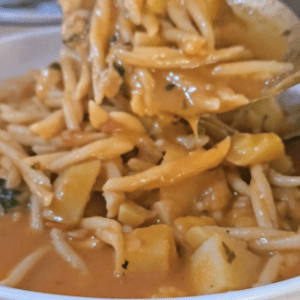 A classic Italian one‑pot dish where pasta and potatoes cook together, creating a naturally creamy, comforting sauce.
 A lighter twist on Alfredo using cauliflower for creaminess without sacrificing flavor.
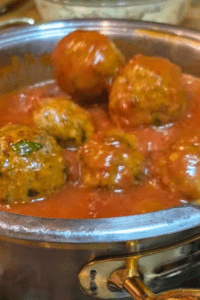 A slow‑simmered tomato sauce served with pasta—just like Sundays in an Italian kitchen.
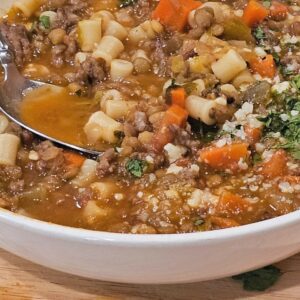 A traditional Italian pasta dish symbolizing luck and prosperity, made with lentils and sausage.
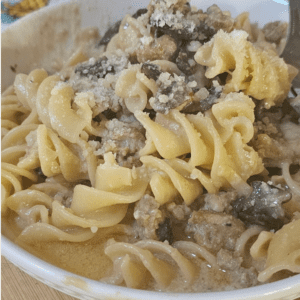 A deeply savory sauce made with mushrooms and Italian sausage, perfect for your favorite pasta shape.➡️ Link to recipe
 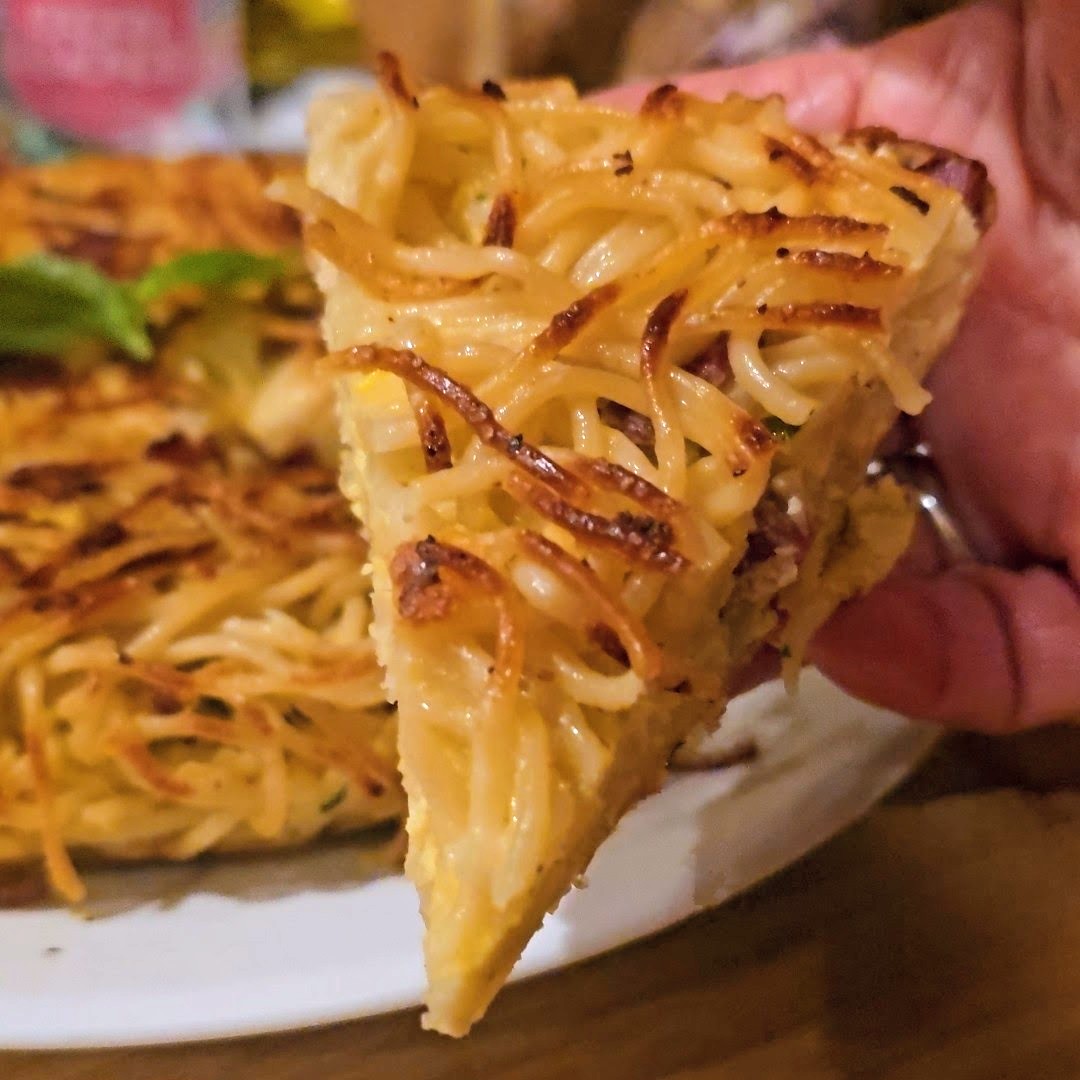 A fun and comforting baked pasta dish with layers of spaghetti, cheese, and sauce.➡️ Link to recipe
 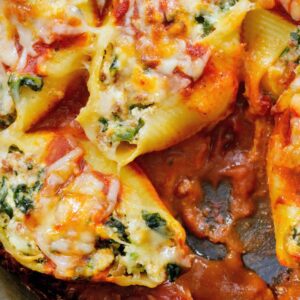 Large pasta shells filled with cheese and spinach and topped with my easy marinara sauce—perfect for entertaining.
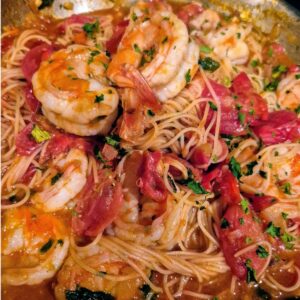
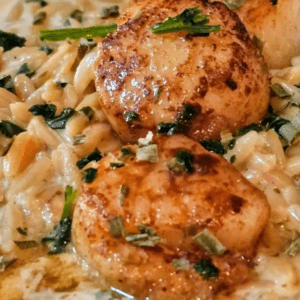 A seafood‑forward pasta dish with bold flavors and a creamy finish.➡️ Link to recipe
 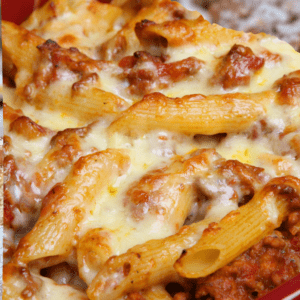 A classic Italian baked pasta layered with sauce, cheese, and pasta—comforting, crowd‑pleasing, and perfect for make‑ahead meals.➡️ Link to recipe
 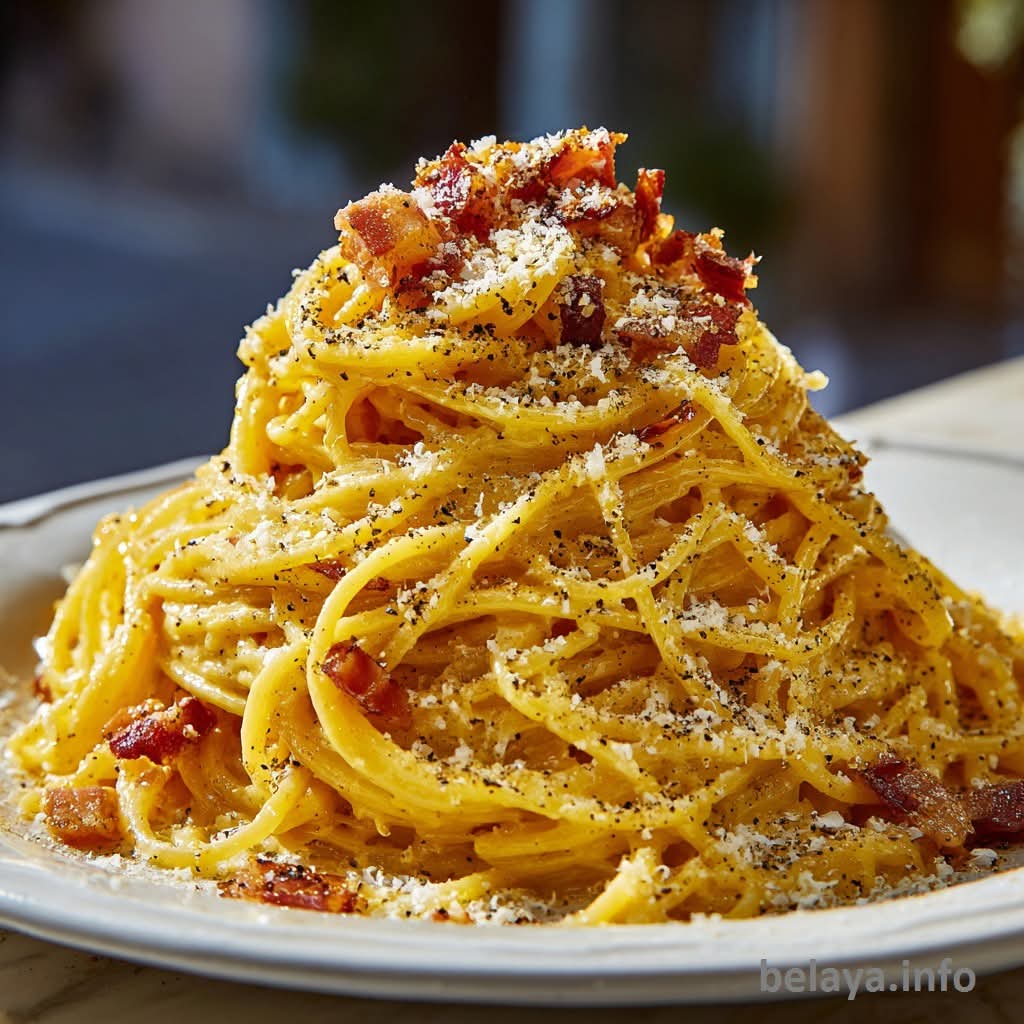 A traditional Roman pasta made with eggs, Pecorino Romano, black pepper, and crispy guanciale—simple, rich, and timeless.

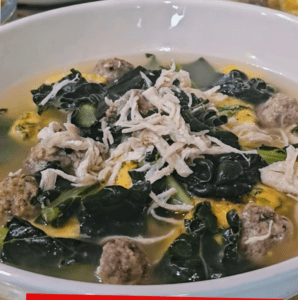
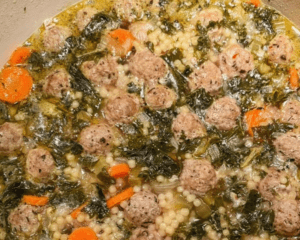 Tender meatballs, leafy greens, and delicate pasta simmered in rich chicken broth — a true Italian classic.
 A Northern Italian favorite featuring cheese-filled tortellini served in hot, savory broth.
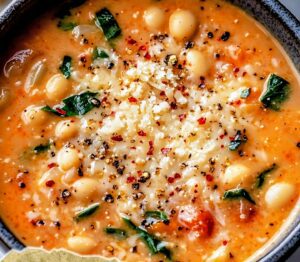
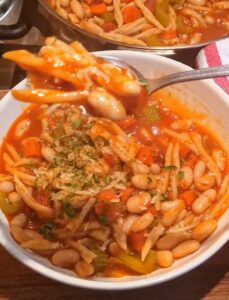 A rustic, comforting soup made with beans, pasta, and a flavorful tomato base — just like Nonna used to make.
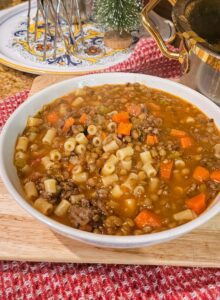 Traditionally served on New Year’s Eve for good luck, this hearty soup is rich, savory, and deeply comforting.
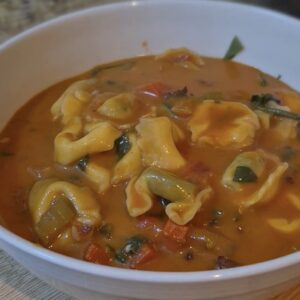 A fan favorite — cheesy tortellini, Italian sausage, and a creamy broth that comes together quickly.
 A restaurant-style classic — silky smooth with crispy pancetta for added depth and flavor.
 Earthy mushrooms, herbs, and a rich broth make this vegetarian soup incredibly satisfying.