15 Weeknight Italian Meals: Easy Recipes in Under 45 Minutes
15 Weeknight Italian Meals: Easy Recipes in Under 45 Minutes
This post may contain affiliate links, that help support this blog. If you make a purchase through these links, I may earn a commission—at no cost to you. For more information read my disclosure policy.
Weeknight cooking doesn’t need to be complicated to be good. Some of the best Italian meals are built on simple ingredients, cooked well, and brought to the table without overthinking it.
This is the kind of food you make when you want something real—pasta that comes together in one pan, sauces that don’t take all day, and meals that feel comforting without being heavy. It’s not about perfection, it’s about flavor, timing, and knowing a few go-to recipes you can rely on.
Inside this 15 weeknight Italian meals guide, you’ll find a collection of easy weeknight Italian meals—from quick pastas and skillet dinners to cozy baked dishes and fresh, seasonal sides. Everything here is designed to work in real life, with recipes you can make in under 45 minutes and come back to again and again.
Lemon Asparagus Ricciarelle Pasta
One-Pot Creamy Zucchini Pasta (Pasta e Zucchini)
This one-pot creamy zucchini pasta is a traditional Italian recipe where pasta cooks directly with zucchini, onion, and olive oil, creating a naturally creamy sauce with Parmesan and pasta starch.
Spicy pasta Norcina Spicy Italian sausage pasta
Spicy pasta alla norcina is an Italian pasta dish made with sausage in a creamy cheese sauce. There are different variations, some have mushrooms or different cured meats. The recipe is easy to make and takes about as much time to make as it takes the pasta to cook
Pesto tortellini pasta salad
If you’re looking for the perfect summer pasta salad, this pesto tortellini pasta Salad is one of my favorites. Full of Mediterranean flavors and hearty enough to be a meal on its own, it’s one of those dishes that always disappears quickly when ever I bring it to potlucks, or Sunday lunches.
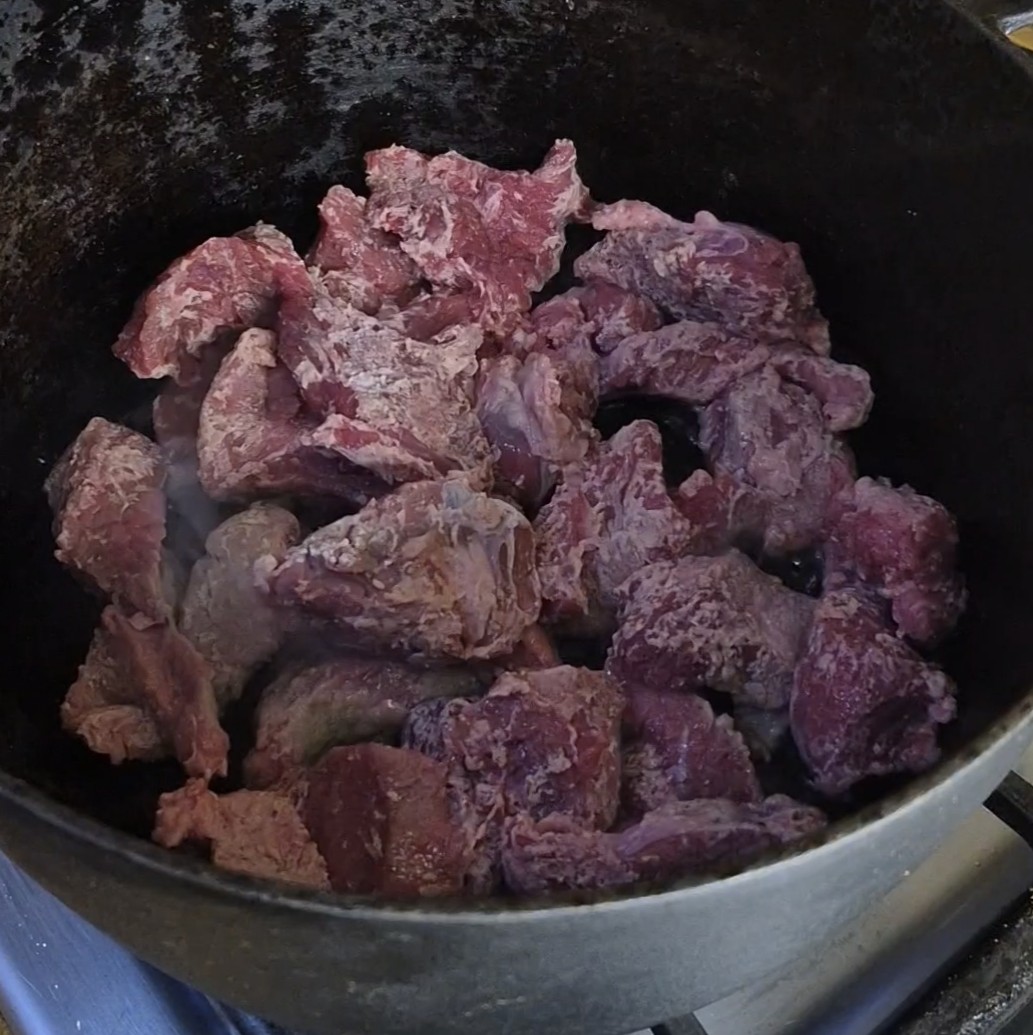
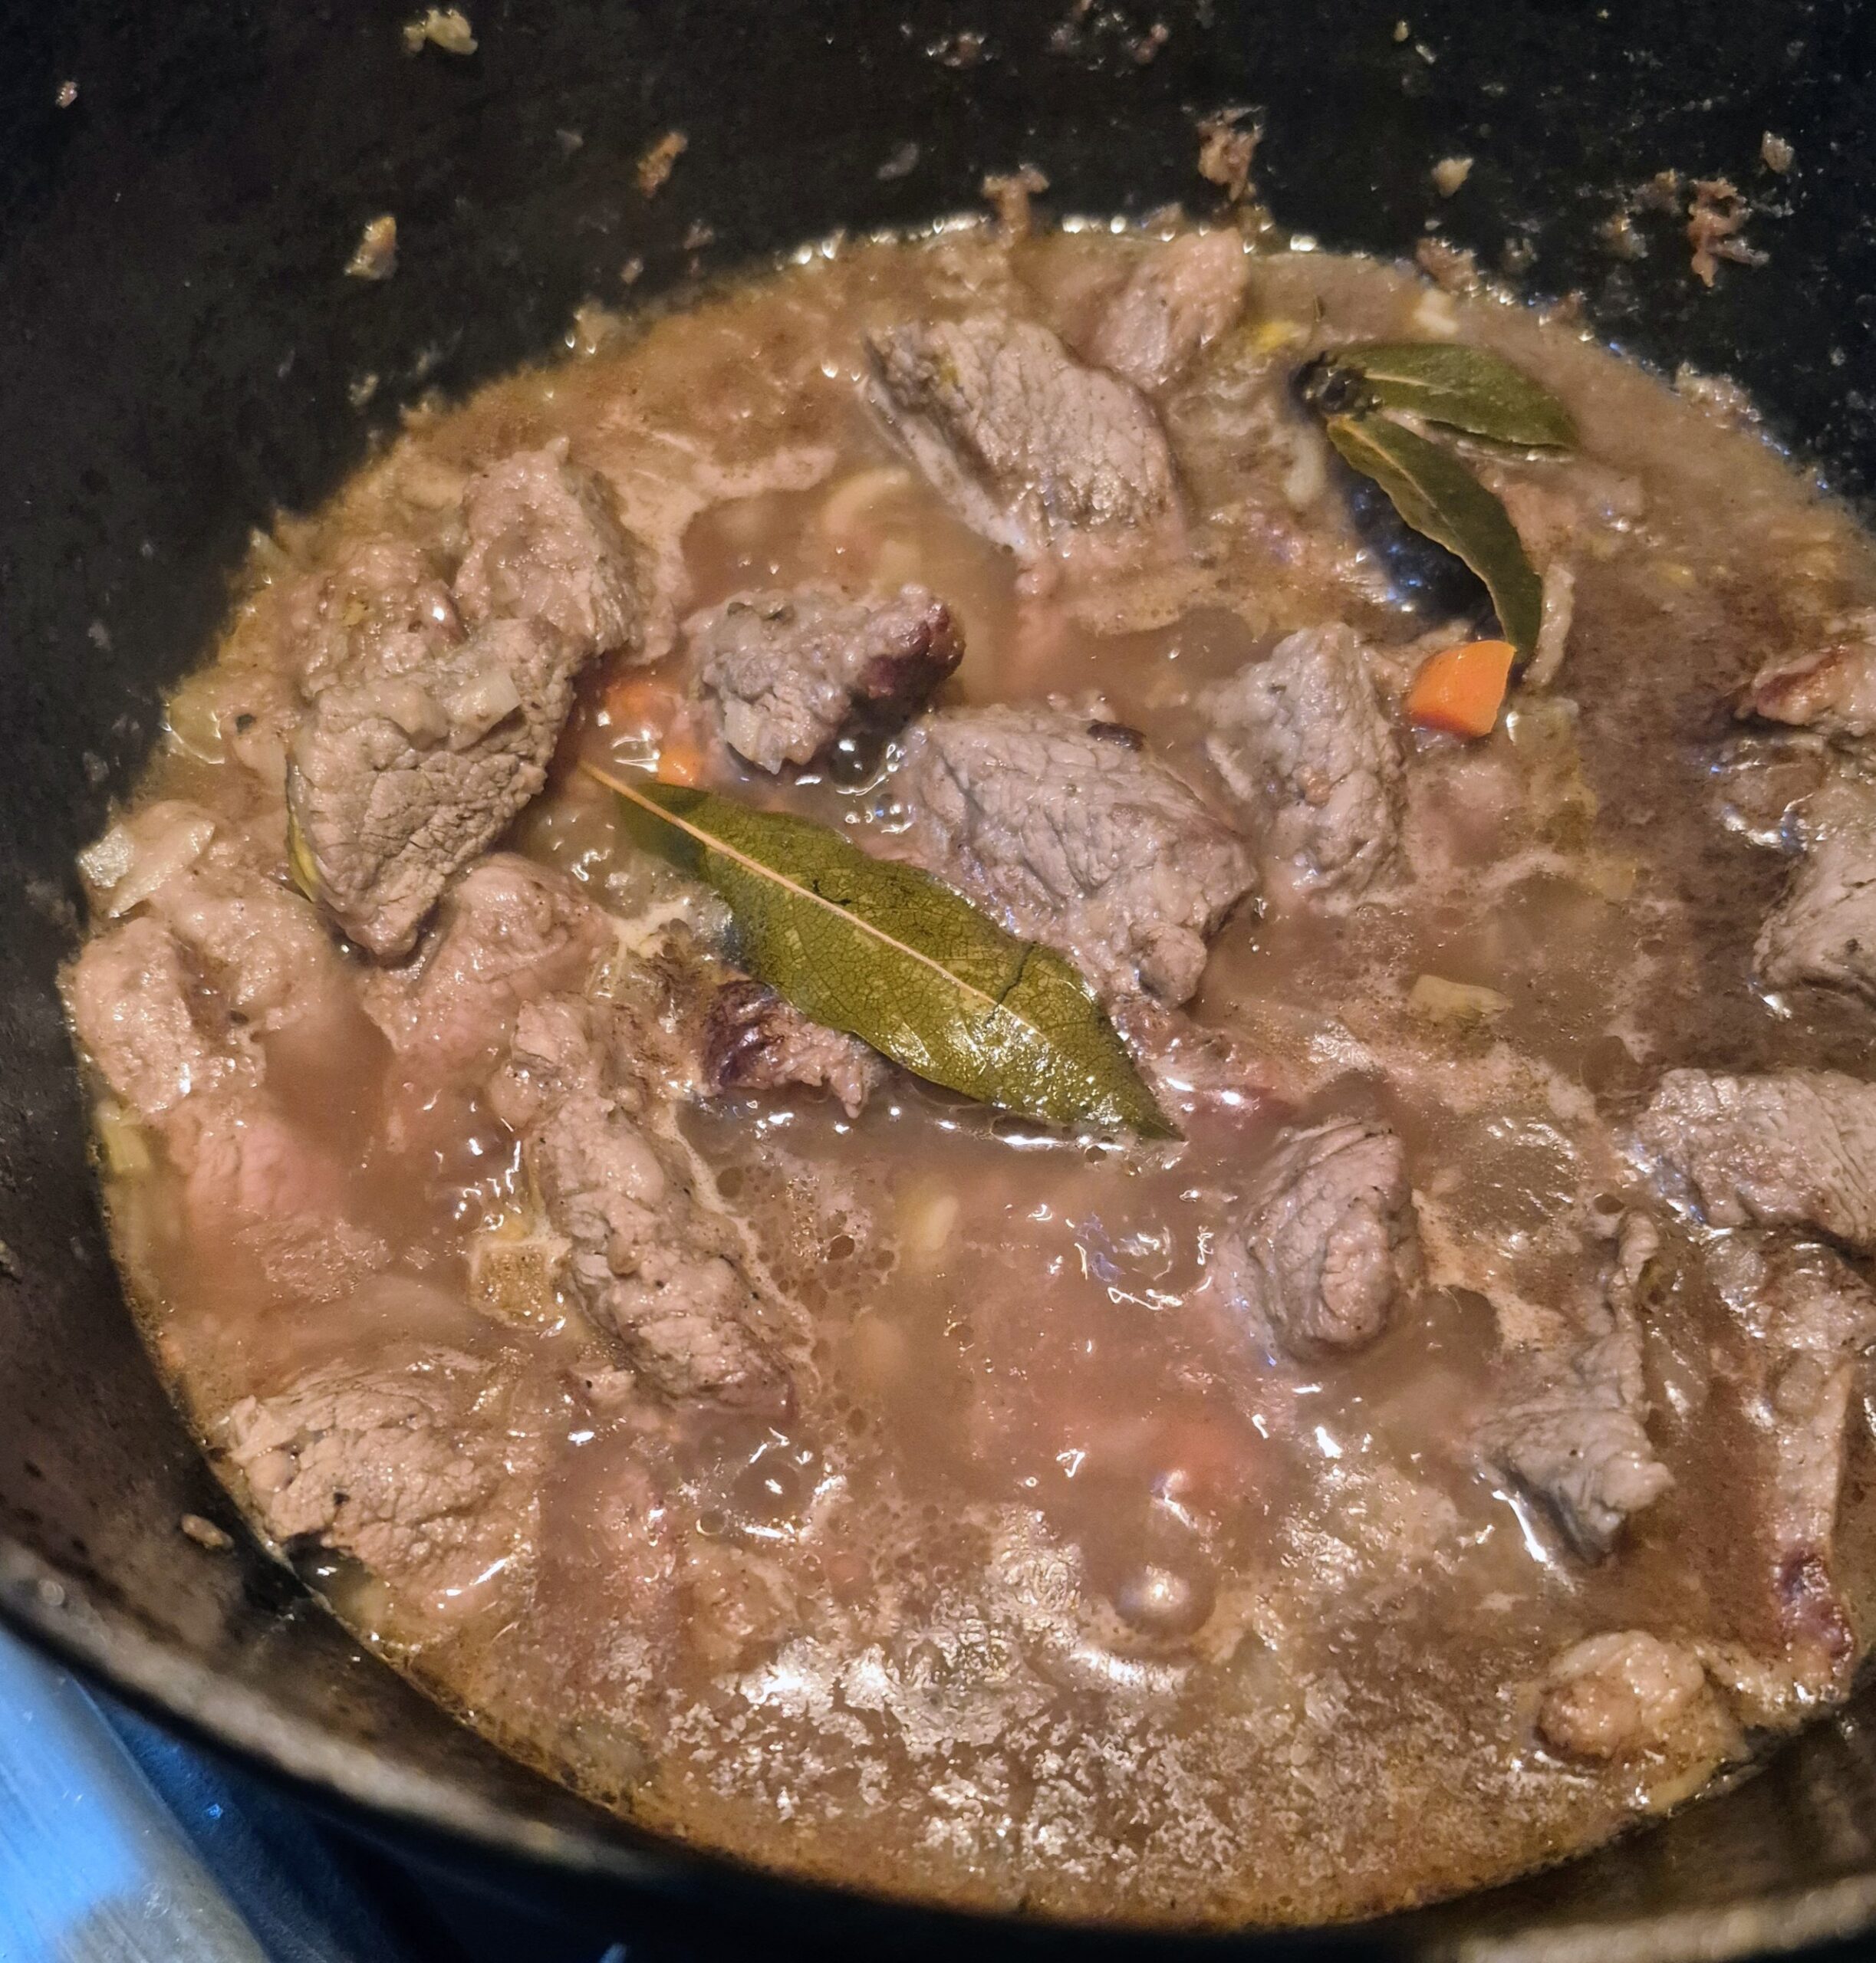
Authentic Italian Pasta e Fagioli
Authentic Pasta e fagioli is a humble, hearty and soul- warming Italian pasta dish that brings back vivid childhood memories of the smell of simmering beans, tomatoes, and garlic. for many Italian families, pasta e fagioli was the meal that could feed everyone on a tight budget. It’s the ultimate ” cucina povera” dish- poor kitchen.
Air Fryer Parmesan chicken Spiedini
Air fryer parmesan chicken spiedini are Italy’s version of skewers or kabobs. In this spiedini recipe boneless, skinless chicken thighs are marinated in a blend of Italian spices, cooked in the air fryer, and basted with a delicious garlic, parmesan butter sauce.
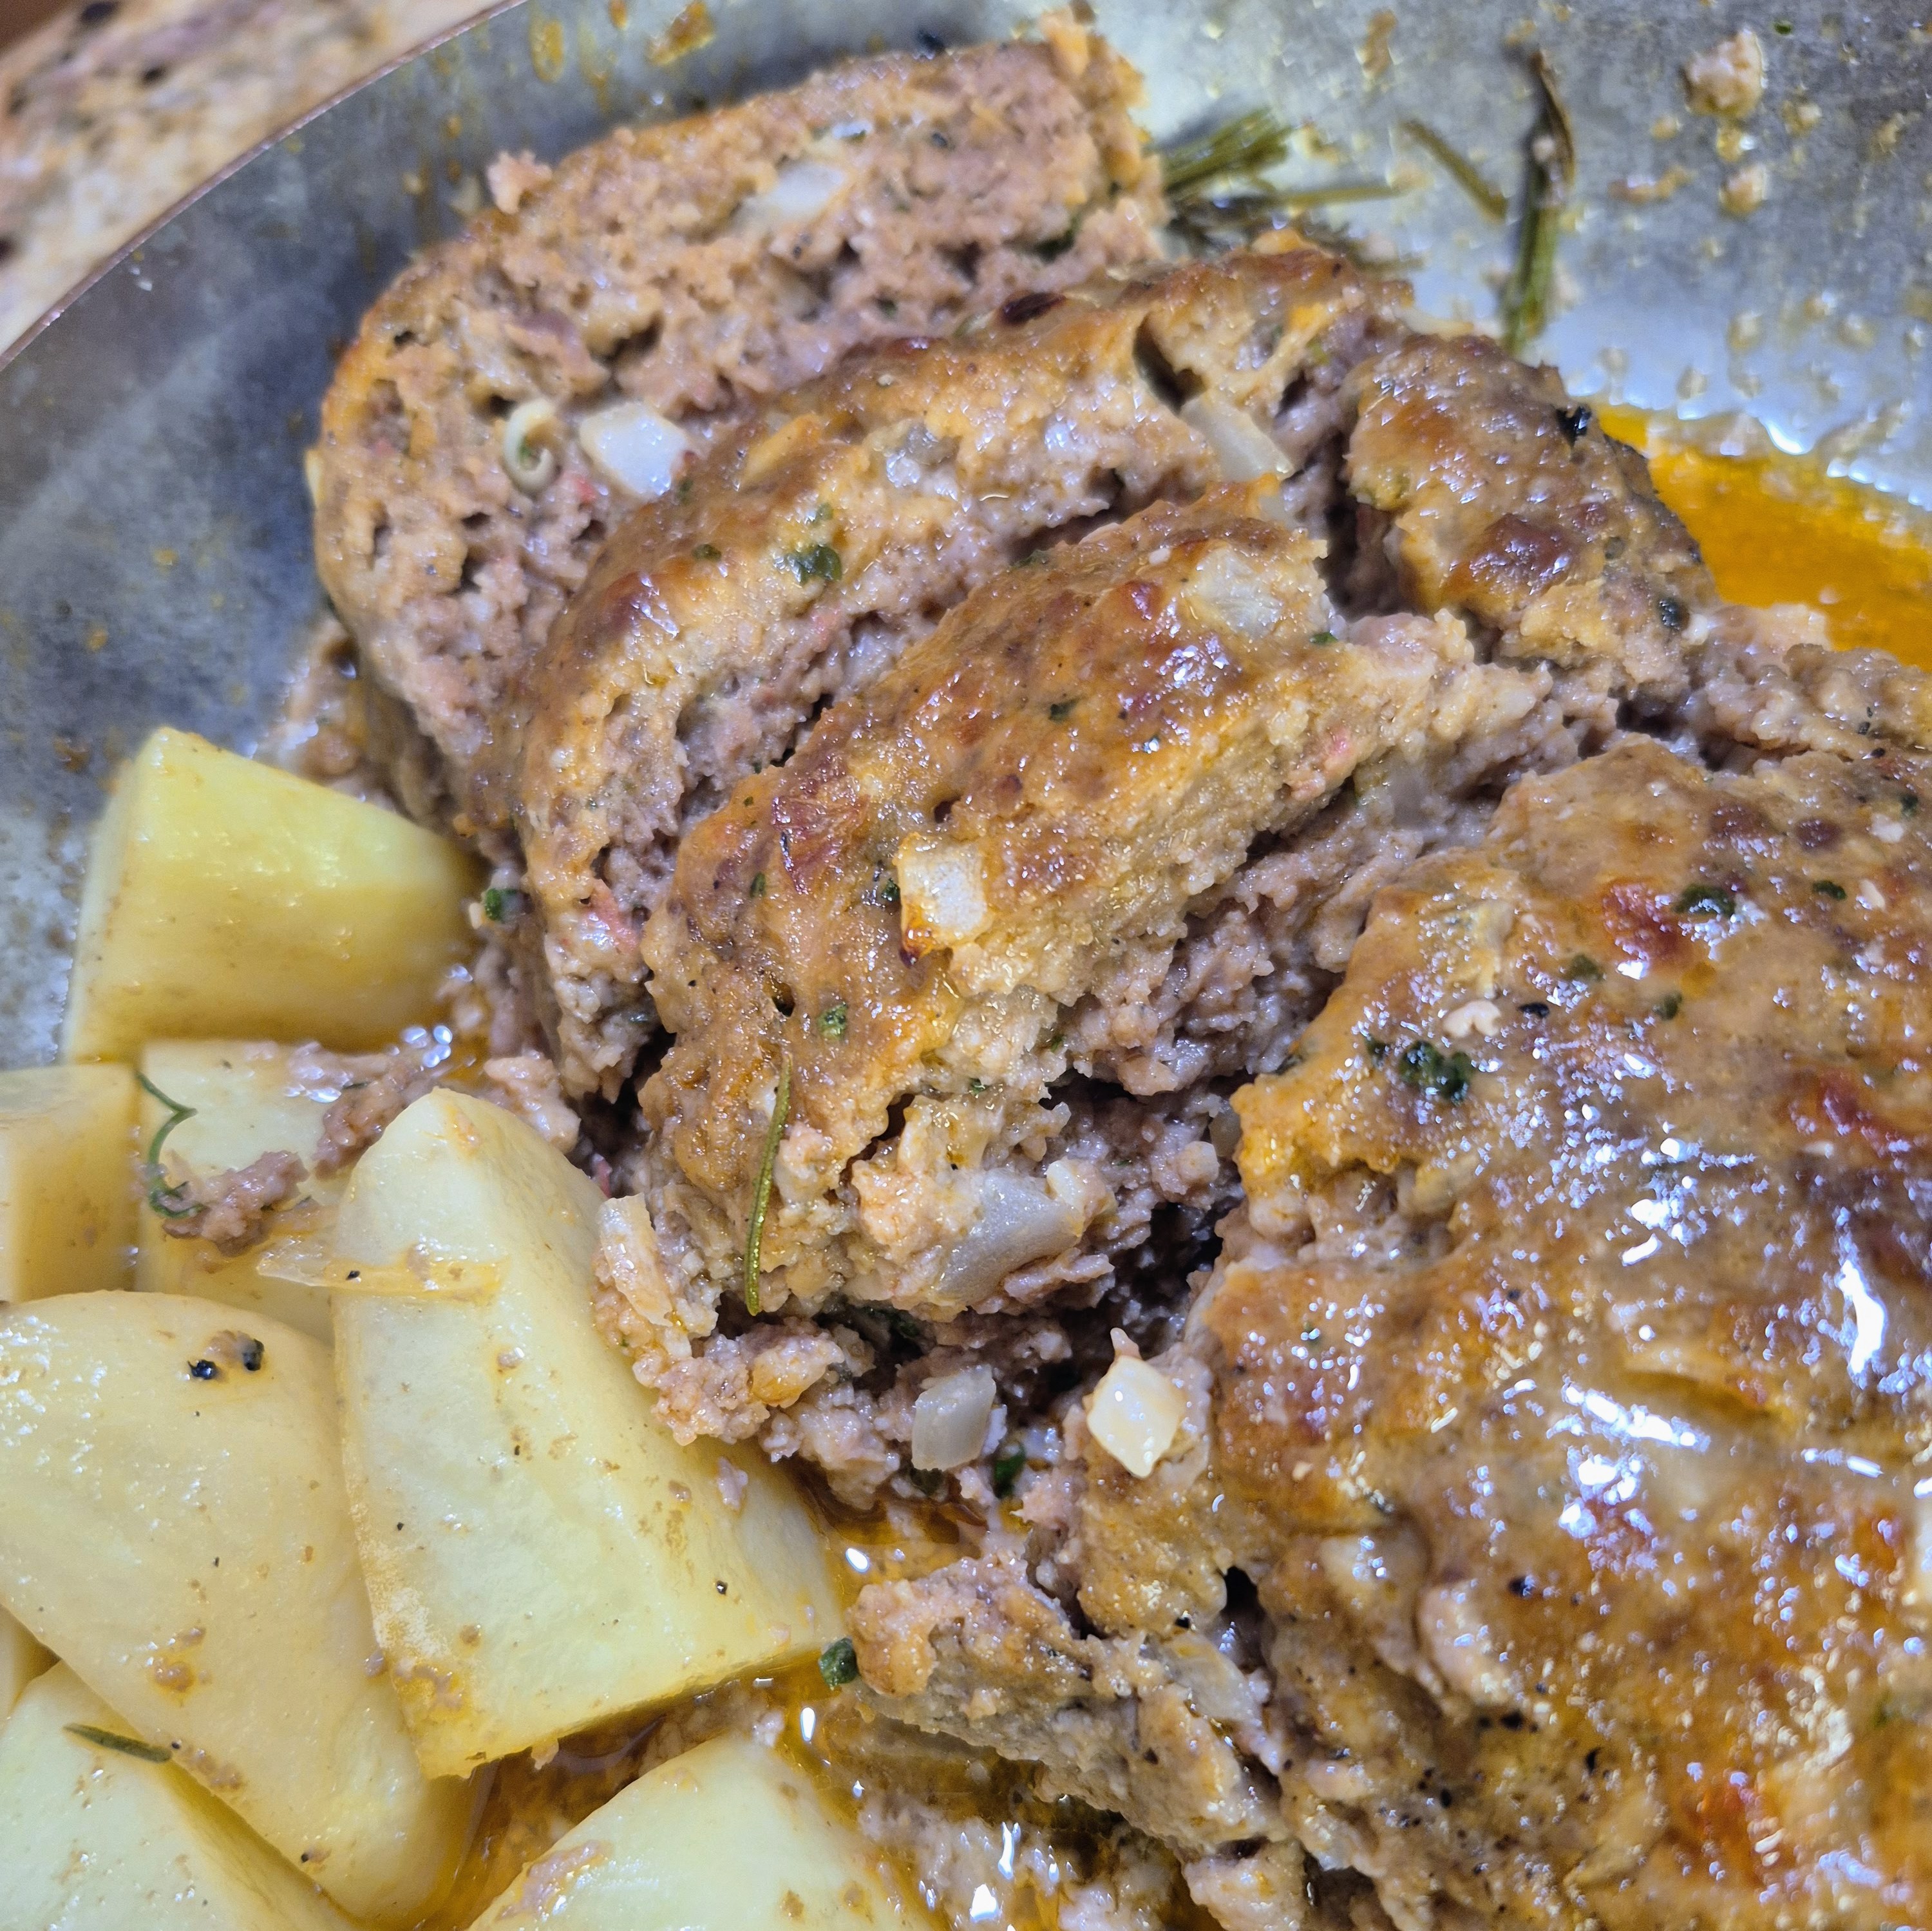
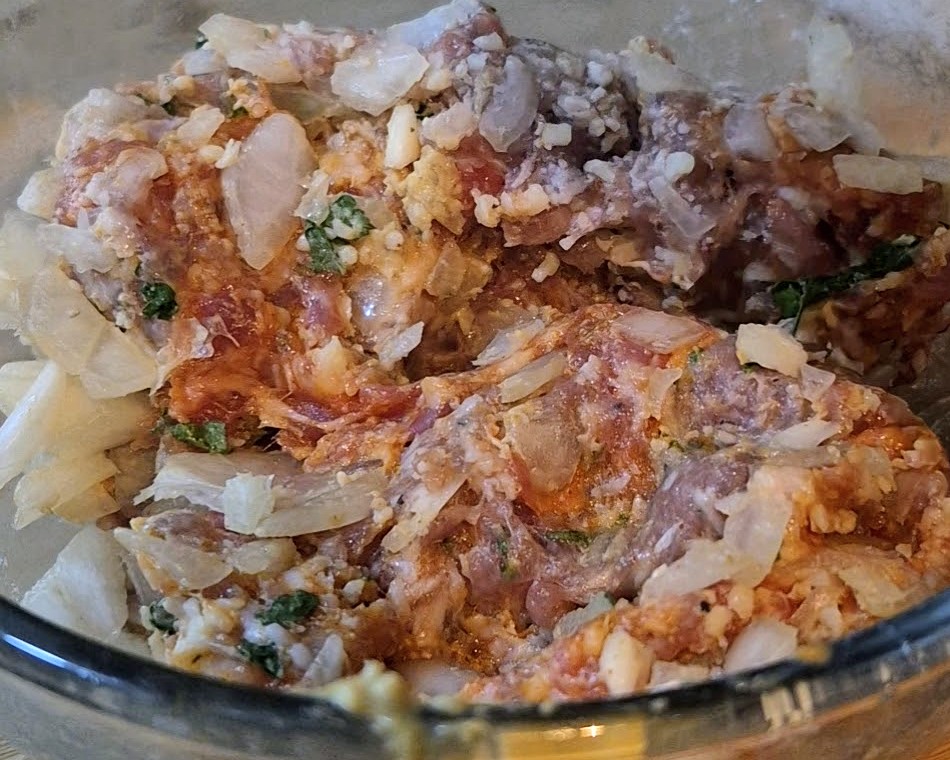
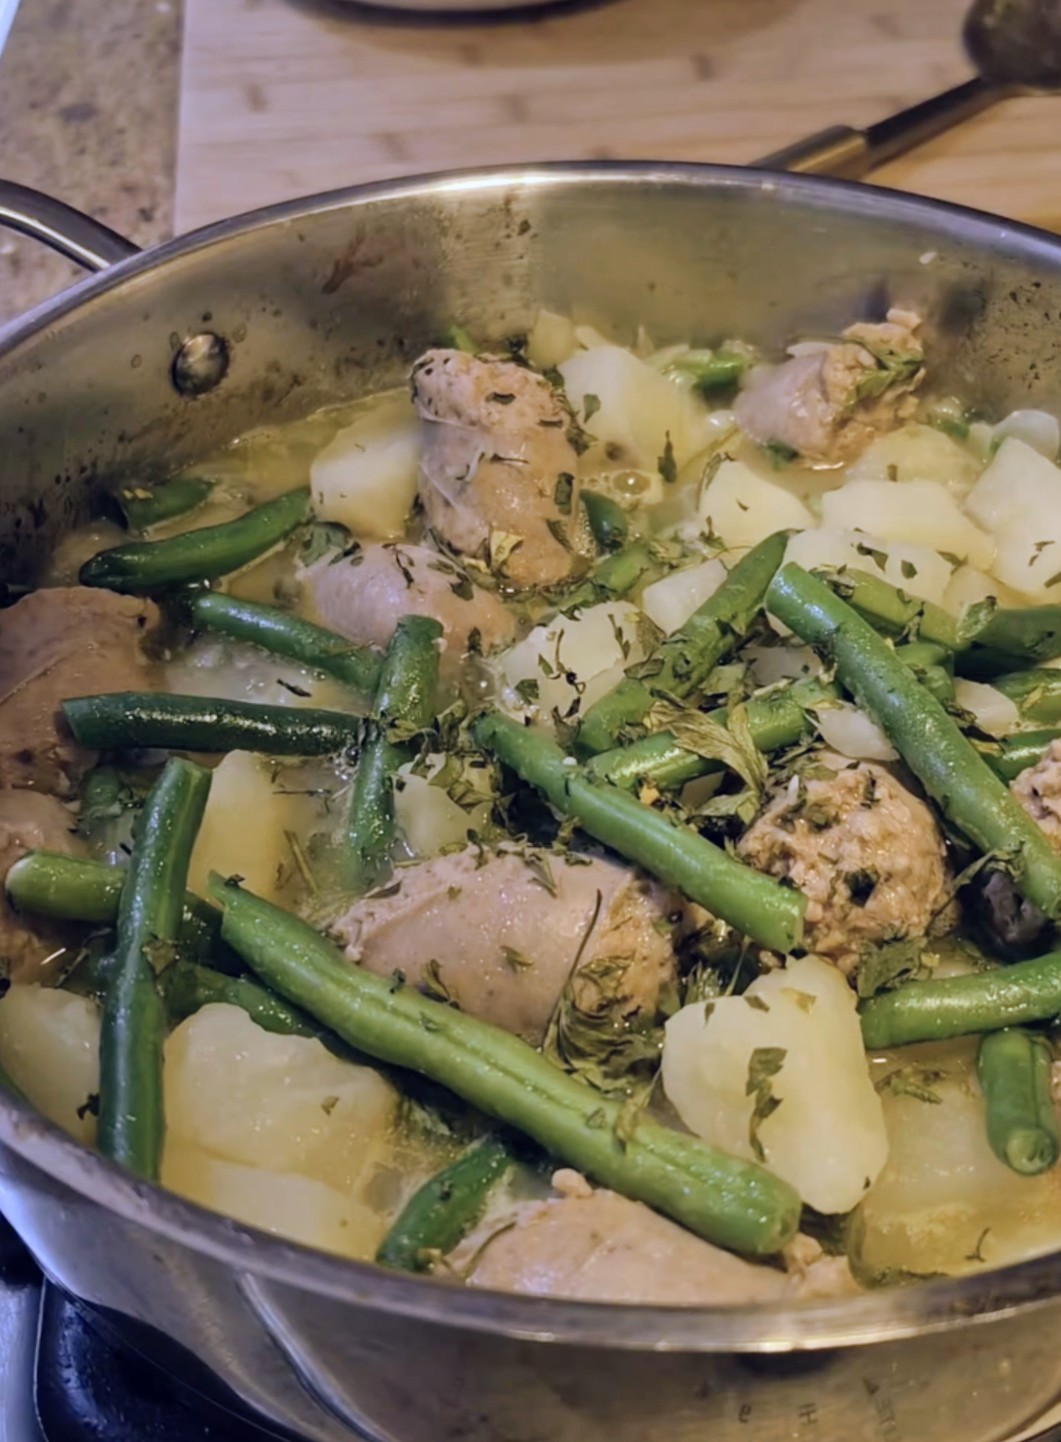
Chicken Meatballs with marry me orzo
Tender chicken meatballs are always a hit at the dinner table, and when you pair them with creamy Marry Me Orzo, you’ve got the ultimate comfort meal. This dish brings together juicy baked chicken meatballs and orzo pasta simmered in a rich Parmesan and sun-dried tomato cream sauce. It’s the kind of meal that feels special enough for date night yet easy enough for a weeknight family dinner.
Pollo al Limone Italian lemon chicken
Lemons are in peak season right now, and there’s no better way to celebrate their bright, zesty flavor than with this Italian Lemon Chicken. Known as Pollo al Limone, this dish is simple, rustic, and full of Southern Italian charm. With a golden sear, a light pan sauce, and a fresh lemon-parsley drizzle, it’s the kind of meal that tastes like summer.
Best cod Francese Recipe- in 30 minutes
Best Cod Francese Recipe – in 30 Minutes is a lightly battered, pan-fried cod fillet in an elegant lemon, butter and white wine sauce. It’s similar to chicken piccata—but without the capers and with a velvety, lemon-butter sauce that clings to the golden crust. Cod Francese is a classic restaurant-style dish that’s surprisingly simple to make at home. The hallmark is the light coating of flour and egg that gives the fish a delicate, crisp texture—perfect for soaking up that tangy, buttery sauce.
Shrimp spaghetti with basil tomato sauce
This Shrimp Spaghetti with Tomato Basil Sauce is a simple, fresh pasta dish made with sautéed shrimp, juicy summer tomatoes, garlic, and plenty of fragrant basil. The sauce is created right in the pan by combining the tomato juices with starchy pasta water and a generous handful of grated parmesan, giving you a light flavorful coating that clings to the pasta.
Authentic Italian shrimp oreganata
Crispy, garlicky, and straight out of an Italian kitchen.
This shrimp oreganata is all about simple ingredients—olive oil, lemon, breadcrumbs, and a heavy hand with oregano—baked until golden and perfect for scooping with bread.
It’s fast, it’s bold, and it tastes like something you’d order at your favorite spot… but better at home.
Crispy pan fried chicken cutlets
These crispy breaded chicken cutlet recipe are pan fried and they were a staple in my childhood growing up and in many Italian kitchens. They ae juicy, crispy delicious and so easy to make. Serve the cutlets along side a salad for a light lunch or dinner.
The Best Italian-Style Fried Calamari
Golden, crispy, and impossible to stop eating.
This Italian-style fried calamari is light, crunchy, and finished with lemon and a pinch of salt—just the way it should be. No heavy batter, no fuss—just fresh squid, a quick fry, and that perfect crisp.
Serve it hot with marinara or straight up with lemon… either way, it’s gone in minutes.
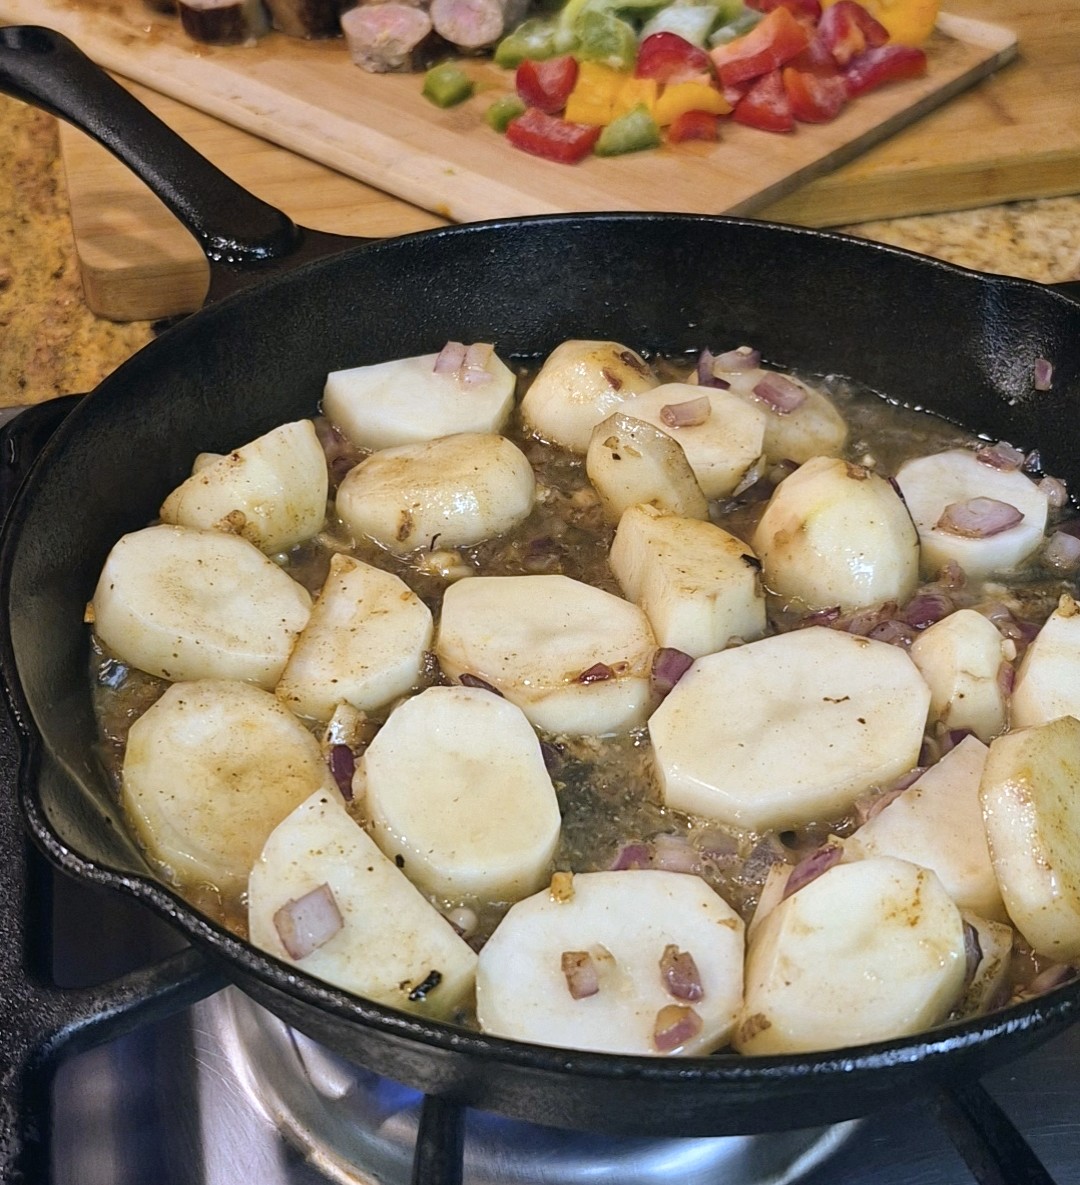
Braised Fennel Oreganata with Pancetta
Braised fennel oreganata with pancetta is one of those simple Italian side dishes that feels both rustic and elegant — the kind of recipe that tastes like it came out of a cozy countryside kitchen. Fennel is one of my favorite seasonal ingredients to cook with this time of year. When it’s in season, it’s sweet, aromatic, and incredibly versatile, and I love finding ways to let its natural flavor shine.
One pan orzo with summer vegetables
Some meals just feel easy—especially when they come together in one pan. This one-pan orzo with summer vegetables is one of those simple, feel-good recipes that checks all the boxes: quick to make, minimal cleanup, and full of fresh summer flavor.
At the end of the day, weeknight cooking should feel manageable—not like a project. These are the kinds of Italian meals you can lean on when you want something good without spending hours in the kitchen. Simple ingredients, a few solid techniques, and recipes that actually work on a busy night.
Whether it’s a quick pasta, a one-pan skillet, or something baked and cozy, this is the kind of cooking that becomes part of your routine—the meals you make without thinking twice, and the ones everyone looks forward to.
Save this guide so you always have a go-to list of easy weeknight Italian meals.
Pick a recipe to try this week, and come back when you need something new. For more simple, flavorful Italian recipes, explore the blog and find your next favorite.